Charmed by Dear Lizzy Saturday

Hello, it’s Jo here with my CT projects for September. This month I began with one product in mind, the Dear Lizzy Beaded Strands charms from the new Saturday collection.

I wanted to explore ways of using the whole packet, because sometimes with packets of tassels or charms you end up using one or two and the rest go unused. The size of the beads make them too bulky really for use on a scrapbook layout, but they are perfect for adorning mini-books and I LOVE making mini-books. As I sit at writing this I can see five mini-books on a shelf above my desk and four of them have tassels and/or charms attached to them, they are the perfect finishing touch to little projects like that.
Project One – Summer 2016 Mini-Book

In order to match the colours of the beads I made life easy for myself and used two more products from the same collection, the Dear Lizzy Saturday 6×6″ Paper Pad and the Dear Lizzy Saturday Rubber Shapes. I ordered two sheets of white 12×12″ cardstock for the pages and Simple Stories Carpe Diem – Posh Word Label Stickers. I then raided my stash for a ball chain (which you can find here) and yellow letter stickers (these are Simple Stories – Life in Color Expression Stickers).
I printed 10 photos approx 3.5″ square, cut 12 4×4″ white cardstock and 13 4×4″ pieces of patterned paper from the paper pad. The paper pad is really good value and perfect for small size projects such as this as the designs are scaled down. There are 36 sheets of paper in the pad and they are all different, 33 patterned papers and 3 cut apart papers which I cut up and used for journaling spots and embellishments. I covered the front cover on both sides with patterned paper to make it study and look nice, then covered the reverse side of all the other pieces of cardstock with patterned paper, including the back cover. I paired up the photos to the patterned papers which look good together and adhered the photos on to the facing white side of the cardstock. Added journaling spots and rubber embellishments on the patterned paper side and word stickers on the photos. Finally I decorated the front cover and the first page, punched holes through the top left corner and held them together with a cut down 4″ ball chain on to which I added two beaded charms.


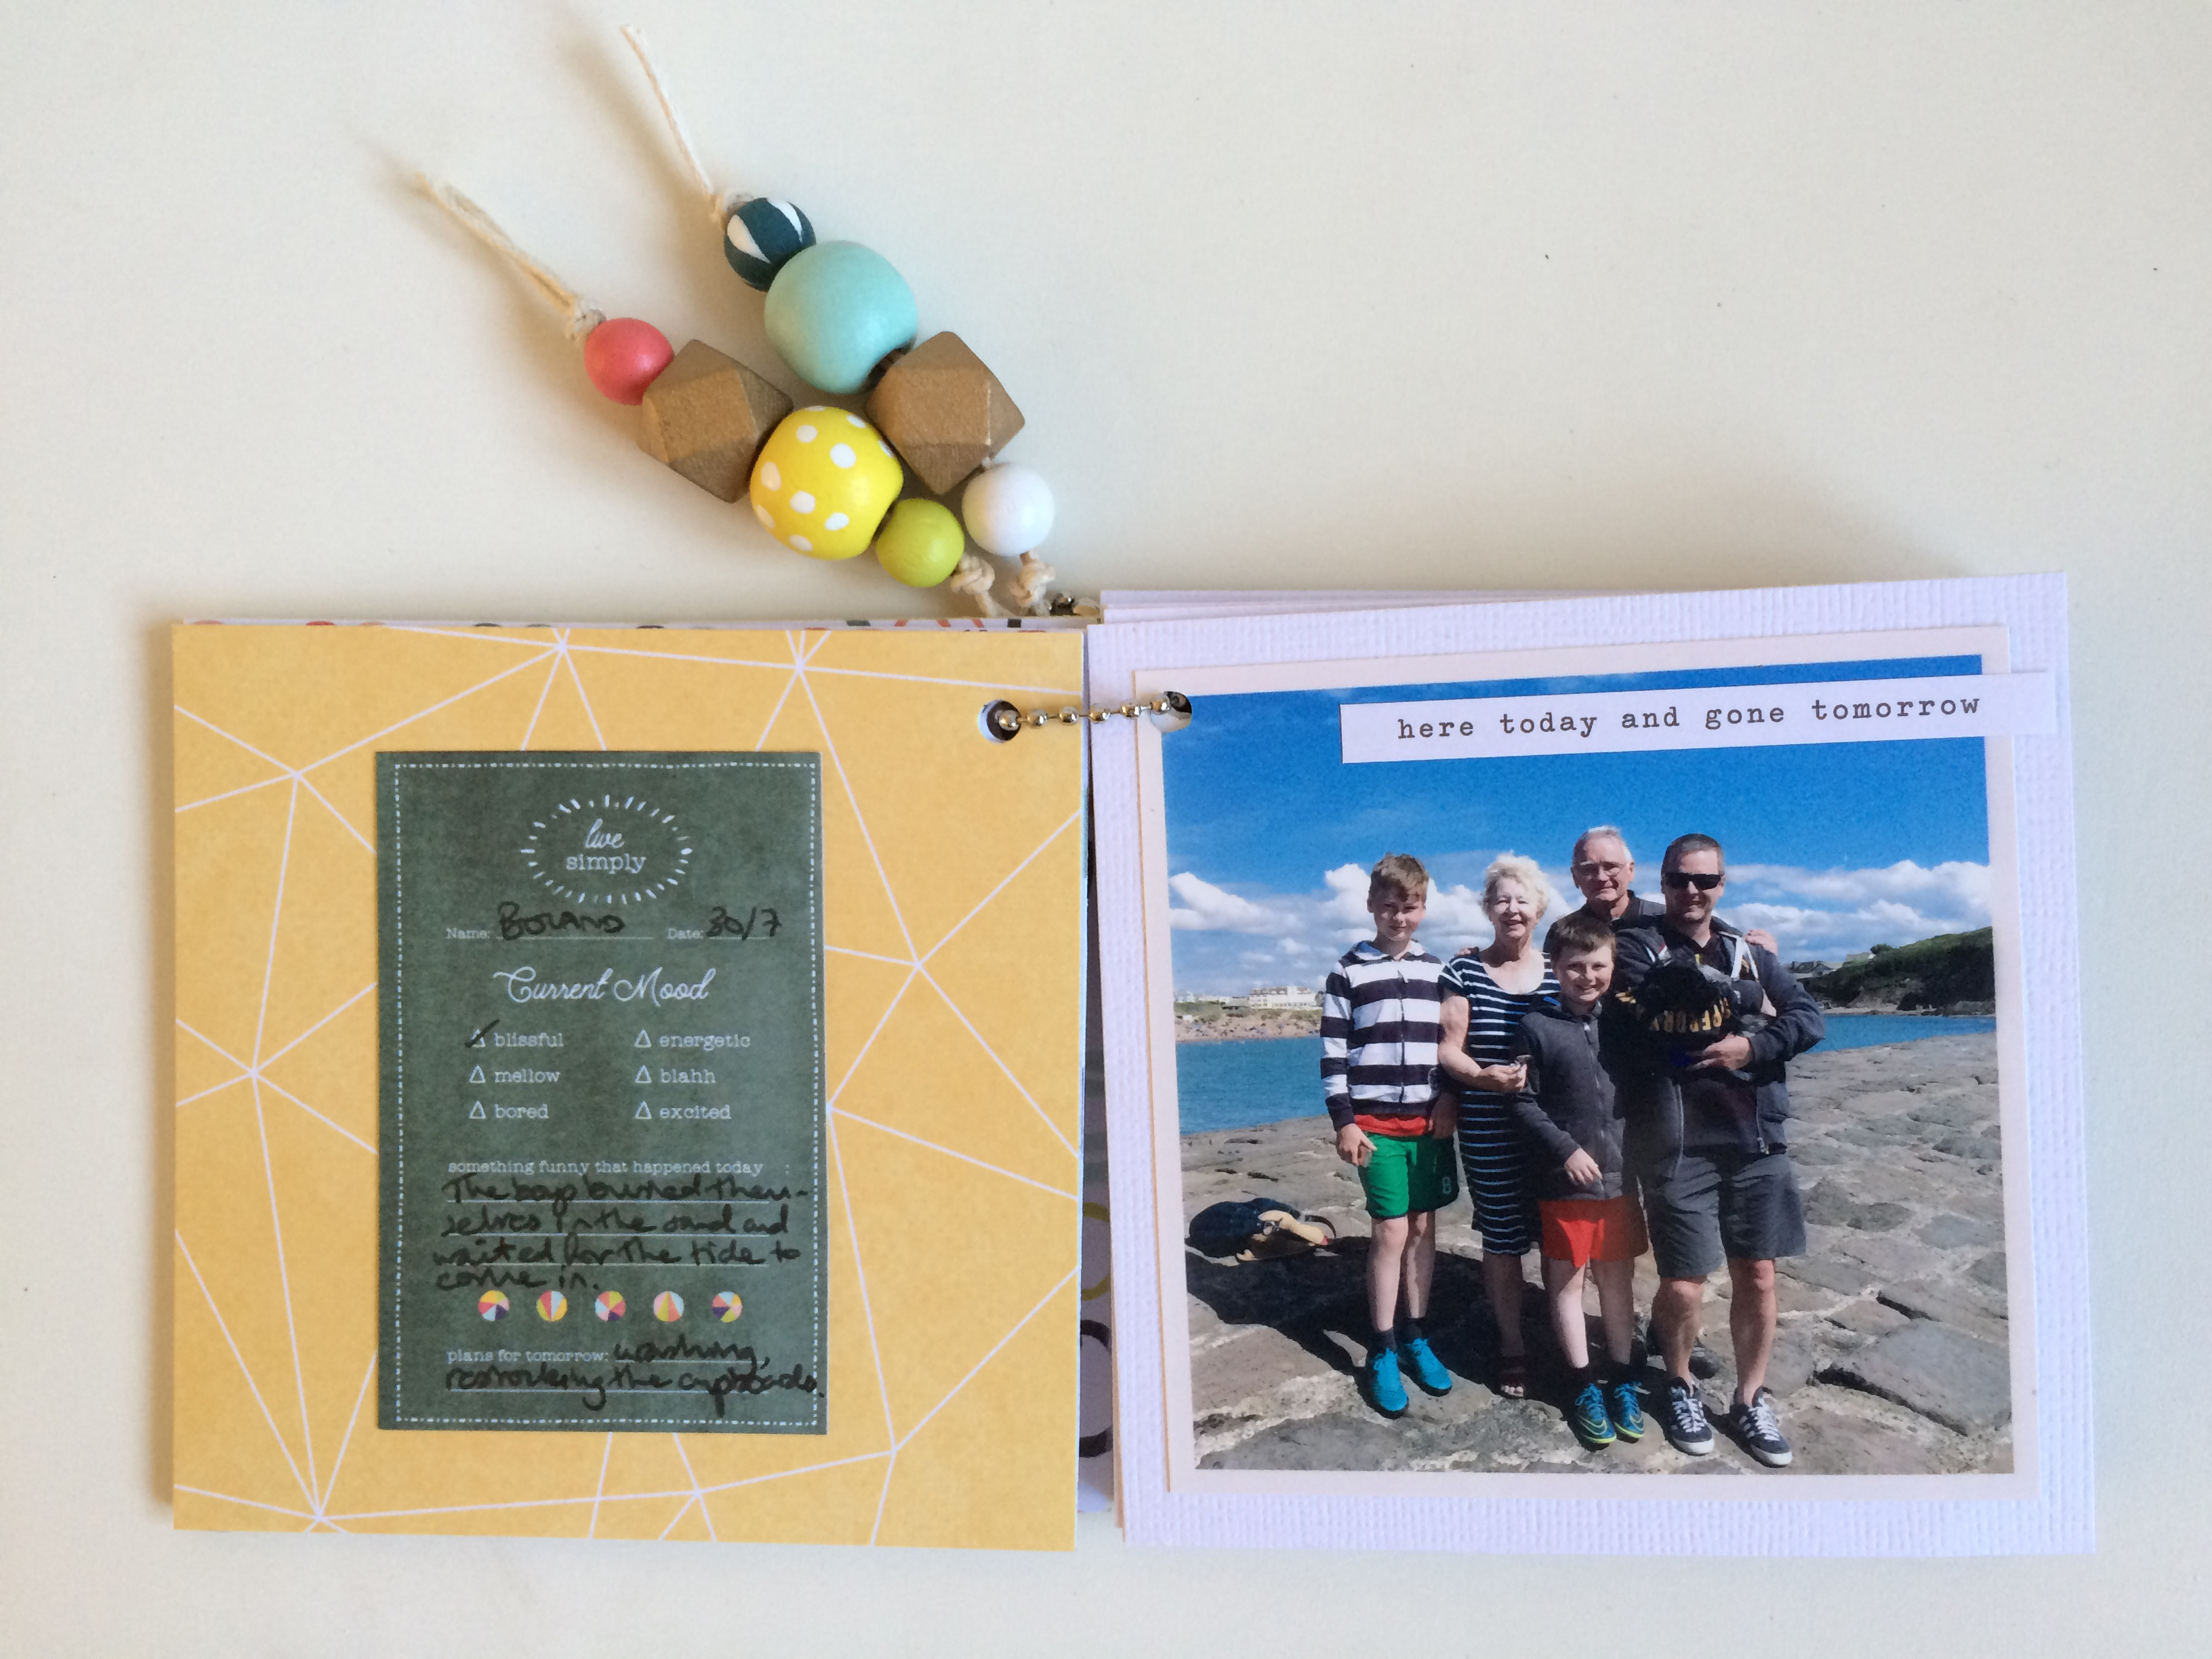


I really love the colour pallet of this collection, it’s perfect for documenting summer memories. Plus I have enough scraps leftover of these gorgeous papers to make cards with. Oh and what you can’t see in that last photo in my mini-book is a sleeping puppy in the bottom of the canoe, hence my reason for choosing the journaling spot with the ‘fingers crossed’ comment. It could have ended in disaster but he was as good as gold!
Project Two – Scissors Charm
If you’re like me then papercrafting is unlikely to be your only hobby, my other big love is crochet. I added a beaded strand to one of my pairs of scissors, not only does it look sweet, but it also helps me to locate my scissors quicker.

To attach the beaded strand to the scissors I undid the top loop knot, passed the loop under the handle of the scissors and threaded the beaded strand through the loop.
Project Three – Bookmark
For my third project I made a handy bookmark. I choose the ampersand paper from the paper pad, a scrap of cardboard (from the packaging of my boys new school shirts), some words stickers from the pack used for the mini-book and a beaded strand.

The process is simple; I trimmed two pieces of paper and one piece of cardboard to 2″ wide by 5 1/2″ tall then rounded all the corners with the Project Life Corner Rounder Punch. I put double-sided tape around the edges of the cardboard on both sides and trimmed the corners with a pair of scissors. Then one side at a time I applied a glue stick to the centre of the card and positioned the paper on top. The glue stick allows me to slide the paper into place before removing the tape backing. I used this process for covering the cardstock pages with patterned paper in the mini-book as well. Next punch a hole at the top of the bookmark and attach your beaded strand. I actually undid the knots in the strand and removed the beads. Then I threaded the string through the hole, tied the first knot again, added the beads back on in the same order and tied the bottom knot once more. Finally I added an arrow sticker and three word stickers which seemed appropriate for a bookmark – ‘adventure awaits’, ‘one for the books’ and ‘happily ever after’.
And there we have it, four beaded strands used on three projects and the packaging in the bin!
Thanks for stopping by!
