To 'Die' for with Pink Paislee – Solstice
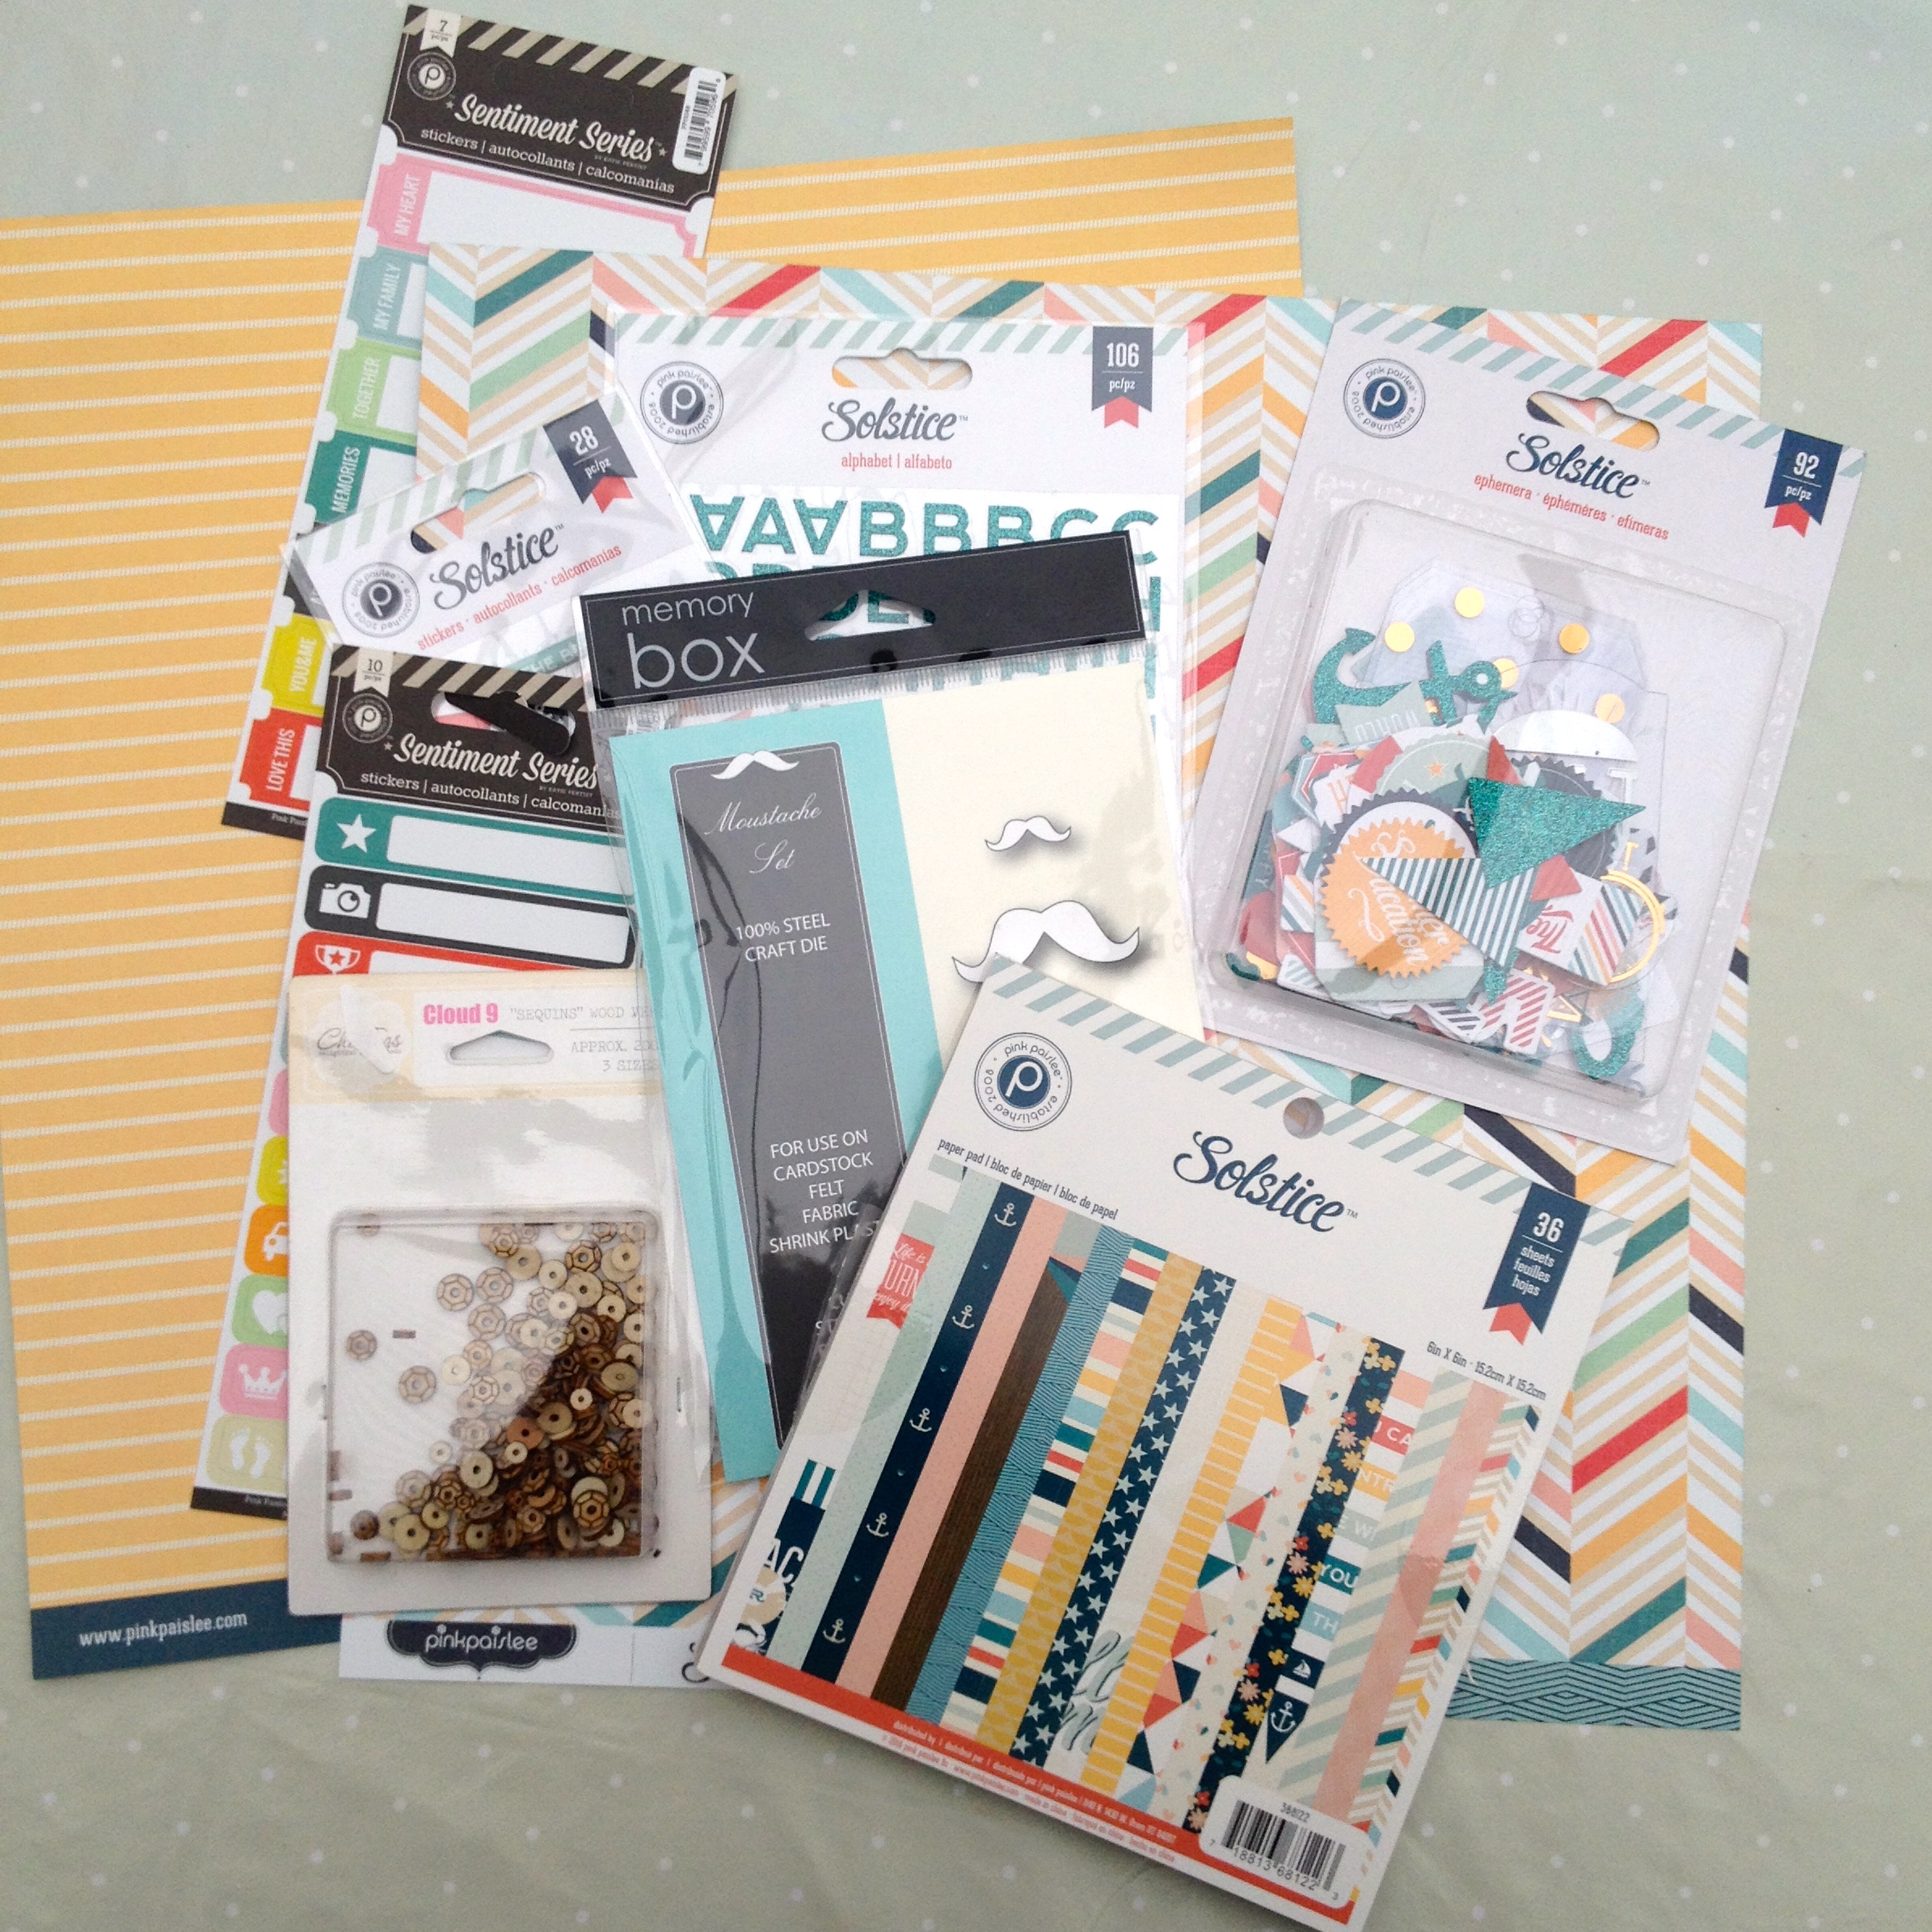
Hi everyone, Jackie here, I hope you are all well and the start of the new school year is giving you some more time to scrap. Well, here goes, I wanted to showcase this lovely collection by Pink Paislee – Solictice and decided to use various die cutting techniques. This is my selection of products, I only got 2 sheets of the 12 x 12 has I know I wanted to use the Pink Paislee – 6×6 pad with the smaller designs on my pages.
For my first layout I used a die cut frame which I’d cut using my cameo,

Adding patterned papers behind a few of the circles. and then backing it with one of the 12 x 12 papers. The photos are of my summer holiday in Norfolk in 2013 and attending the launch of the lifeboat on Lifeboat Day. Yes, they really have a ‘Lifeboat Day” each year they have a dedicated day to show the town and community the worthwhile service that the Lifeboat and the volunteers provide. I’ve seen the lifeboat being launched many time in the past but this was the first time there was someone commenting about each process and why they do it.
I embellished the page using the Pink Paislee – Solstice ephemera pack , which is jammed pack full of useable items, including banners, glitter icons, gold vellum, vellum tabs, I also added some Pink Paislee – puffy stickers.

I love the size and style of the Pink Paislee – glitter alphabet that goes with this collection, and the glitter doesn’t rub off onto your page – which is always a bonus.
Now here is an added bonus this month from me, as I was at the lifeboat station for a while I took loads of photographs, and decided that it would be good to add an additional page to tell the story of this part of the day. So I did a pocket page layout, which enabled me to add more photographs, journalling and a few more die cuts.

This side show how the lifeboat operates when rescuing someone at sea. Again, I have used the ephemera pack and puffy sticker sheet, and some enamel dots as embellishment.

For this insert I used the Technique Tuesday Steel Die and Technique Tuesday stamp – which I stamped onto a scrap paper, cut out and added to the top of the arrow, and added the vellum piece on top.

On the reserve of the pocket pages I add the photos showing the process of the lifeboat being returned back to the station. I also used the negative of the Technique Tuesday die and a pocket insert.

with a die cut from my cameo, using a piece from the 6×6 pad and one of the vellum tags from the ephemera pack.
My 2nd layout ‘Gosh you’re Awesome’, When I saw this die in the store, from Memory Box, I knew I needed it, and wanted to use it has a background feature for my page, and I came up with this.

Using the 6×6 pad sheets, I cut the dies several times, has there are four dies together, the process of die cutting didn’t take that long. I layered the photograph, onto a few of the sheets of paper from the pad, and has my son was wearing a pink shirt it was ideal to use a sheet of the pink paper to co-ordinate. I add a few of the labels grouped together to add the date and journalling.

I scattered a few of the puffy stickers around the pages to embellish and added some enamel dots. I love how this page has turned out and how it shows that even thought the paper collection has a ‘nautical’ theme, it still works just as well with a none nautical subject.
For my final layout this month, ‘Views Around Sheringham’ I came up with this.

I used my cameo again to cut the patterned paper, but then used these as templates to cut the photographs which I’d printed as 6 x 4. I splattered some ink on the background cardstock, and added faux stitched lines around the patterned paper. Keeping with the circular idea, I added circle embellishments to the patterned papers and the centre of the page, and some lovely flair badges from HLM to add the date.

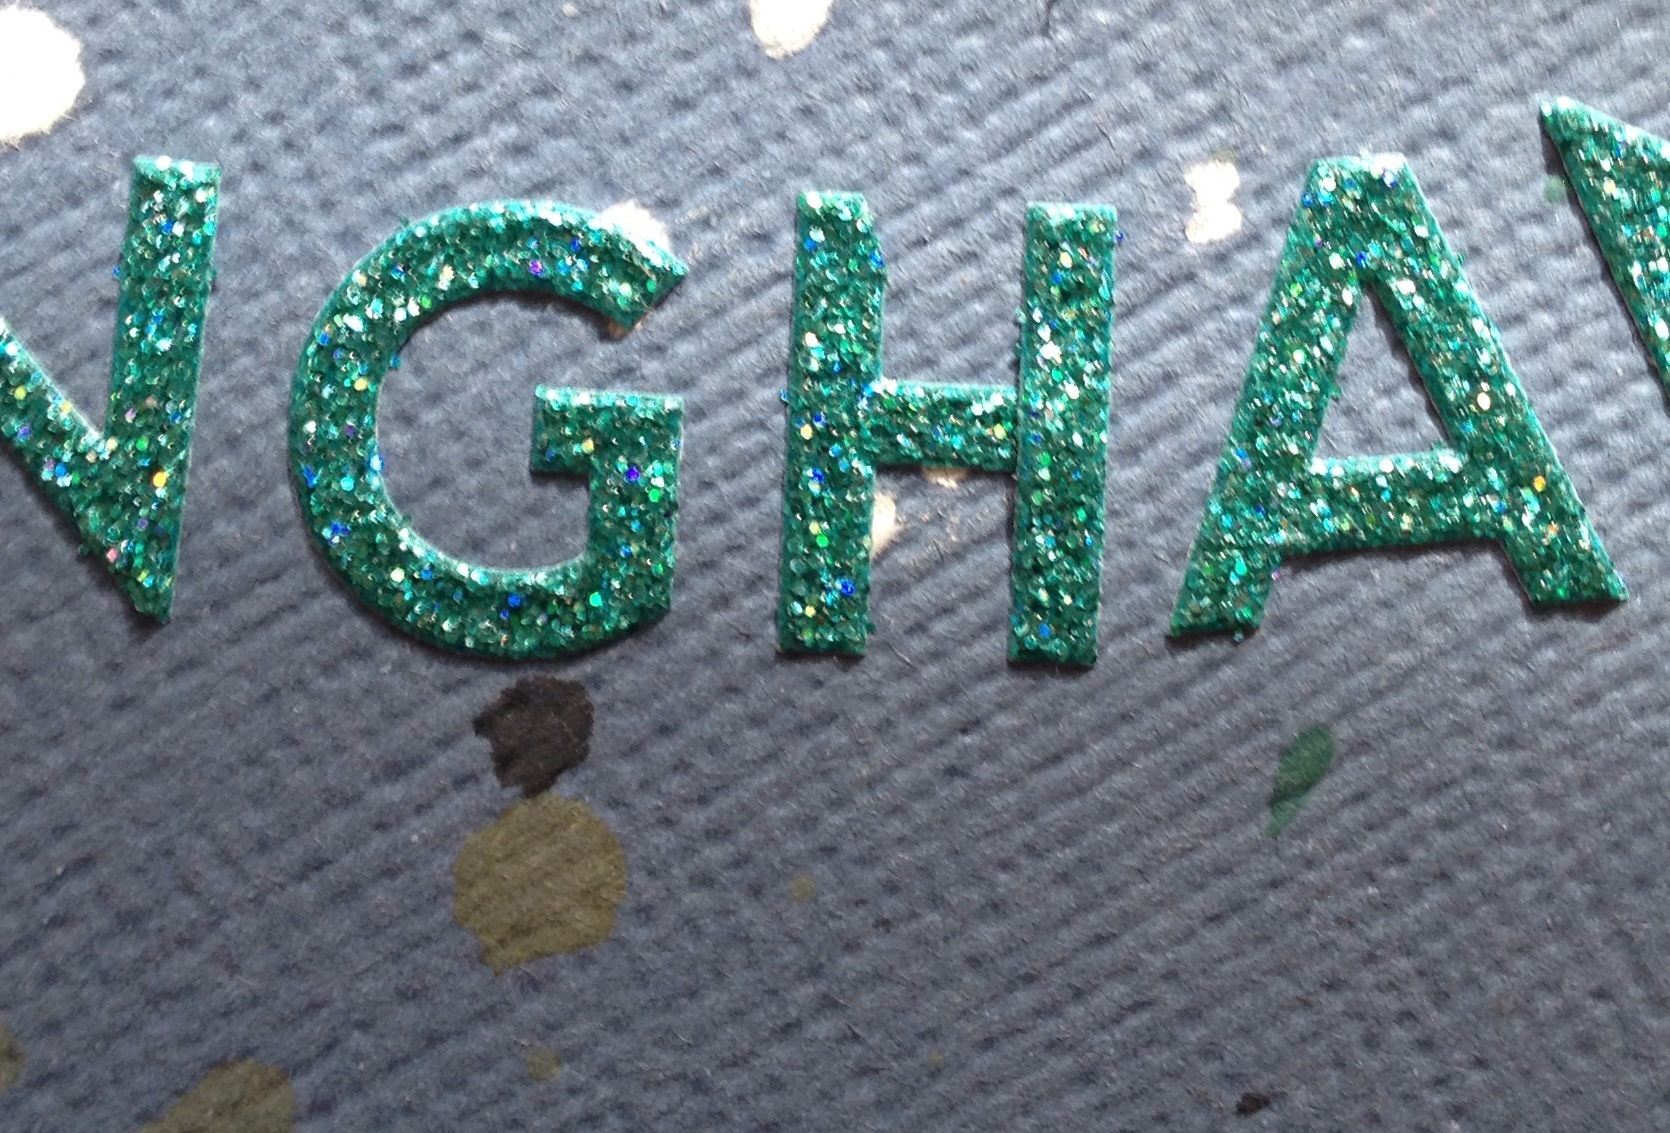
As the title was long I had run out of certain alphabets, has you can see from this photograph – I had ran out of the letter ‘H’

So I used a ‘F’ and ‘I’ cut it down and made an ‘H’ – once in my page protector you can’t see the join – result.
I have also done a step-by-step blog post for this layout as well as another one that involves using a punch to make a patterned background, you can find it here.
Hope these pages give you some ideas of how to get more from your 6×6 pads and get you using your steel dies more.
Thanks for stopping by.
Happy scrapping …