Exploring Texture
Hi everyone welcome to my December blog post and welcome to meteorological Winter. This month I decided to not share a Christmas theme project with you, but make a couple of pages from newer stash, and explore some textures.
I am sure I am like many of you, I have more than one hobby and sometimes there is no cross over and sometime there is. This month in my aim to add a bit of texture to my pages I decided to include my hobbies of crochet and stitching.

The first page is including a crochet element, and I am so happy with how it came out. I used some fine Anchor metallic thread to do the crochet on this page, and stitch on the next page. I also have carried on with my aim to keep my silhouette in use each month.

I used my silhouette to cut a circle with a hole punched border, I need to make sure that the holes were big enough to get a small crochet hook through. You could of course use a hole punch or paper piercer to make hole,but I love the uniform effect of the holes and how you can see the background paper through it.

For the papers of this page I used a combination of Maggie Homes Gather and Pink Paislee Moonstruck. The Monstruck black and white paper made all the layers and gold pop off the page.

I also added a small crochet flower to my embellishment clusters of some fussy cutting and a mixture of Gather and Moonstruck die-cuts. I can see me making lots more of these to add to my embellishments.

For my second page this month, I wanted to continue looking at adding a bit of texture and looked in the shop as some of the embellishment in stock. I had seen these Pink Paislee Outfitter canvas banner pieces and decided they would be a perfect element to add to one of my travel pages.

These banners are so sweet and are a printed canvas with small wooden dowel, and a hanging loop. They come in a pack of 4 and look fab pinned up with a small brad as I did on my page.
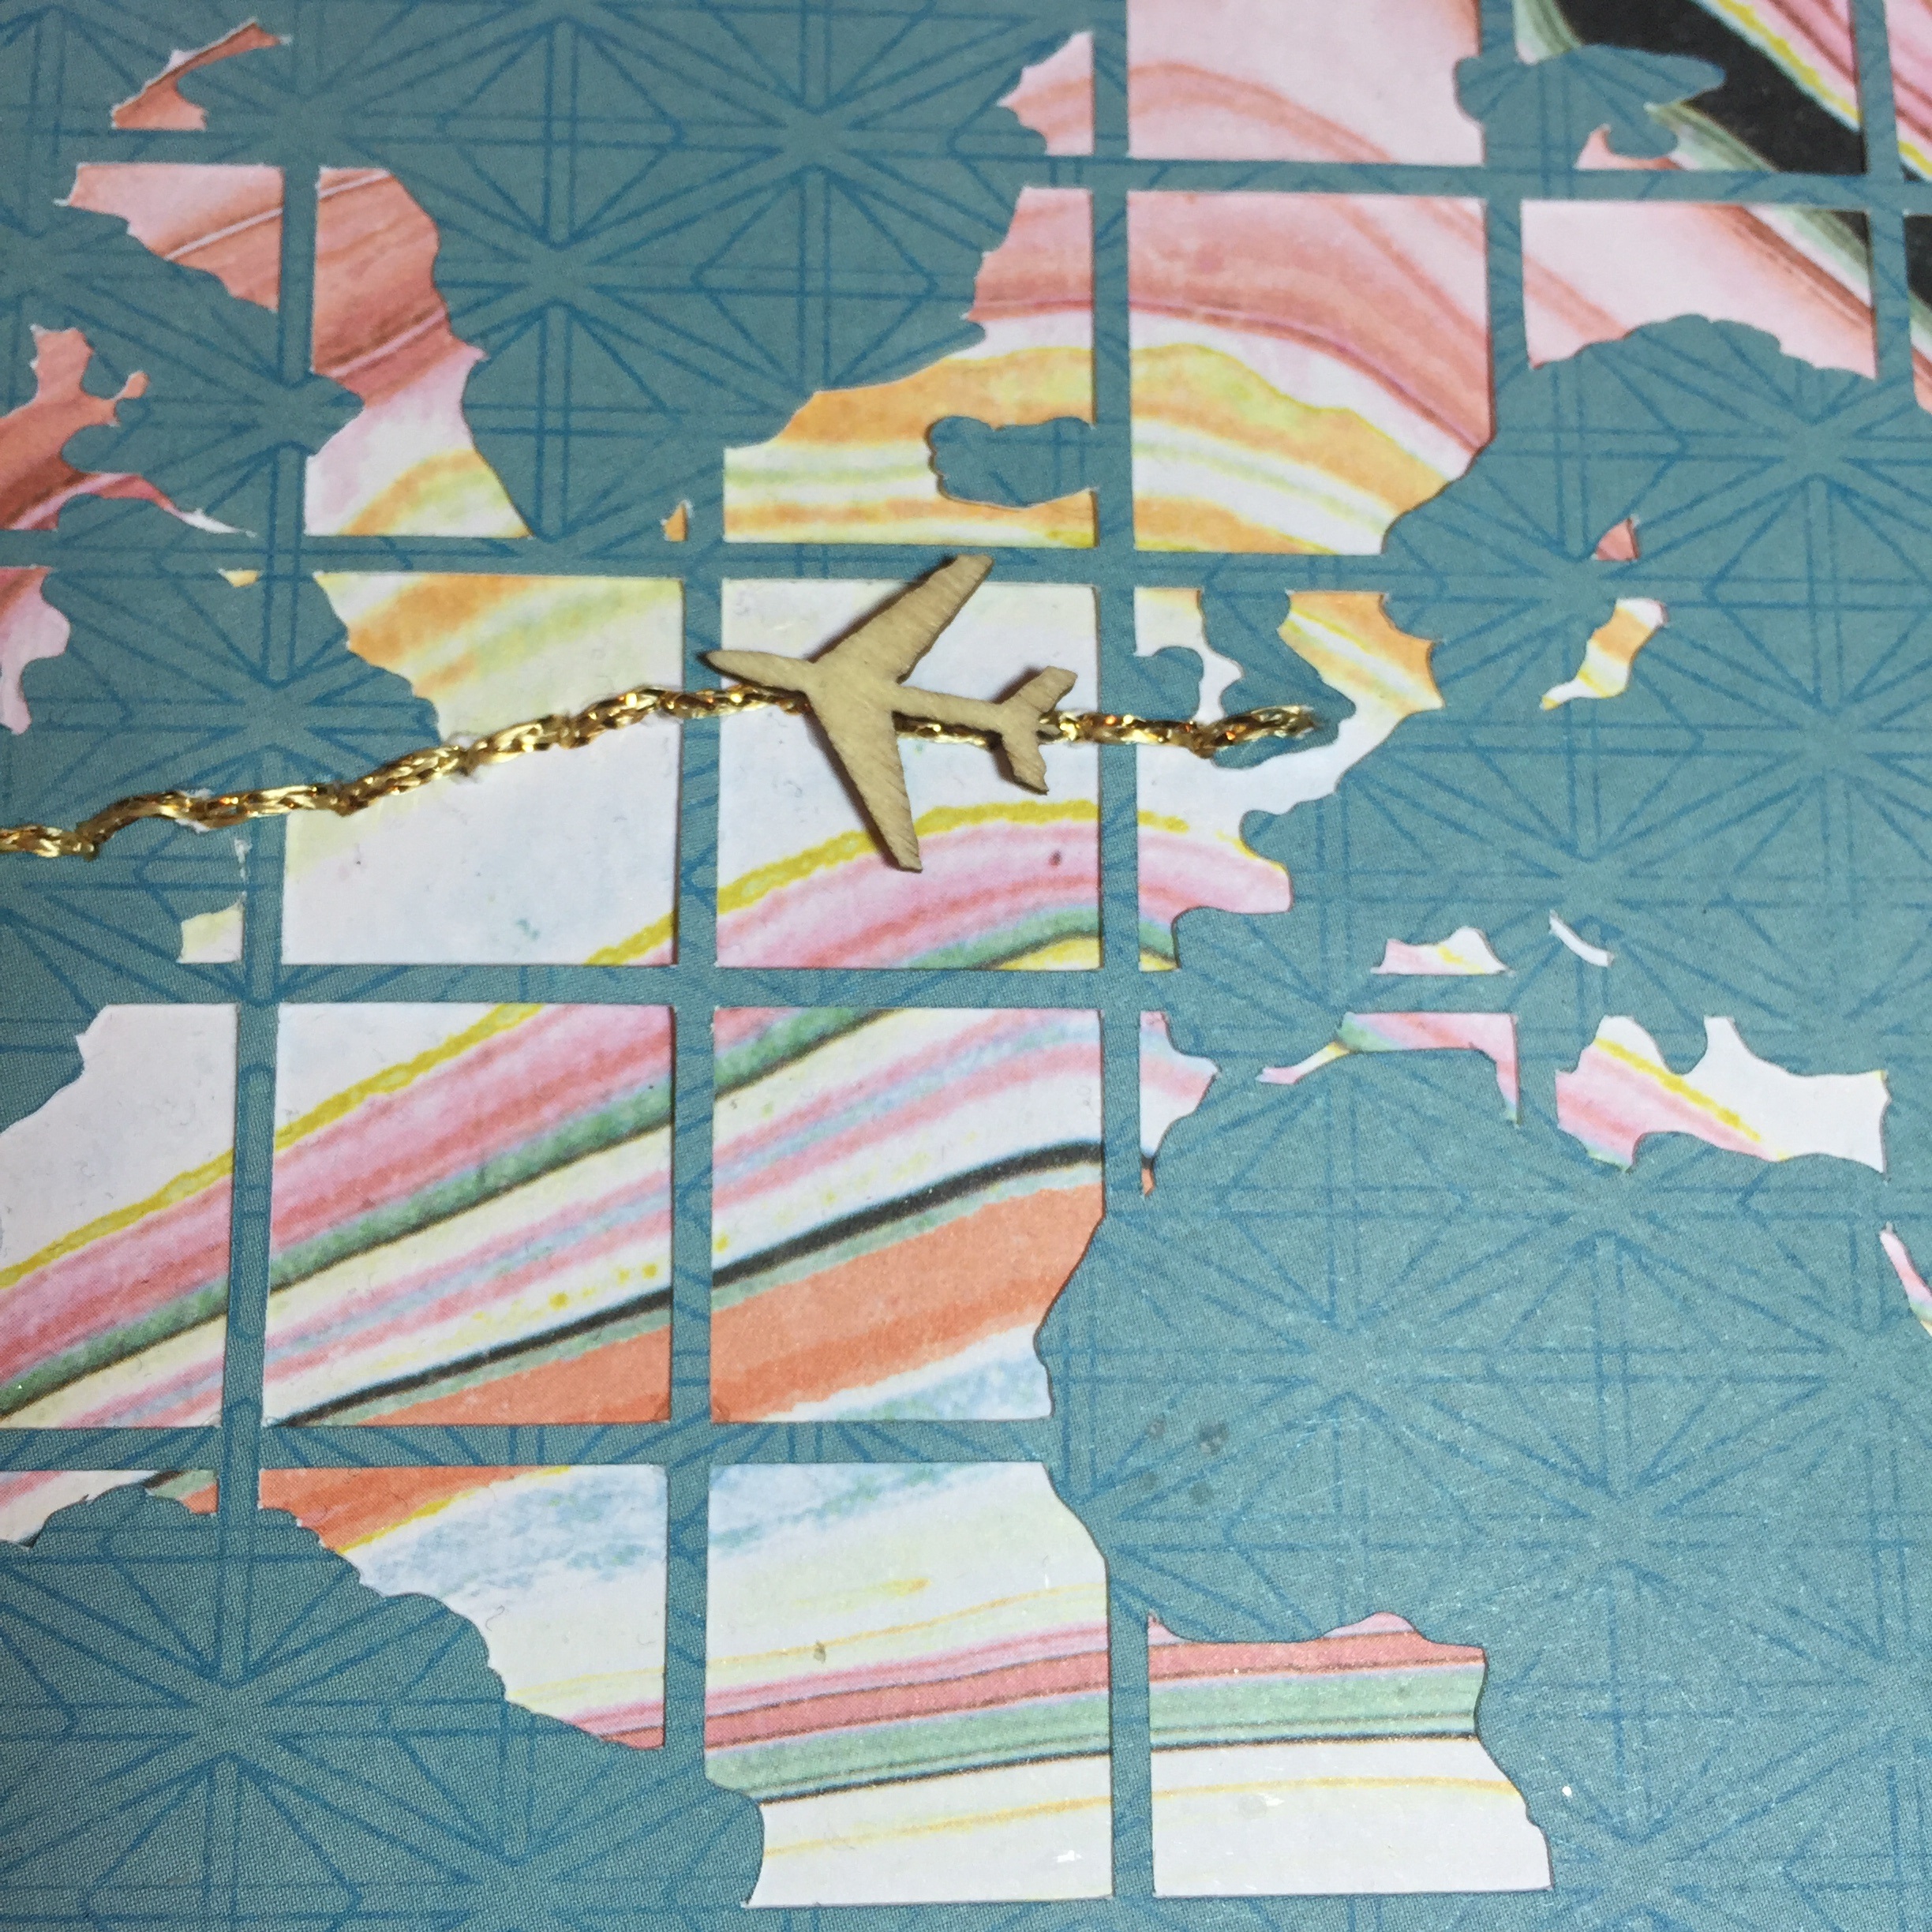
I again used my silhouette on this page to cut out a world map file, and created a mat over the fabulous Gather marble paper. This paper is divine, but I was a bit intimidated to use it all over a page, as I did not want to hide too much of it. This worked perfectly, and to my mind it also echoed the colours in the photos of the Grand Canyon.
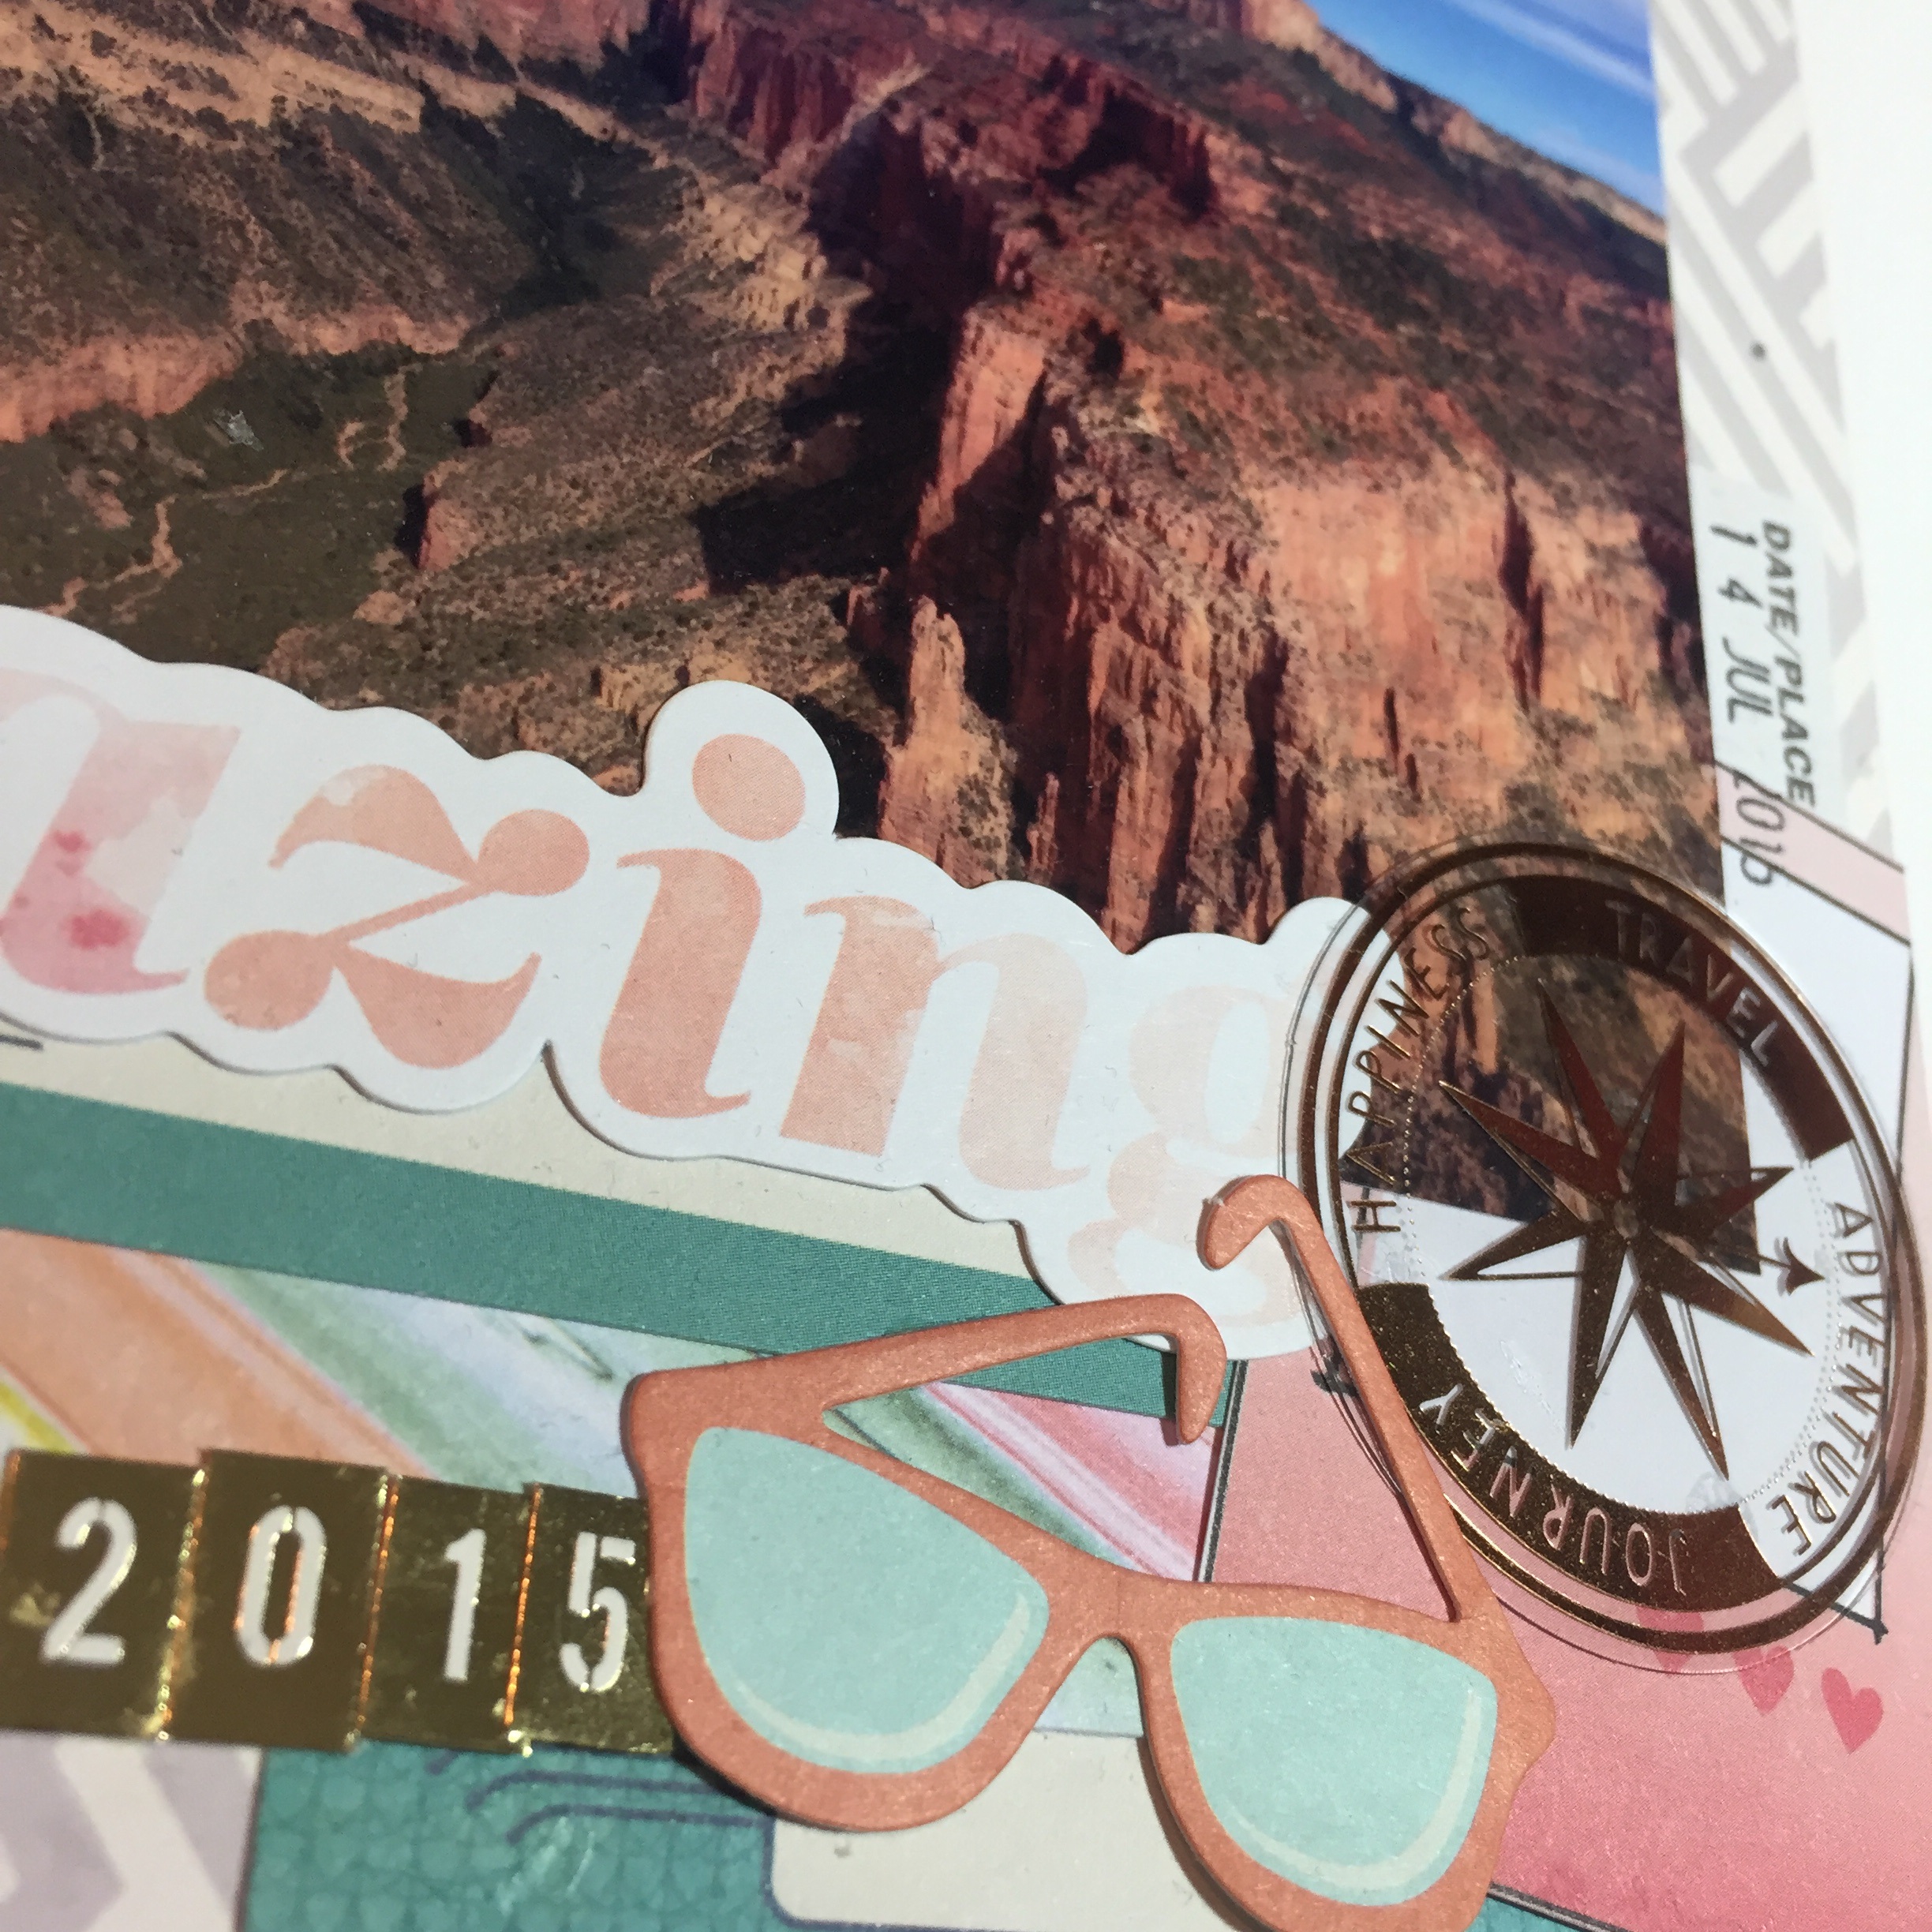
I added some more stitching detail on this page with the gold metallic thread, it pop great off the page, and worked well with the copper embellishments from the Shimelle Go Now Go collection.
I definitely can see me using more crochet elements on my page and I am going to continue to explore the use of textures on my pages. I did want to share with you some crochet snow flakes I made to use in my December daily, but it was all a bit of a disaster. I wanted to stiffen then so put some watered down PVA on, but got distracted and by the time I returned they had adhered themselves to a bit of paper I rested them on. I tried peeling and then soaking to get them off, but the colour had transferred out of the paper! So yes that was a disaster, but next time I will be more attentive. I will be sharing my December daily and these layouts over on my YouTube channel so do pop over and say hello.
As I did not have the extra project to share with you this month, I wanted to update you with how I am working with my MAMBI Happy Planners. I did a post back in July, and you can find it here. I will admit that my personal planner is a bit neglected, but the big teacher planner is just amazing and is carried around with me all day everyday at work.

So I have been using it since September, and I will admit a couple of the corners were a bit bent as I am not gentle with it, and just chuck it in my bag or in the back of my car. The plastic cover was holding us well, it was just the first few pages that were suffering. So when the shop got the new release of Happy Planner pieces I decided to get myself a new cover. Their are many options now, and I decided to go with the Snap-in cover as I still wanted the ring to be exposed, as I love how it lays flat on my desk when teaching.

The covers are a really tough textured leather look, with embossed writing on the front. The snap in part is a tough plastic, and I will admit it took a bit of persuasion to get it on, but now its on it looks amazing. The cover is also slightly larger than the previous one, so it ensures that the dividers are protected from my daily bashing too.

All I can say is that I am so happy with this planner and the addition of a hard cover has made it all the better. I can not show you how I am using it on a day to day bases as the information it contains is confidential, but I can show you how I am using the notes pages. I am currently doing some cover lessons and I love how I can move the pages from week to week, to keep all my notes in one place.
I will be continue to use these planners in to 2017, and will give you an update in a couple of months as to how it is all holding out still. I am so happy to have these planners and definitely feel like I have found the planner for me.
So with that I will leave you with my last post of 2016, I am looking forward to sharing more crafty projects with you next year. Have a fabulous festive season and enjoy making memories with your family and loved ones.