Family Ties
As promised here is the second class that I have put together for my time as “blog highjacker”!!
Stash needed.
Pretty Please paper pack
Alpha stamps
Medium retro flower punch
Button
Embroidery thread
Fancy pants pin
Ribbon
Sheet of cream paper or cardstock
Black pen and ink pad
Foam pads
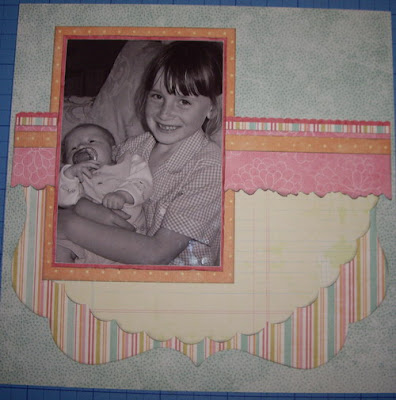
Cut out a photo matt approx 5.5×8″ and slip it in behind you stip of paper. Use one of the die cut stips and fix it in behind your long strip. Using either a sheet of plain cardstock or some cream paper create your journaling area scalloping the edges and stick this underneath the bottom of the photo matt. Add two narrow peices of paper onto your original strip.

(please ignore the buttons I changed my mind after I had done the photos!!) Create a second photo matt slighty larger than your 7×5″ photo and distress the edges.
Fix on your photo, I have distressed the edges using an emery board.
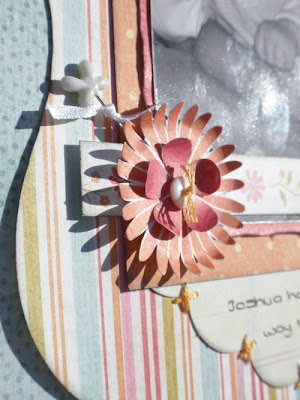
Add a piece of one of the die cut strips along the bottom of your photo. Using the die cut daisy trim off the surround, curl each petal, add a punched flower and button to the centre.
Stamp your title and add it using foam pads. Using the thread fix on the button and stitch around your journaling area.
Push your pin down through the back of your flower and tie some thin ribbon onto it.
Hope you enjoy this class 🙂
Rachael xx


