MAMBI Planner Breakdown
Hi Everyone its Nancy here with my post for July, and this month I am focusing on something a little bit different. I work in education so this time of the year is always when things start to wind down and I start to make plans for the next academic year. Ever since I was small, I have always look forward to the new school stationary shopping and all the good intentions to be organised for the academic year ahead. Well as an adult my joy of stationary have increased and now I am a proper adult I can have all the pretty papers and pens that I want, under the guise of it helping me to plan and appear to be a fully functioning adult!
I will admit previously I have been a bit flighty when it comes to planners and I have tried many different ones out of the market, and there are some brilliant options in the shop. It has taken me however a while to find my planner peace and to find the one that works for me. The one I have been using for the past academic year is the MAMBI 365 Happy Planner system.

I love this planner system and how adaptable it is, I am indeed very fickle with my stationary and this allows me to freedom to change things up. So far I have been using one of the older 18 month planners and then I have made a note book to plan out my crafty projects using a variety of bits and pieces in the shop.
I have shared on my YouTube channel a video today about why these planners work for me and how I use them to plan. I love the prettiness, but I need it to be practical and work for me and be able to write appointments and other reminders in it. I will be sharing a couple of other videos in the coming week about my new planners, I will share below, and also the haul of goodies I use to decorate them.
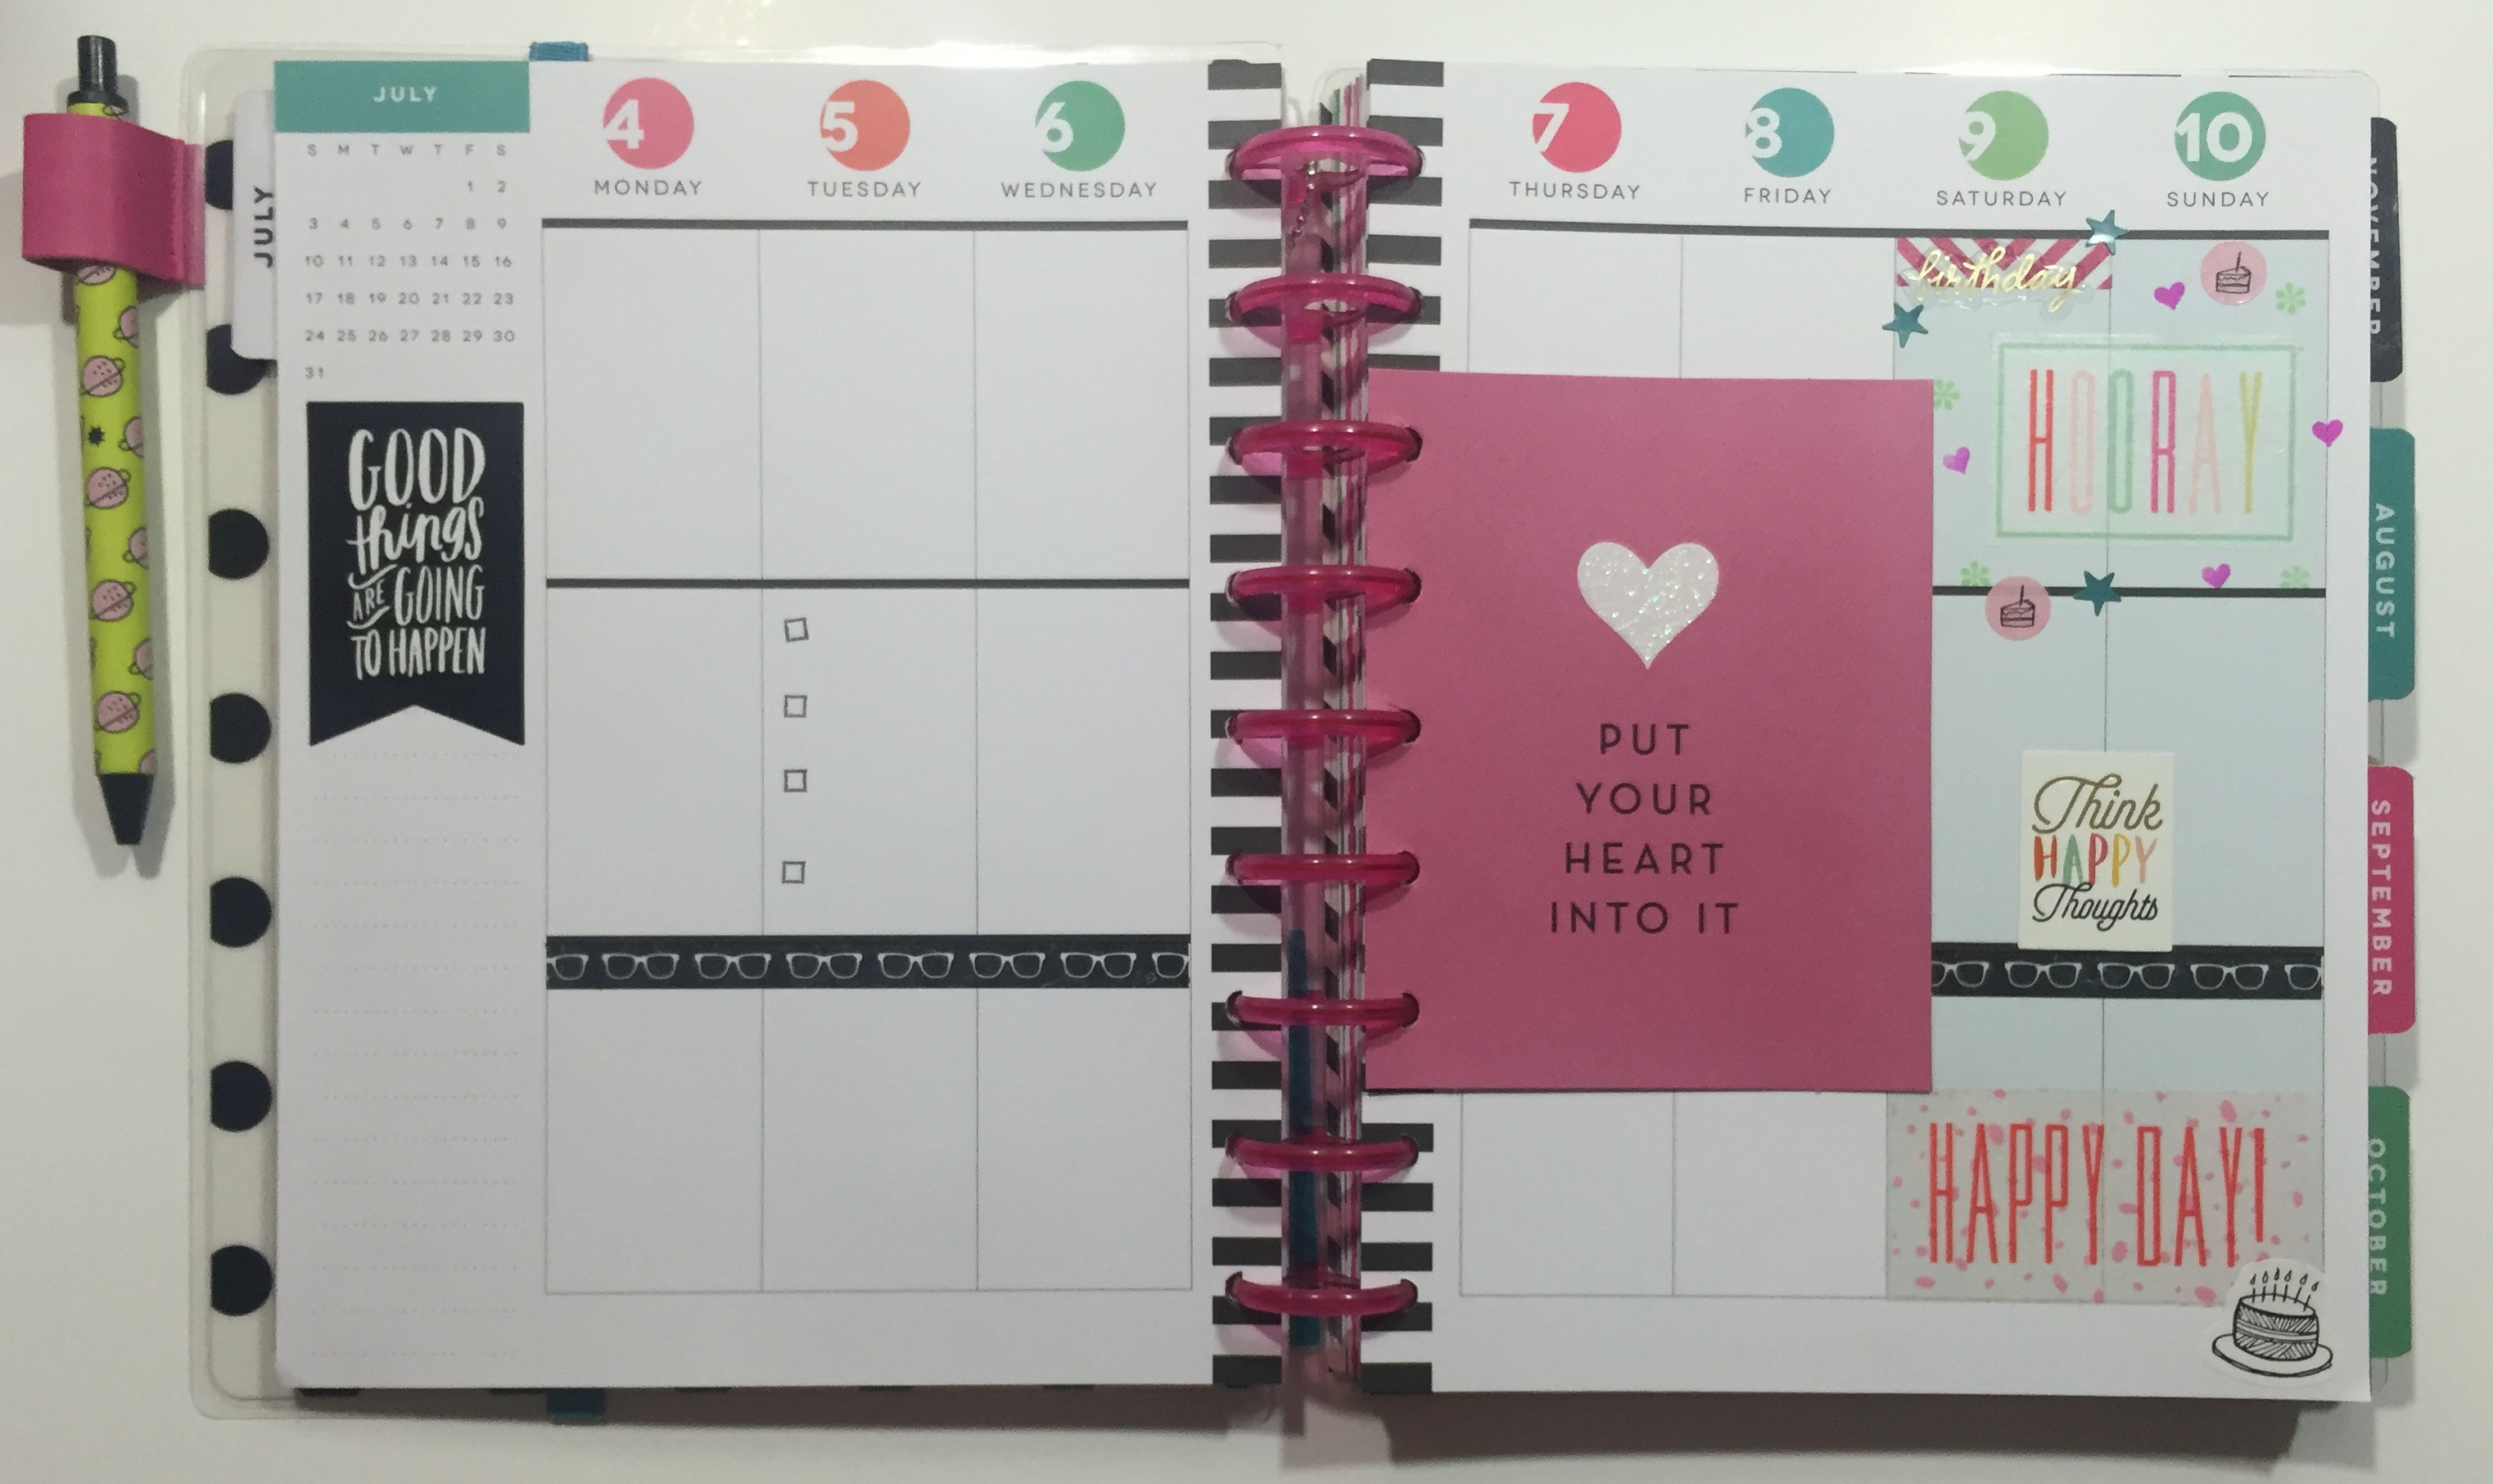
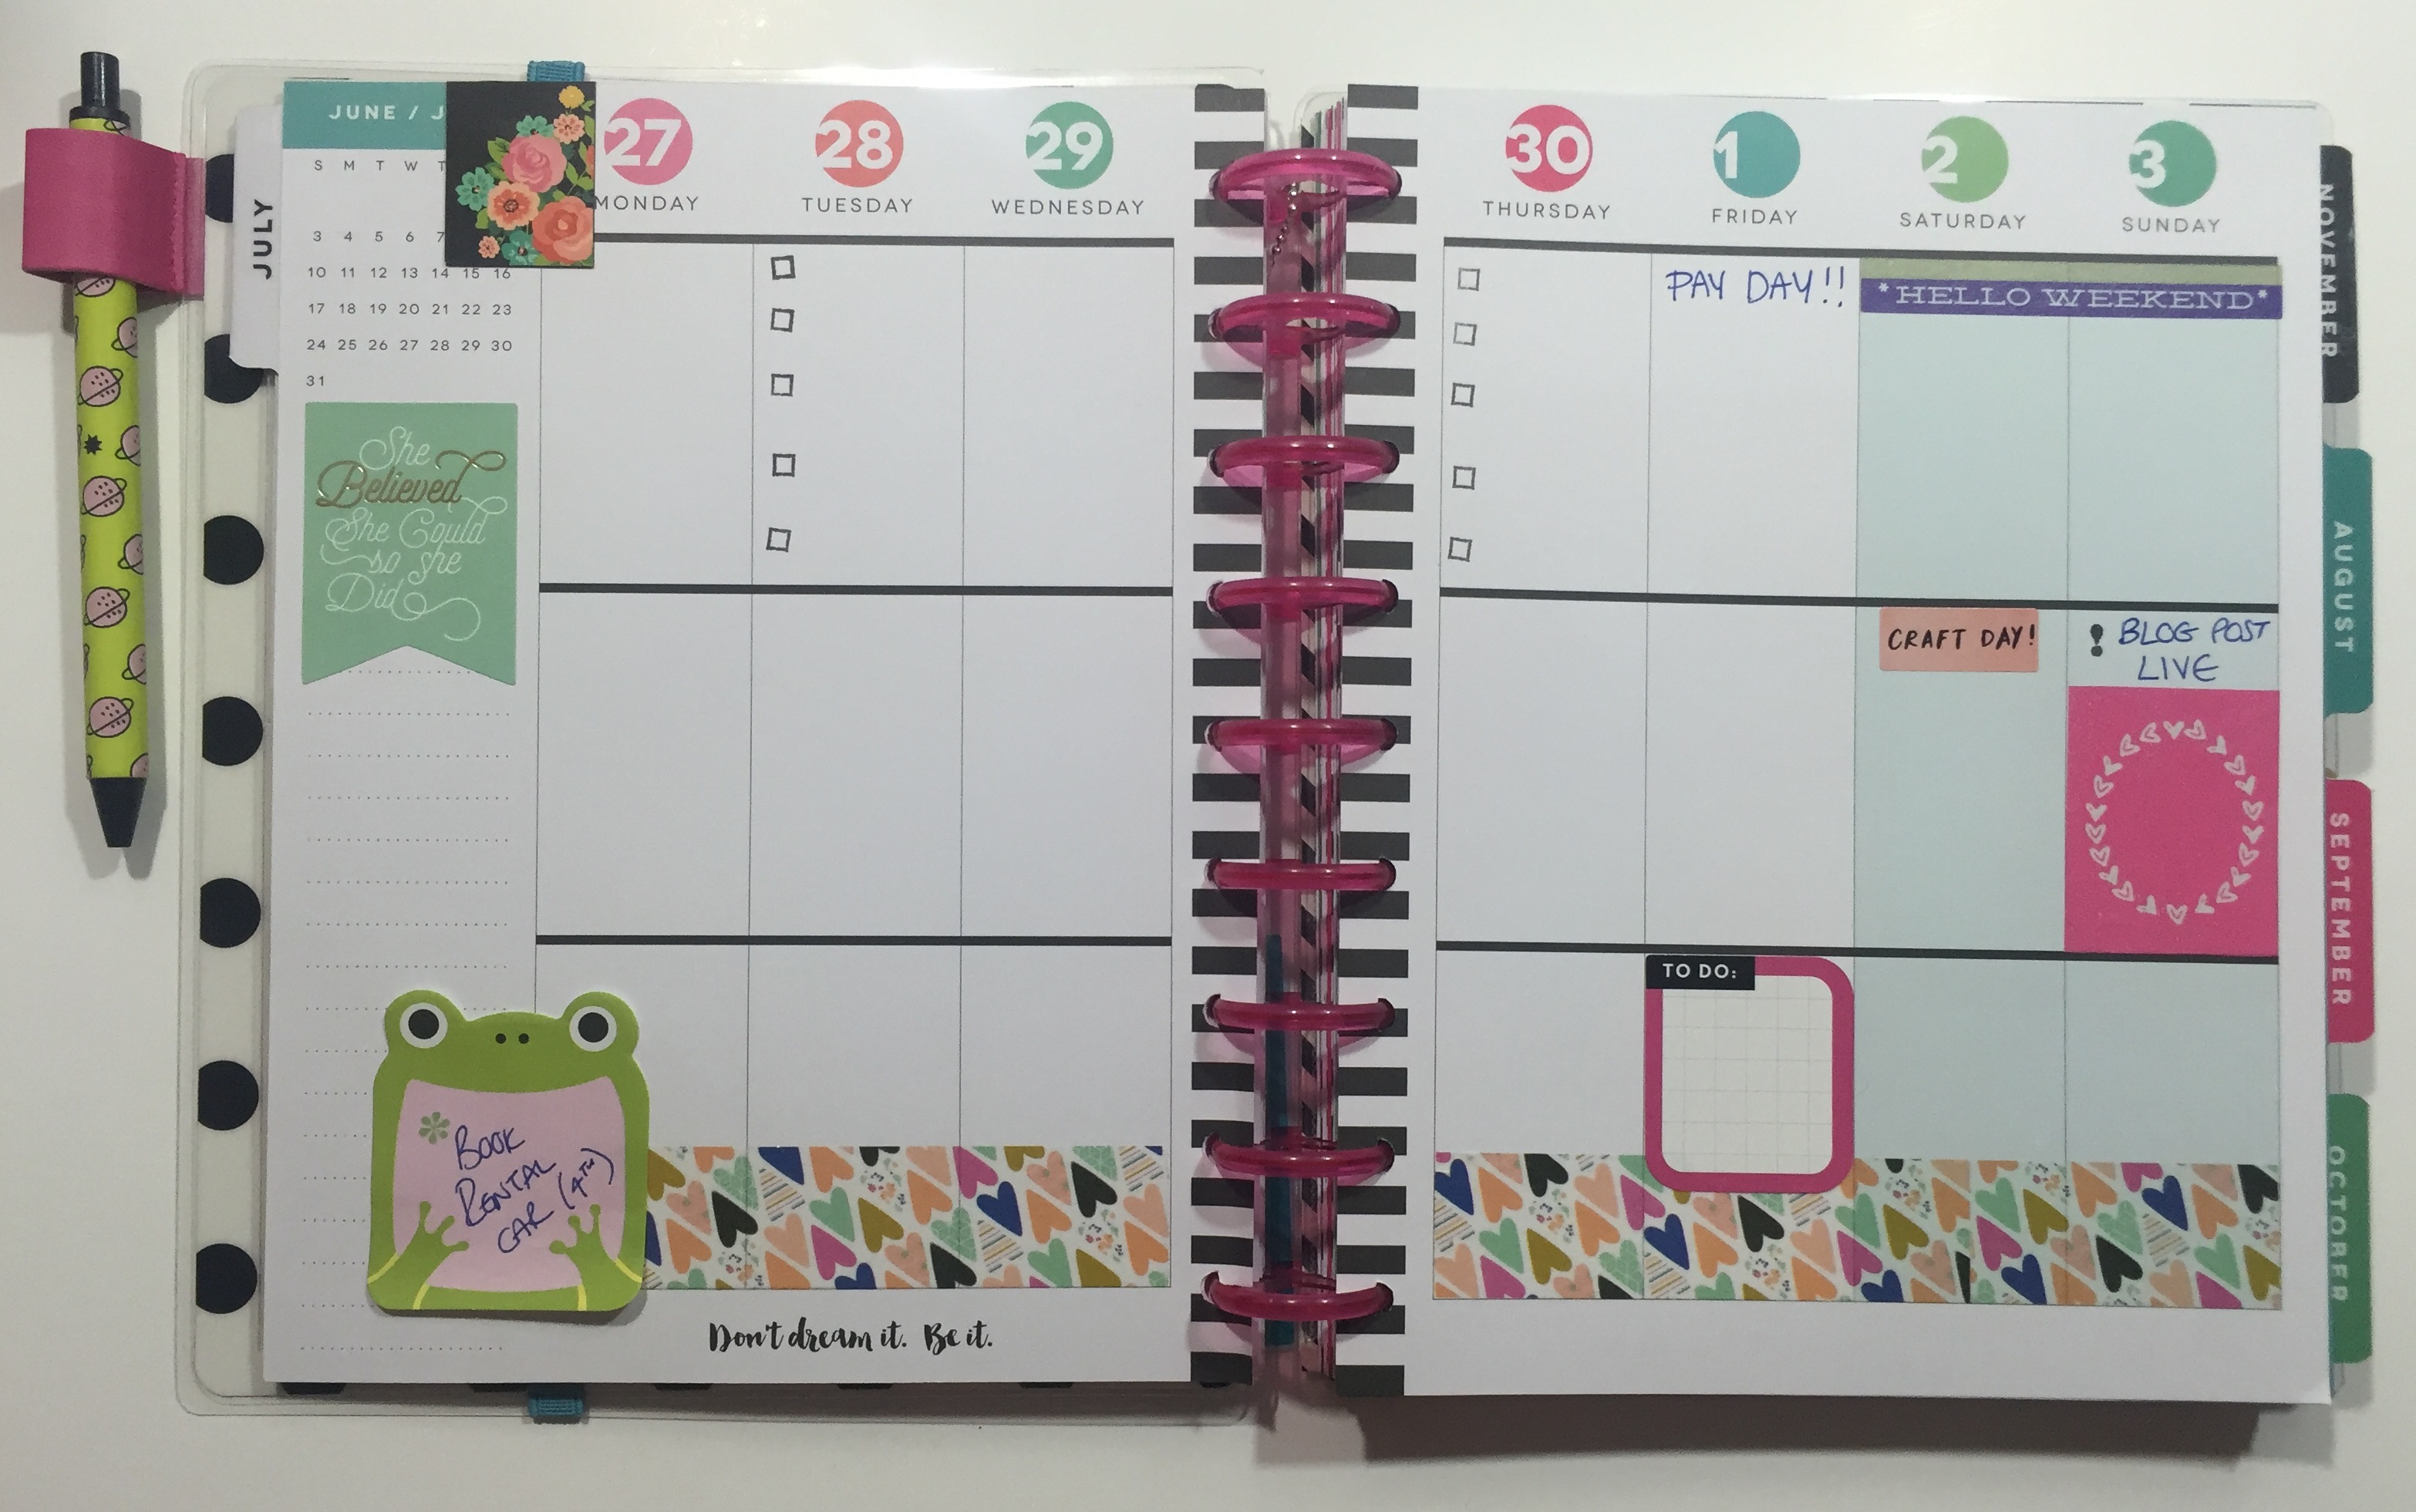
Here are a few samples of my working planner, these are the not so busy weeks, but as you can see I need space to actually write things in and the spaces in these planners are great.

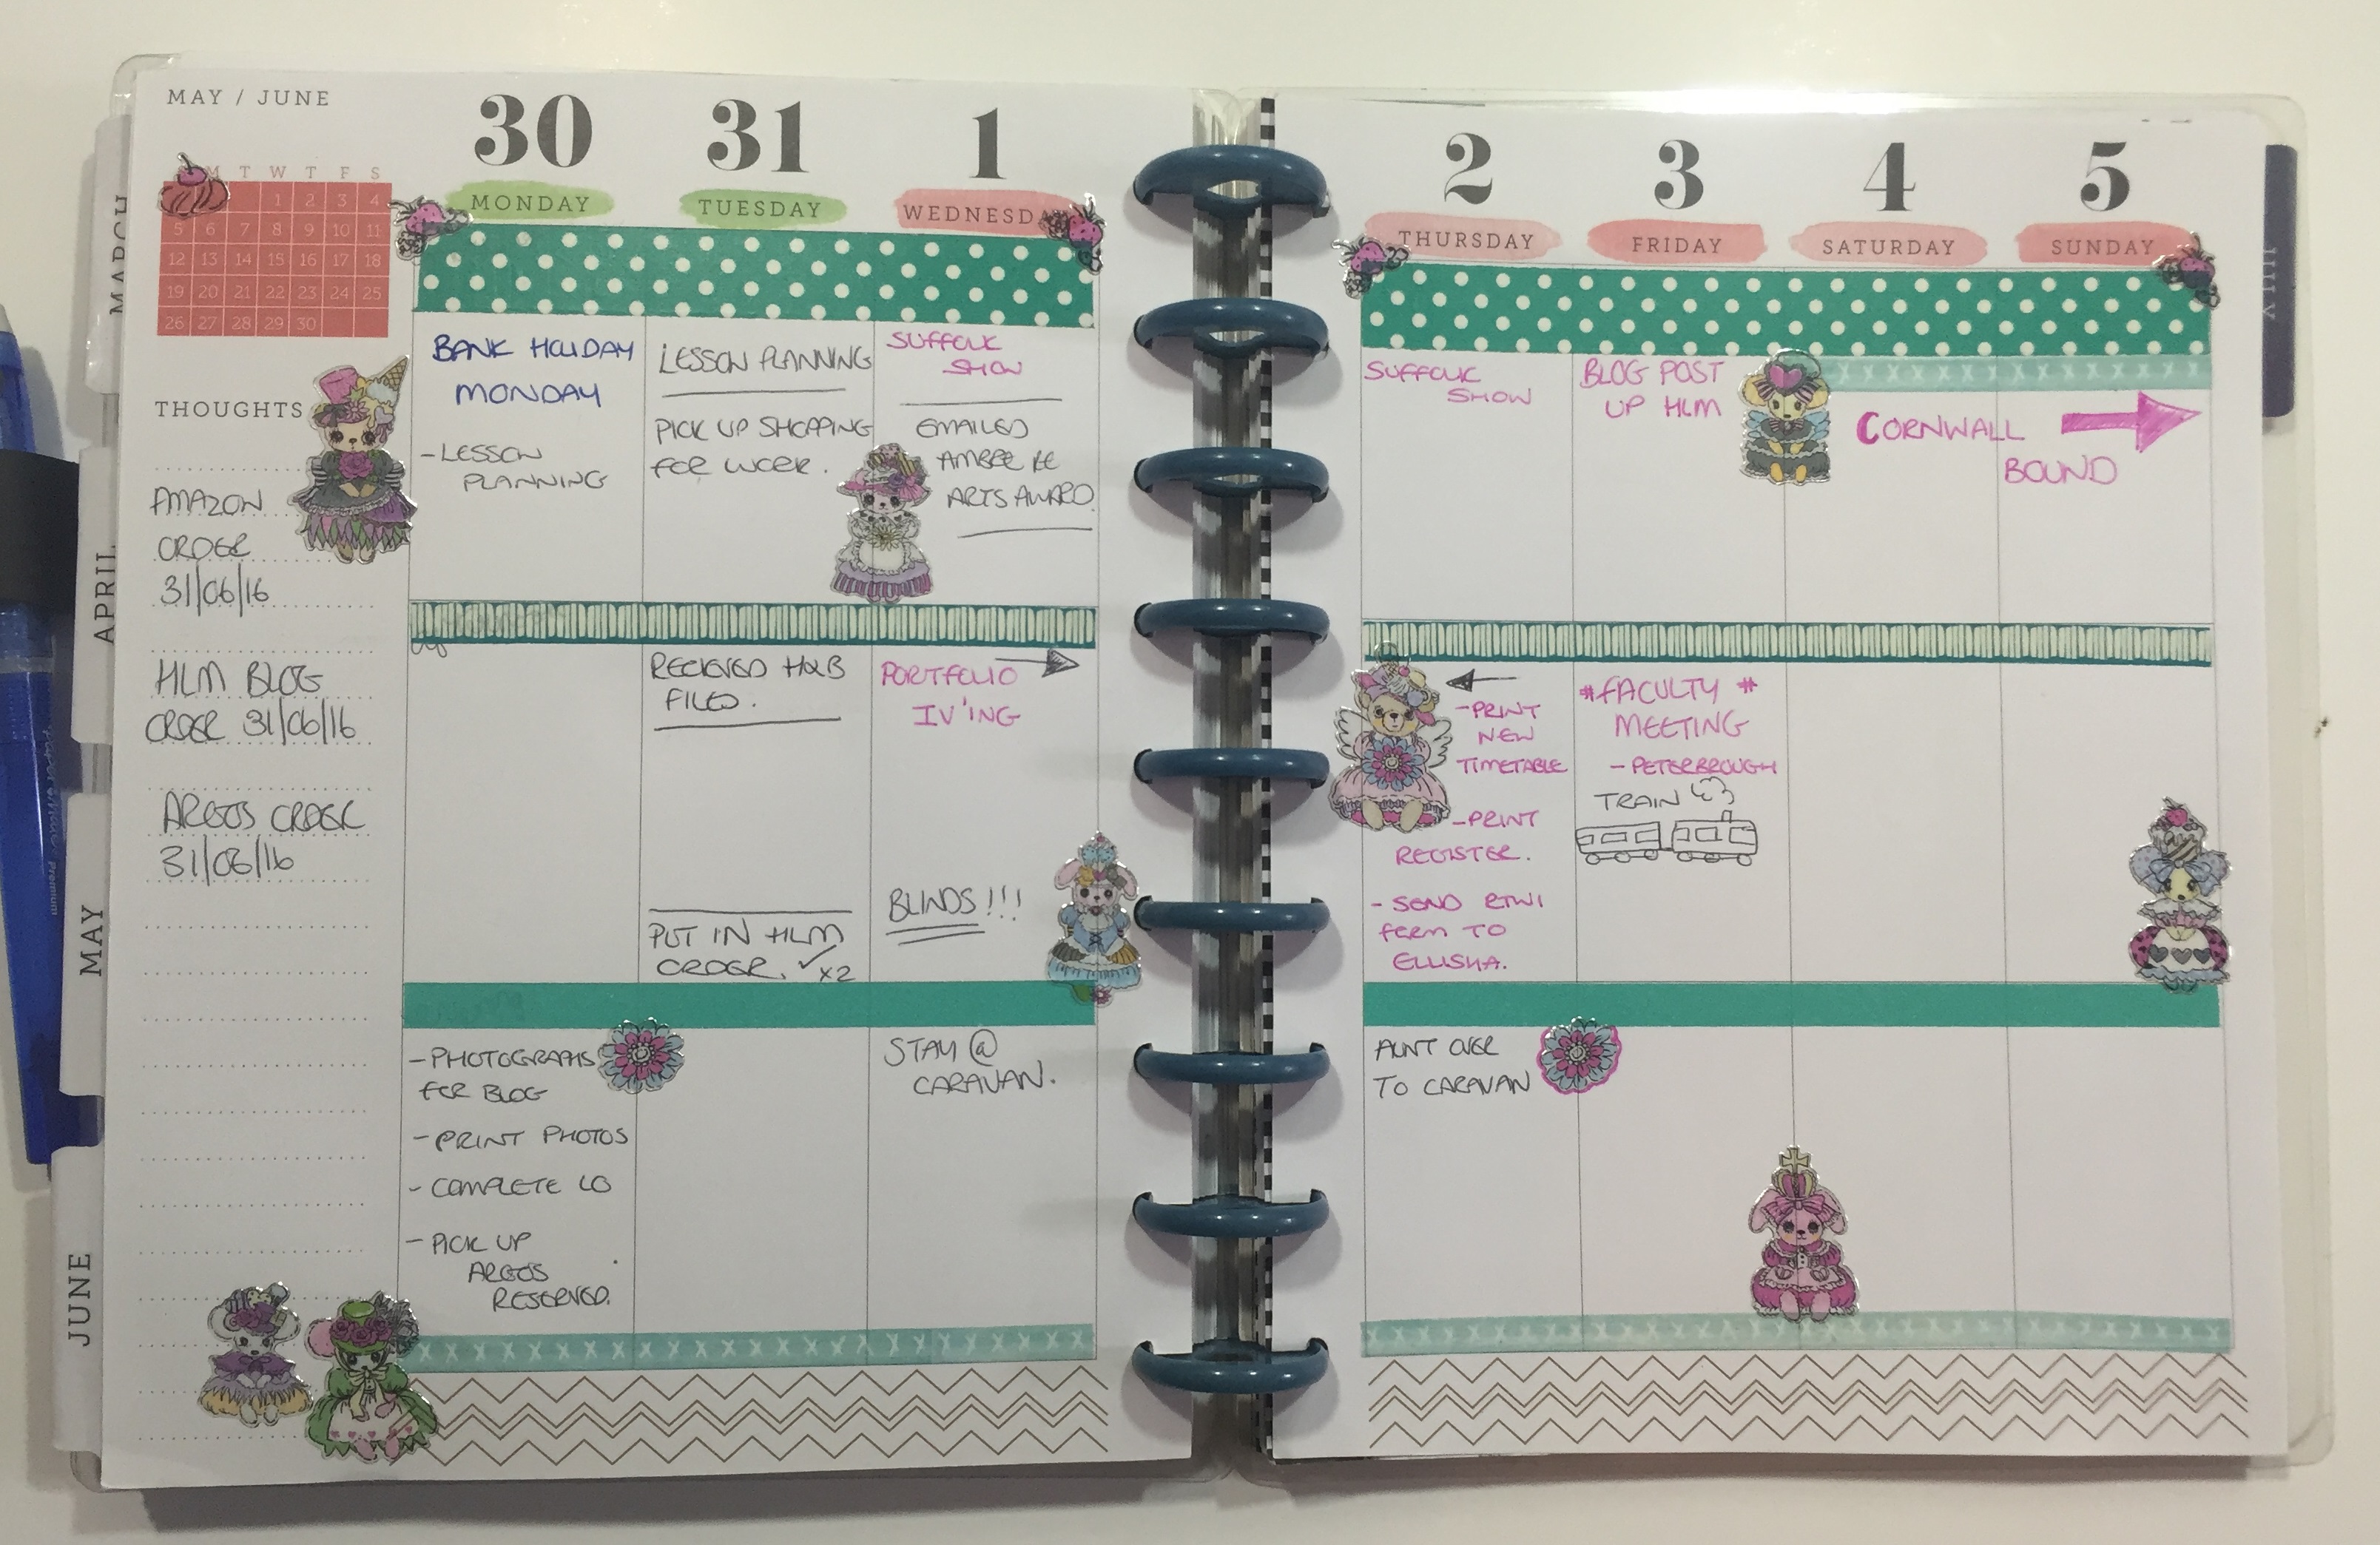
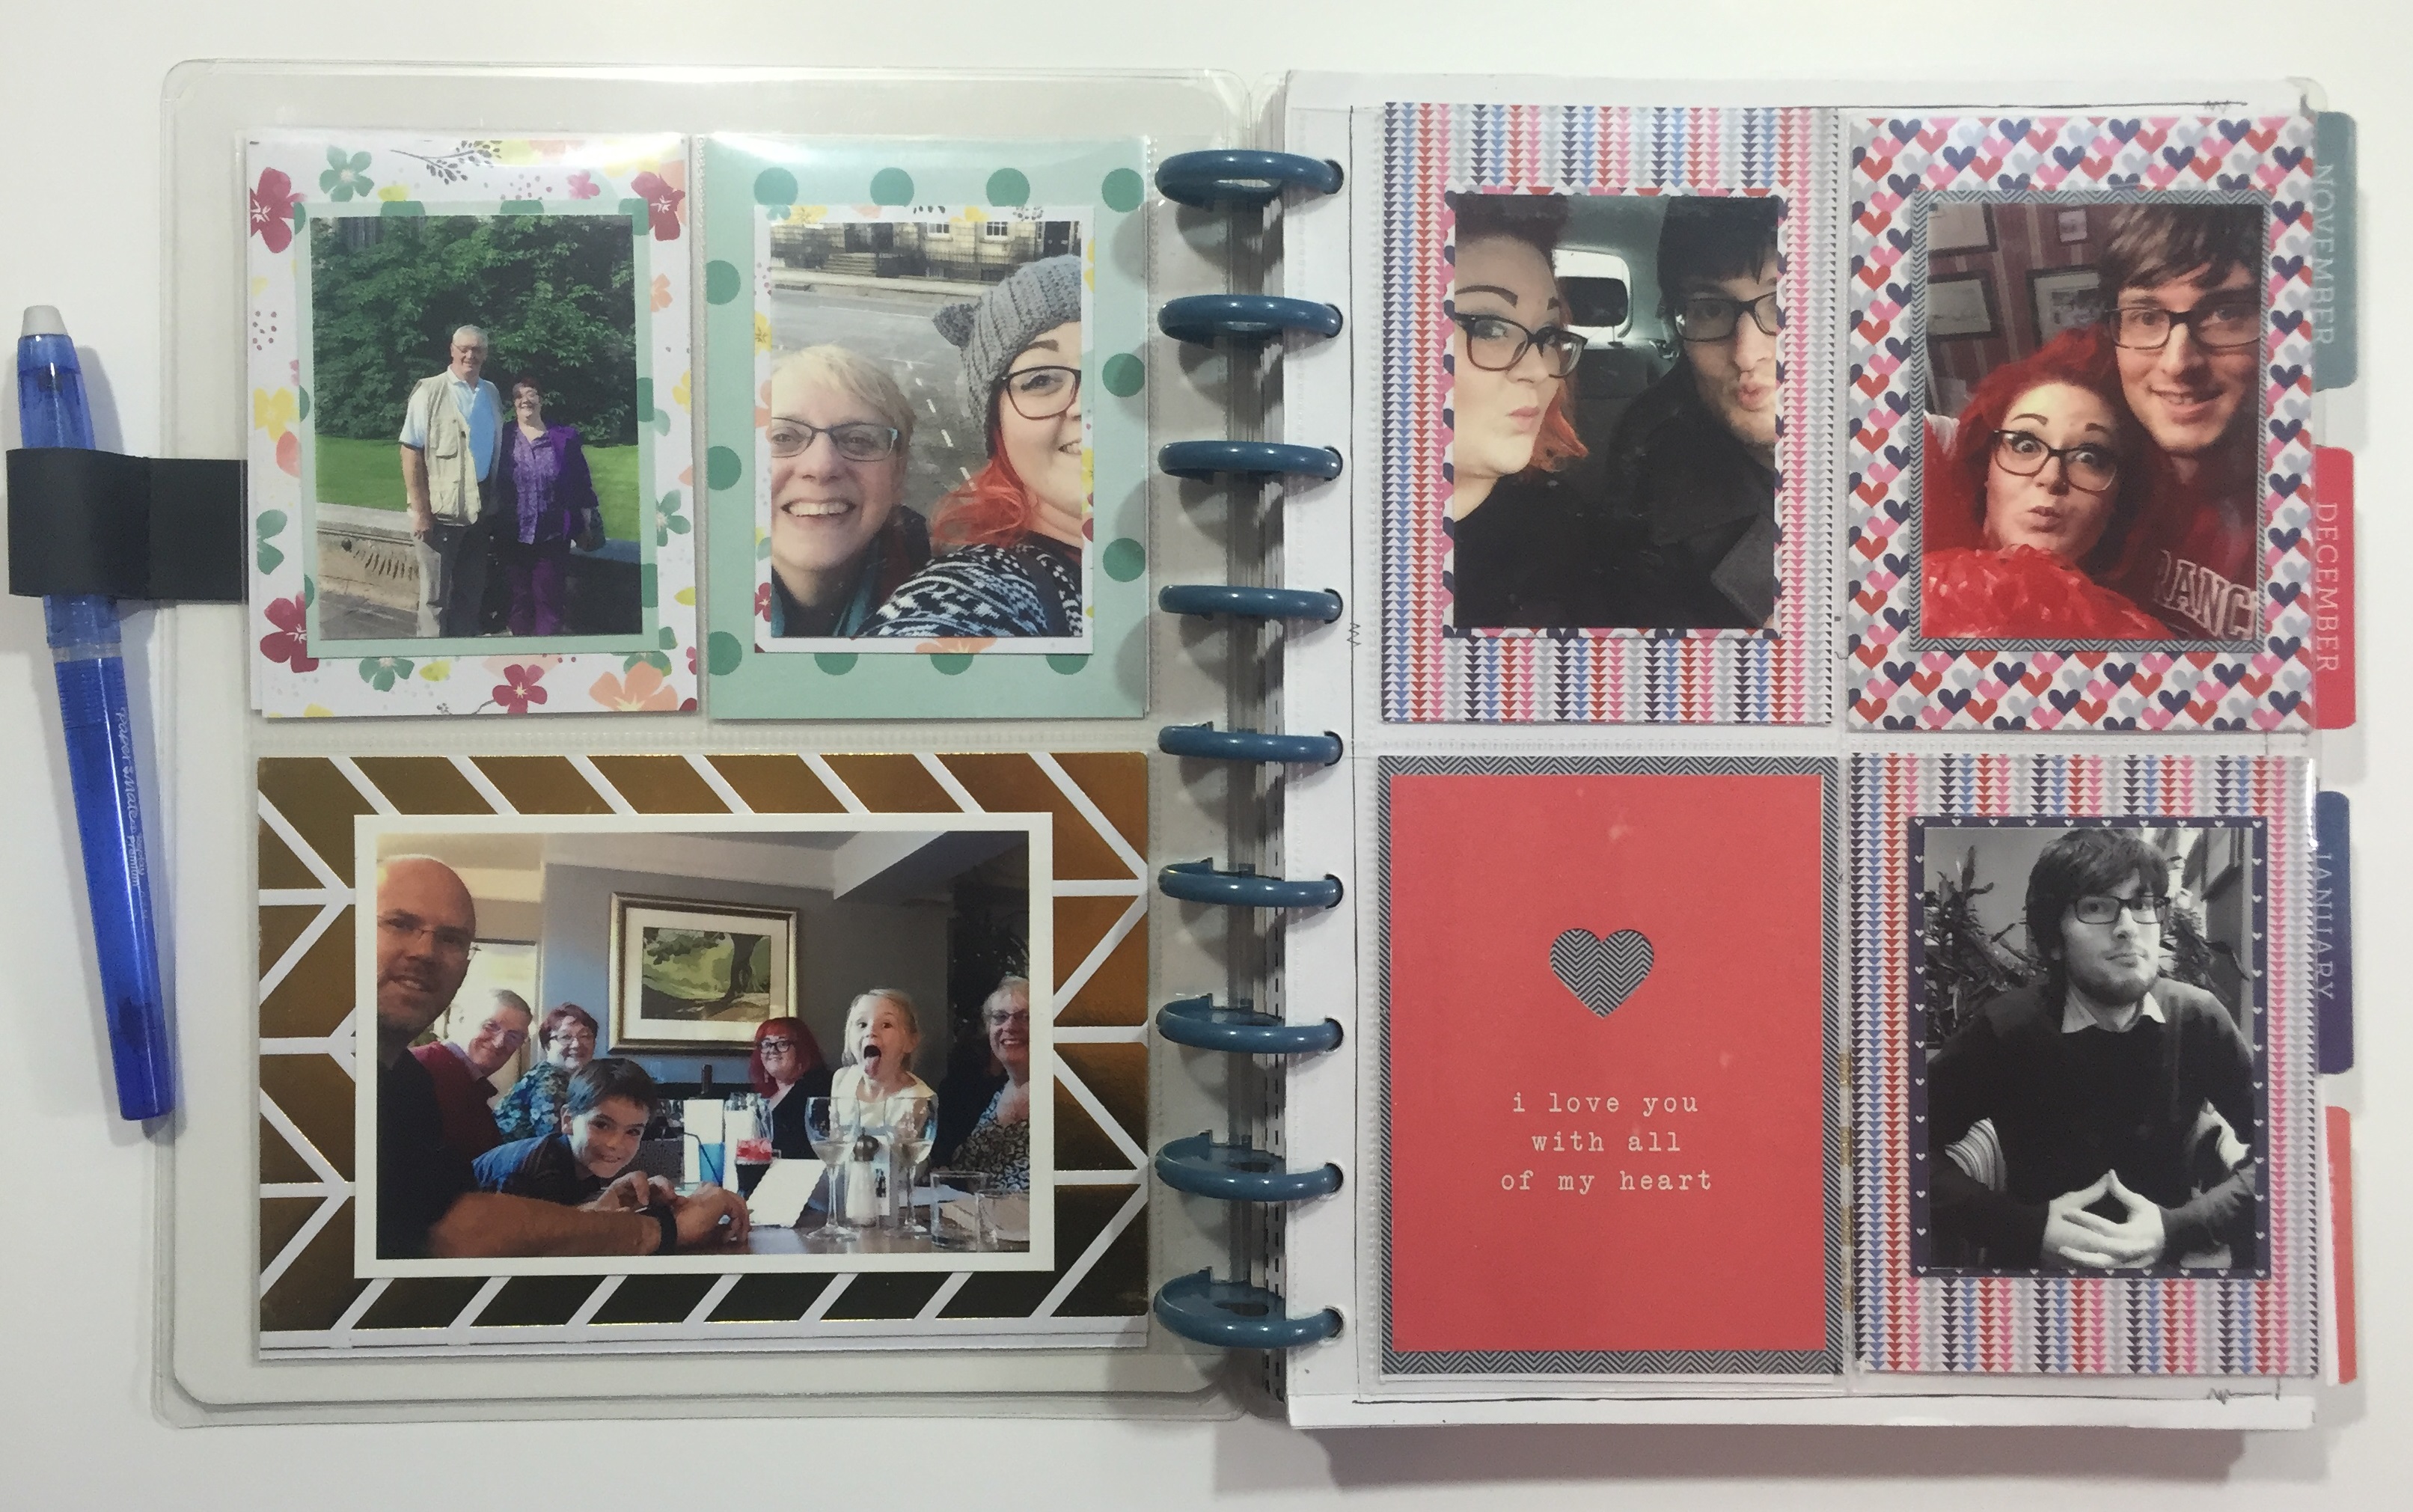
I also love the additions you can make to these planners especially the pocket pages; you can really add some scrapbooking elements to your planner. You can also get the pocket card sets that coordinate with the pockets to make this a quick simple process.
So moving on to my new planner for the upcoming academic year.

I have change things up and will be using two planners, and one of these is the amazing new teacher planner that is available in the shop. This teacher planner is one of the large planners and is approximately A4 size.
This planner is very customisable and although designed for the American marker this planner can work great for us in the UK. The pages in this planner are blank date wise so you can adapt it to fit your schedule; the layout is also horizontal which again mean you can divide it to suit you.

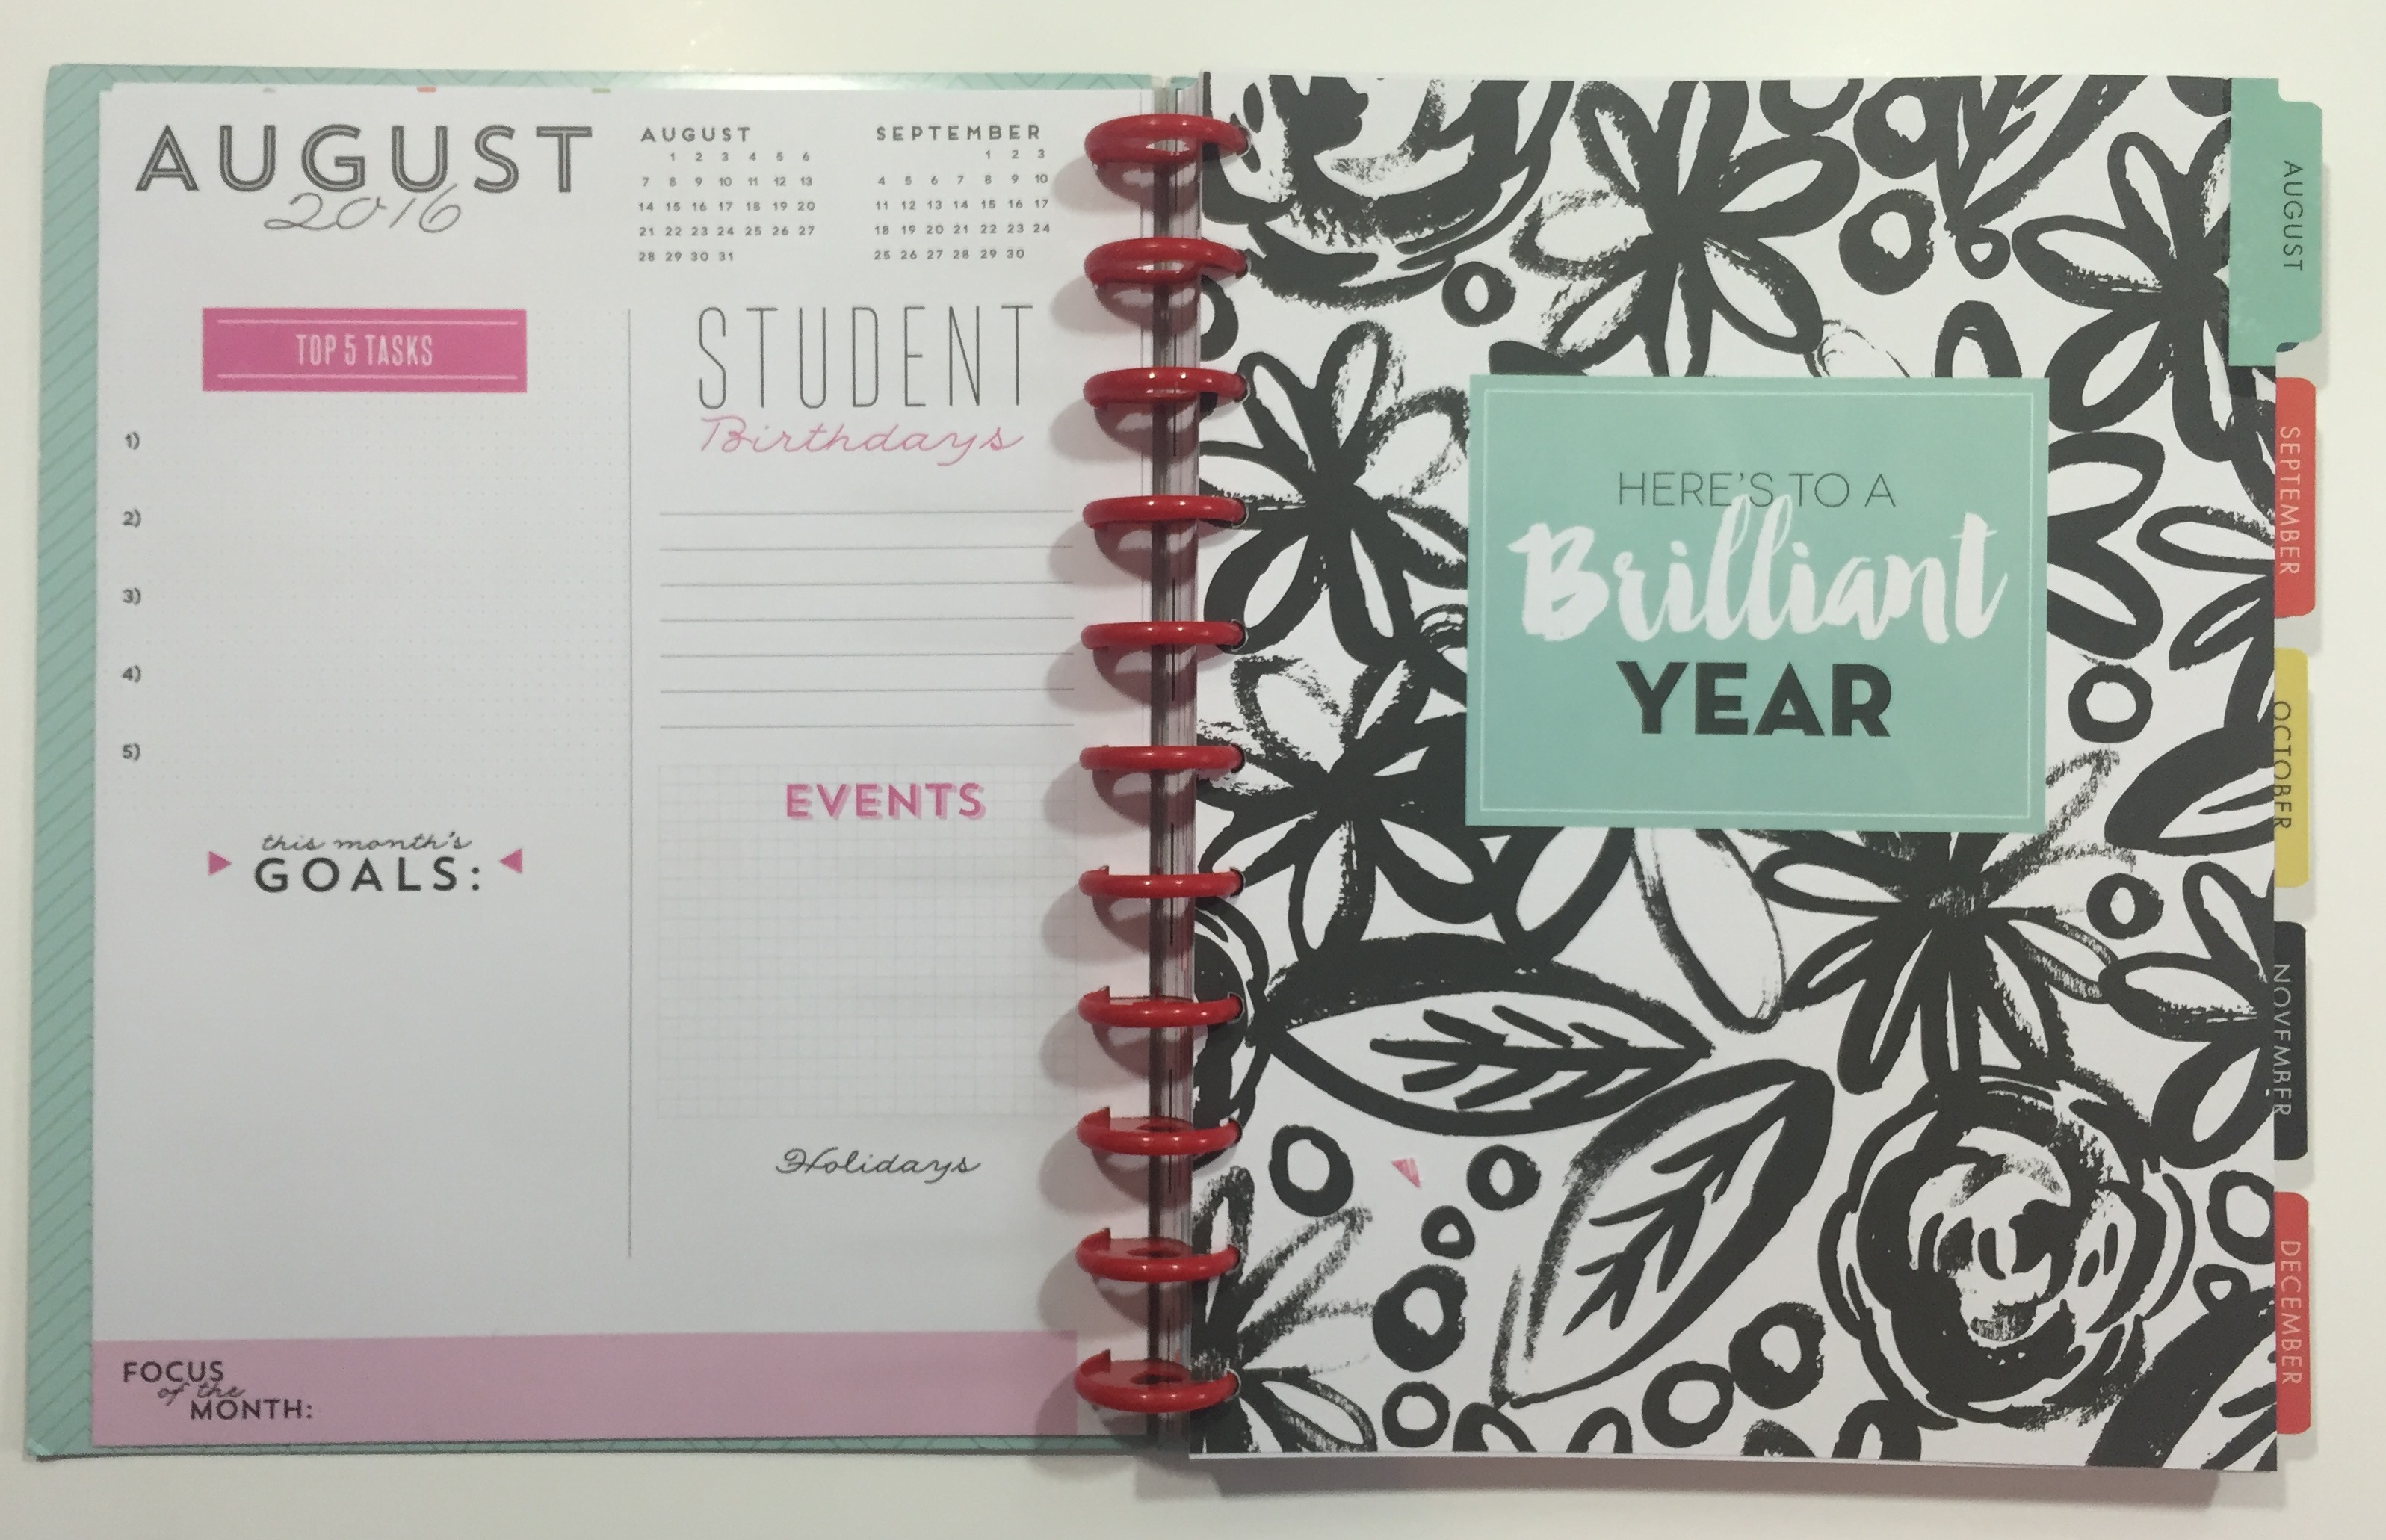
The planner comes with the beautiful dividers as you expect with the Happy Planner as well as the monthly dividers.

The thing that I love most is the checklist section at the back of the planner. Being a head teacher of an independent school, I have a lot of tracking and planning I need to do for the learners I work with. Now I love a spreadsheet, but paper, especially pretty, will always trump that.

There is also an accessory pack that comes with this planner, this contains more checklists, as well as note pages and file pockets as well as some stickers. I would say not all these stickers are applicable to British schools bit don’t let this put you off.
You could buy this accessory pack and some binders rings and use it to create your own teaching planner. The shop does stock the hole punch. This would mean you could use your own school lesson plans and schedules and also have the prettiness of these planners. Purchasing the hole punch would also mean you could make your own laminated covers.

The other planner I will be using is the Peony 18 month planner, which is just stunning. It is currently out of stock but their are many others to choose from. I have gone with the planner with a similar layout to my last one as it works for me. If you check the MAMBI website they have flick through of all the planners so you can find the pages that works for you.

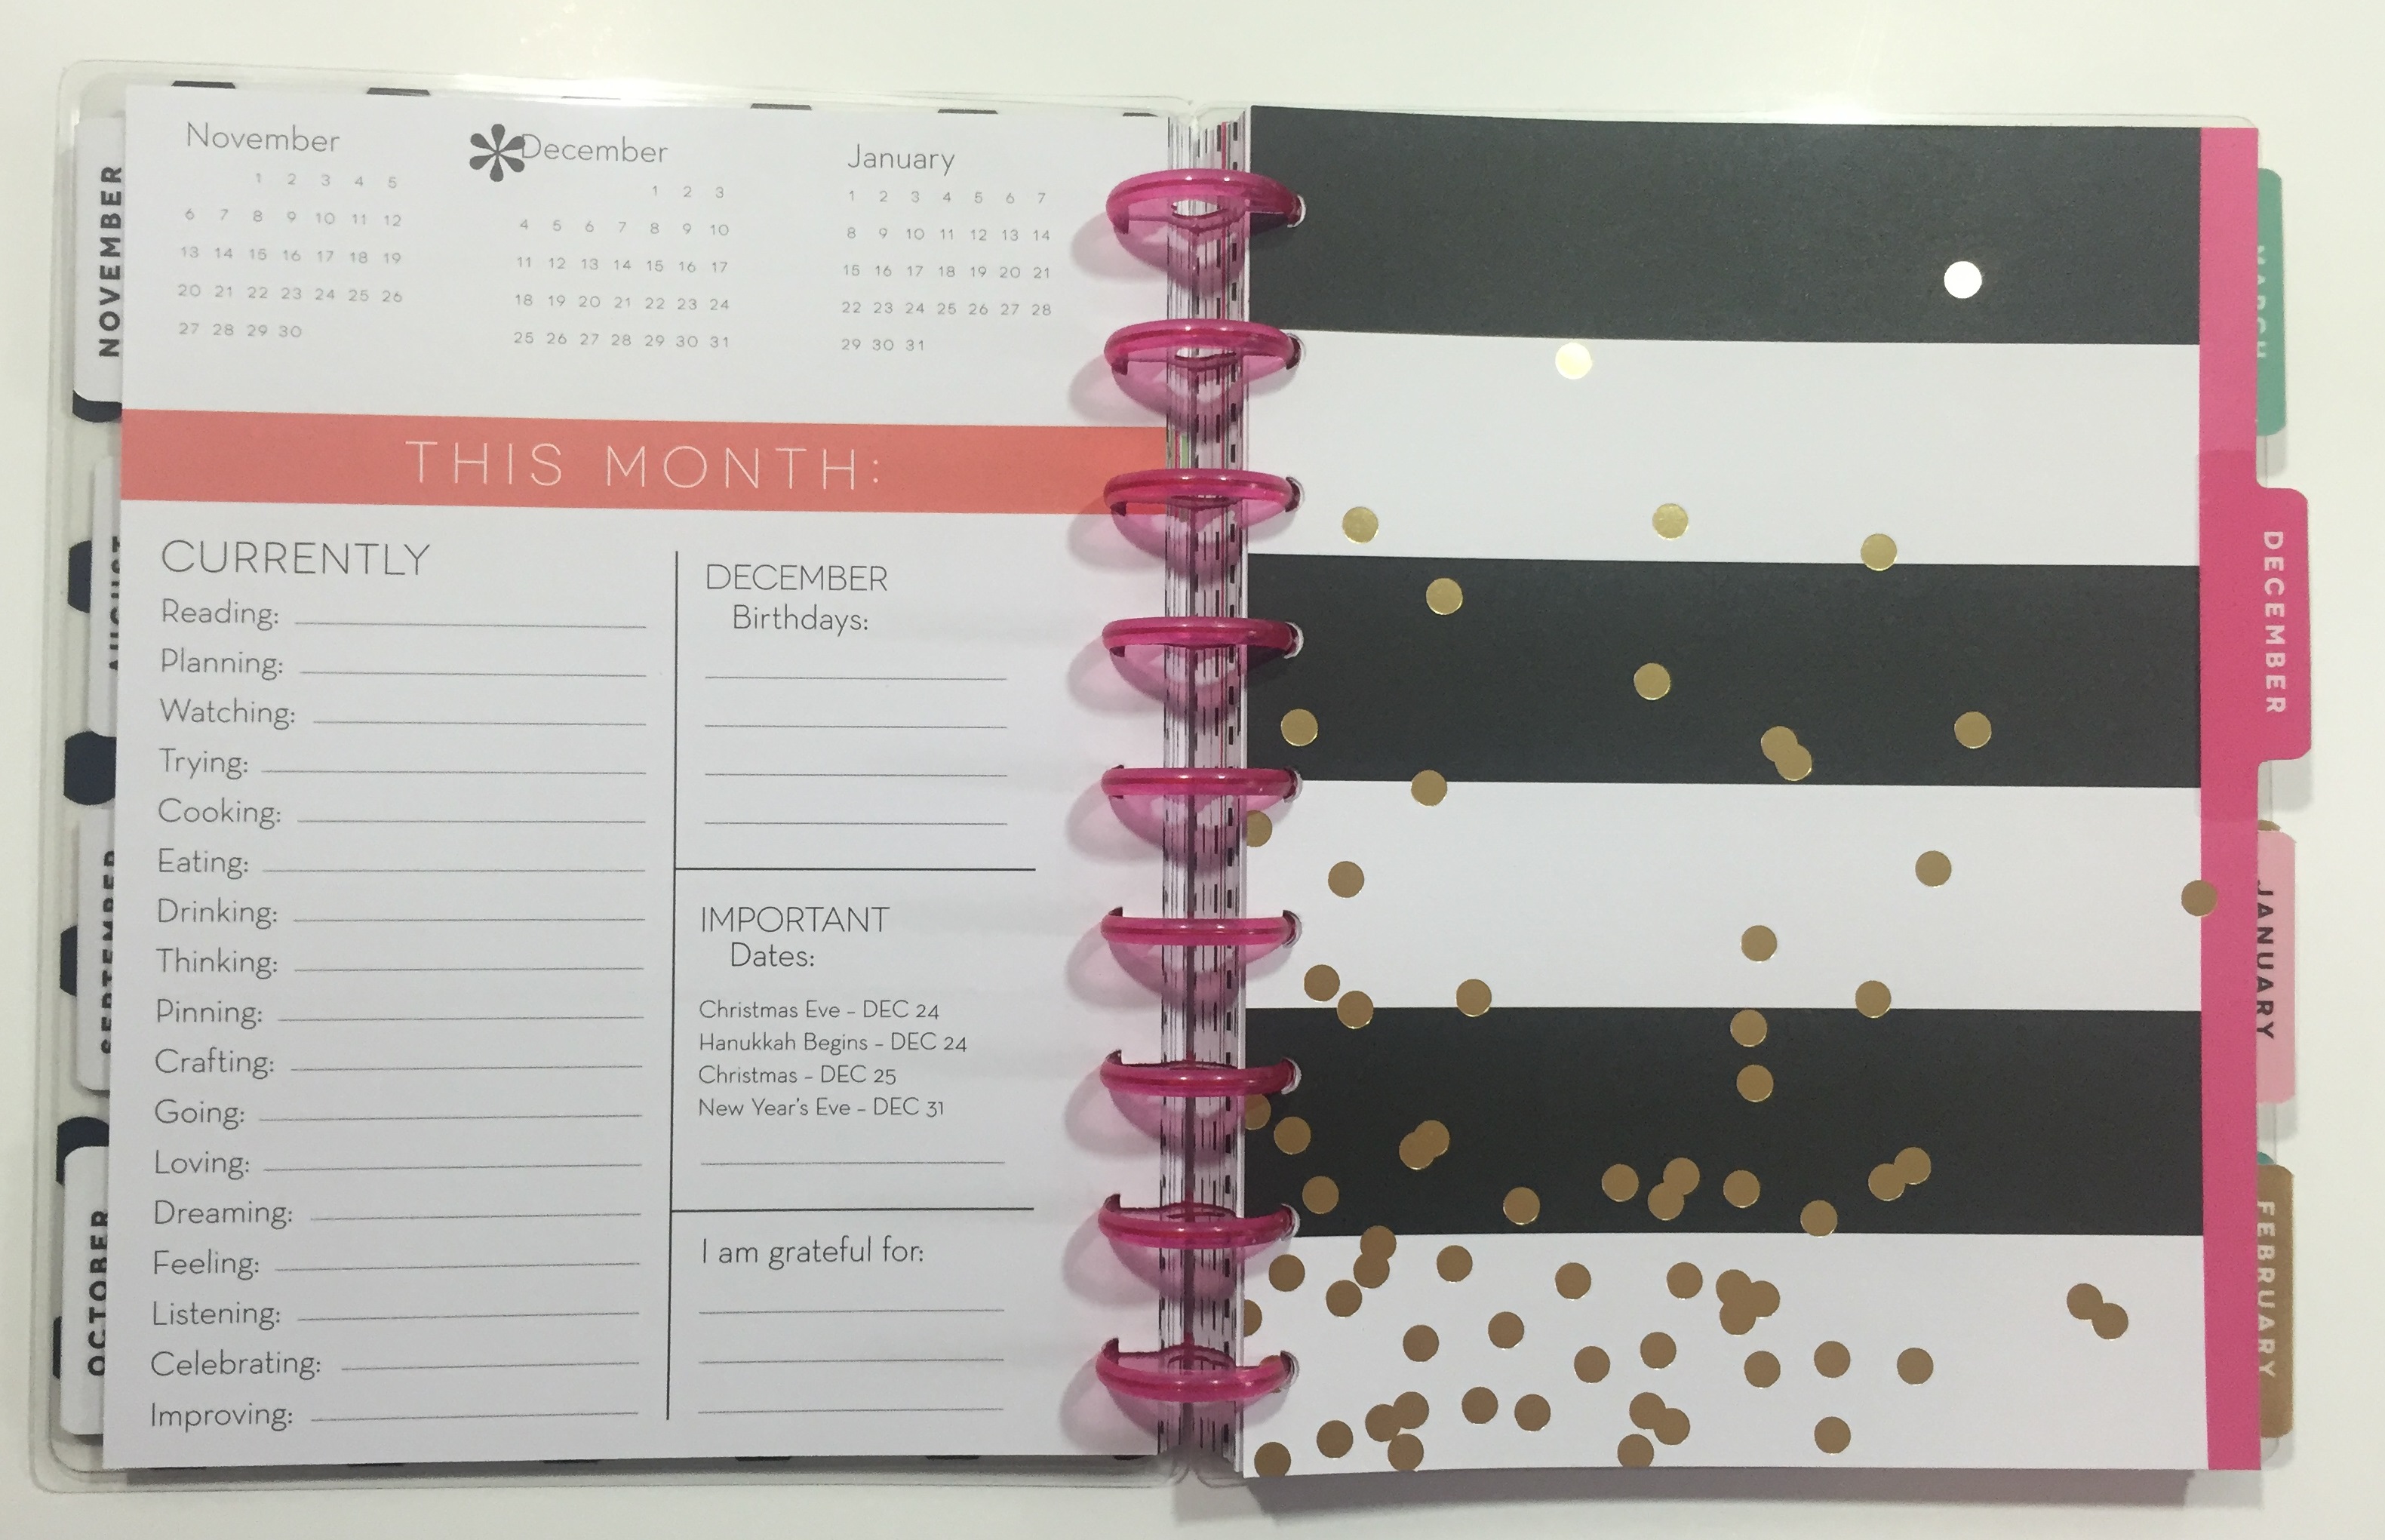
The dividers in this planner are beautiful and many feature the gold foiling elements. I also like the currently prompts in this planner and my older planner, I find these great to help inform my Project Life album.

I have transferred the pocket pages and file folders in to this planner from my old one, another great feature of this system.

Stickers sets: Colourful Dots, Everyday Reminders, Get it Done, Life Quote, Brights, Washi Stickers


Note & Graph Paper, Pocket Folders, Planner Covers
I really like all the accessories that are available for the MAMBI Happy Planners and how versatile they are. They are great for adding a quick bit of customisation of your pages. The quote packs are also great for adding in to Project Life layouts.

A great addition to the shop has been the stationary section with all the cute pens and sticky notes. These are great for adding to your stash, and brightening up your everyday planning and organisation.
I also like the new MAMBI stacking stamps these are great for quick additions to the pages. I think it is worth commenting on the fact that the papers in the Happy Planners are a good quality and I find the ink and pens I use do not go through to the other side.
So I have started my Peony planner and I will be starting my teacher planner over the coming weeks as I get in to full lesson planner mode. I hope you can see how these planners may work for you, but also how you can buy some of the elements and make your own perfect planner.
I am sure of the coming months I will change the look of these many times and this is the great thing of the MAMBI Happy Planner as it is great for us flighty types. I have added some tassels to the outside of my planner and their is a great selection of pretty shiny things to add and decorate it in the shop. I also use the planner band to keep all my bits and pieces in side and added a pen loop.

Have a great July everyone and I will see you back in August with some Scrapbooking.