Mini Albums Gone Wild!
Hello everyone, can you believe we are half way through the year already, how did that happen! I also am still still wondering how my plans for a mini album for my post this month, went so um… un-mini!!
I recently went on a road trip for 4 days with my boyfriend and thought it would be great to document this is in a stand-alone album, rather than my Project Life album. I had one of the really cute 4×4 Instagram Albums, mine is a Theresa Collins one, that I brought for another project that never worked out, and thought it would be perfect to use for this. I decided to use a mixture of supplies, mainly the new Amy Tangerine Rise and Shine, but I also mixed in some other new bits in the shop and some of my older stash too.

Amy Tangerine Rise and Shine 6×6 Paper Pad
Amy Tangerine Stitched 6×6 Paper Pad
WRMK Albums Made Easy – Jet Set
Seven Paper Amelia Journalling Cards

Amy Tangerine Rise and Shine – Claire Paper
Amy Tangerine Rise and Shine – Emma Paper
Amy Tangerine Rise and Shine – Riley Paper
Amy Tangerine Stitched – Box Pleat Paper
Pebbles We Go Together
Vellum- Similar can be found in the shop
Transparencies – Similar can be found in the shop

Websters Pages #Happy Tiny Letter Stickers
Websters Pages These are the Days Emoji Stickers
Simple Stories Life Documented Word Strip Stickers
Amy Tangerine Stitching Templates
Other assorted embellishments – Similar can be found in the shop here.
I have filmed a video to share these supplies with you also. It can be found here.
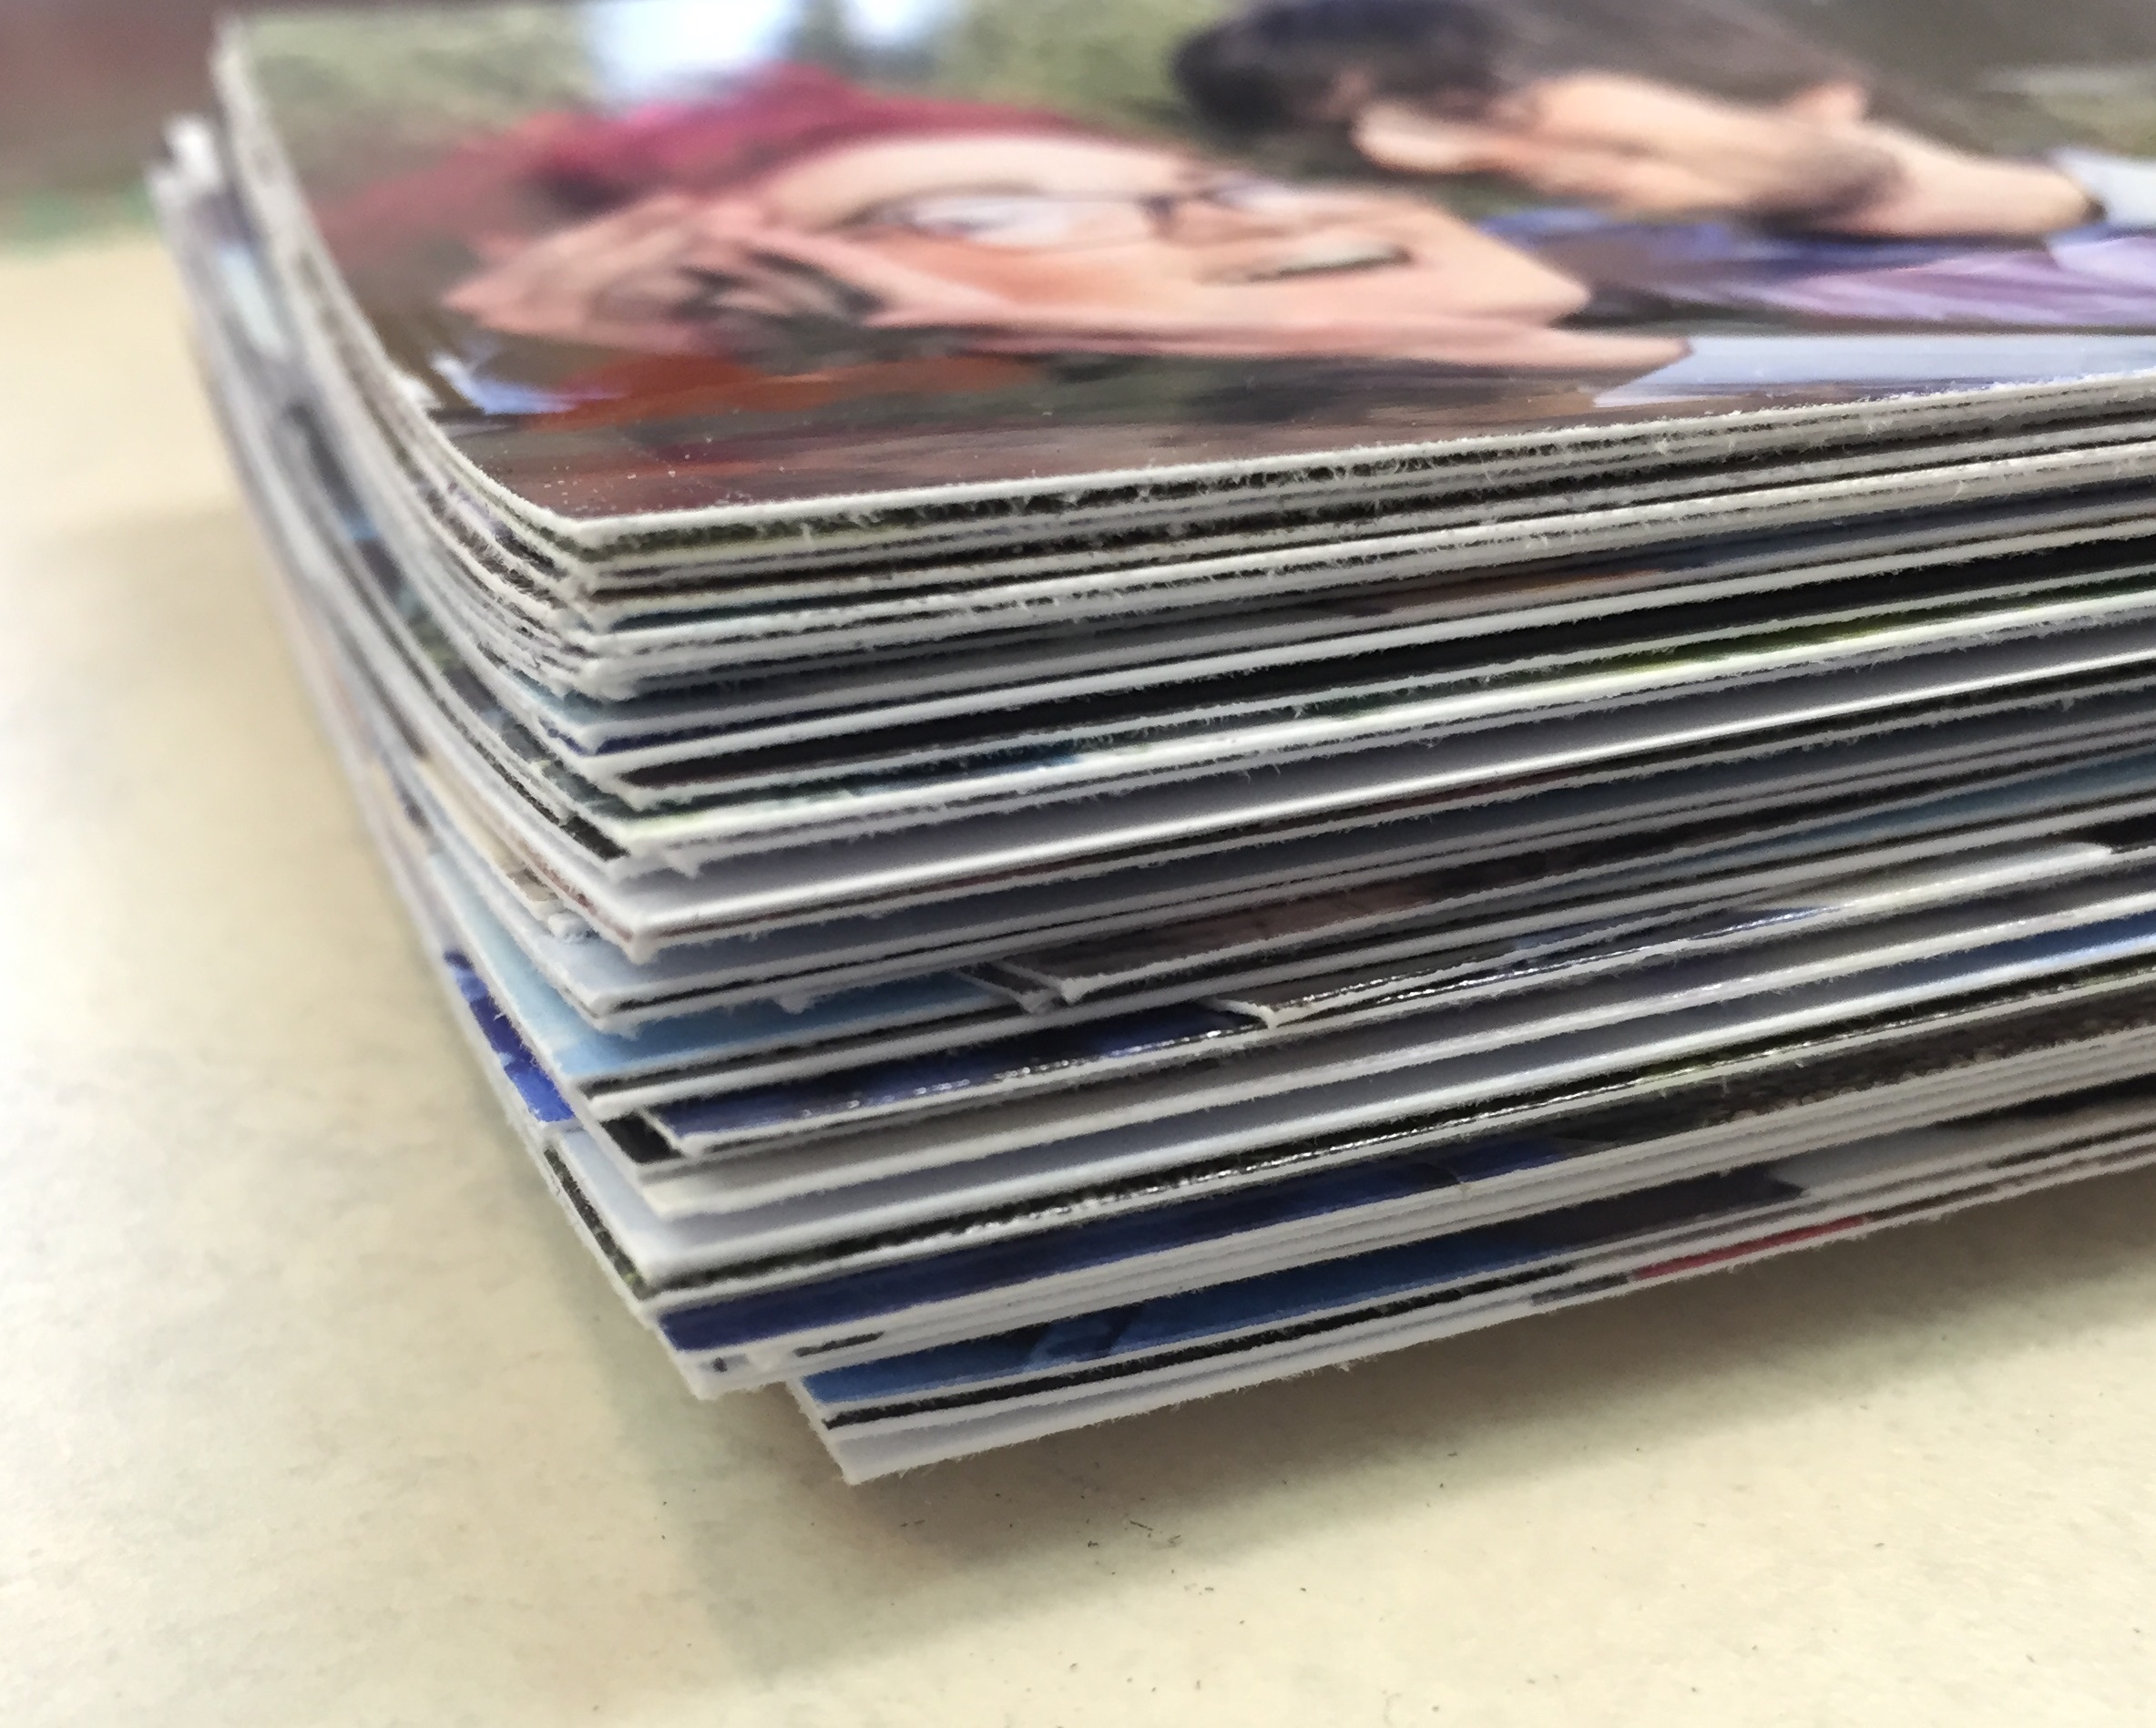
I had all my supplies ready and I was ready to go, well that was until I printed the 60+ photos I wanted to include. I realised that theses were not going to fit all in to one mini album, and I was going to need to do this in two parts, so I purchased another album from the store.
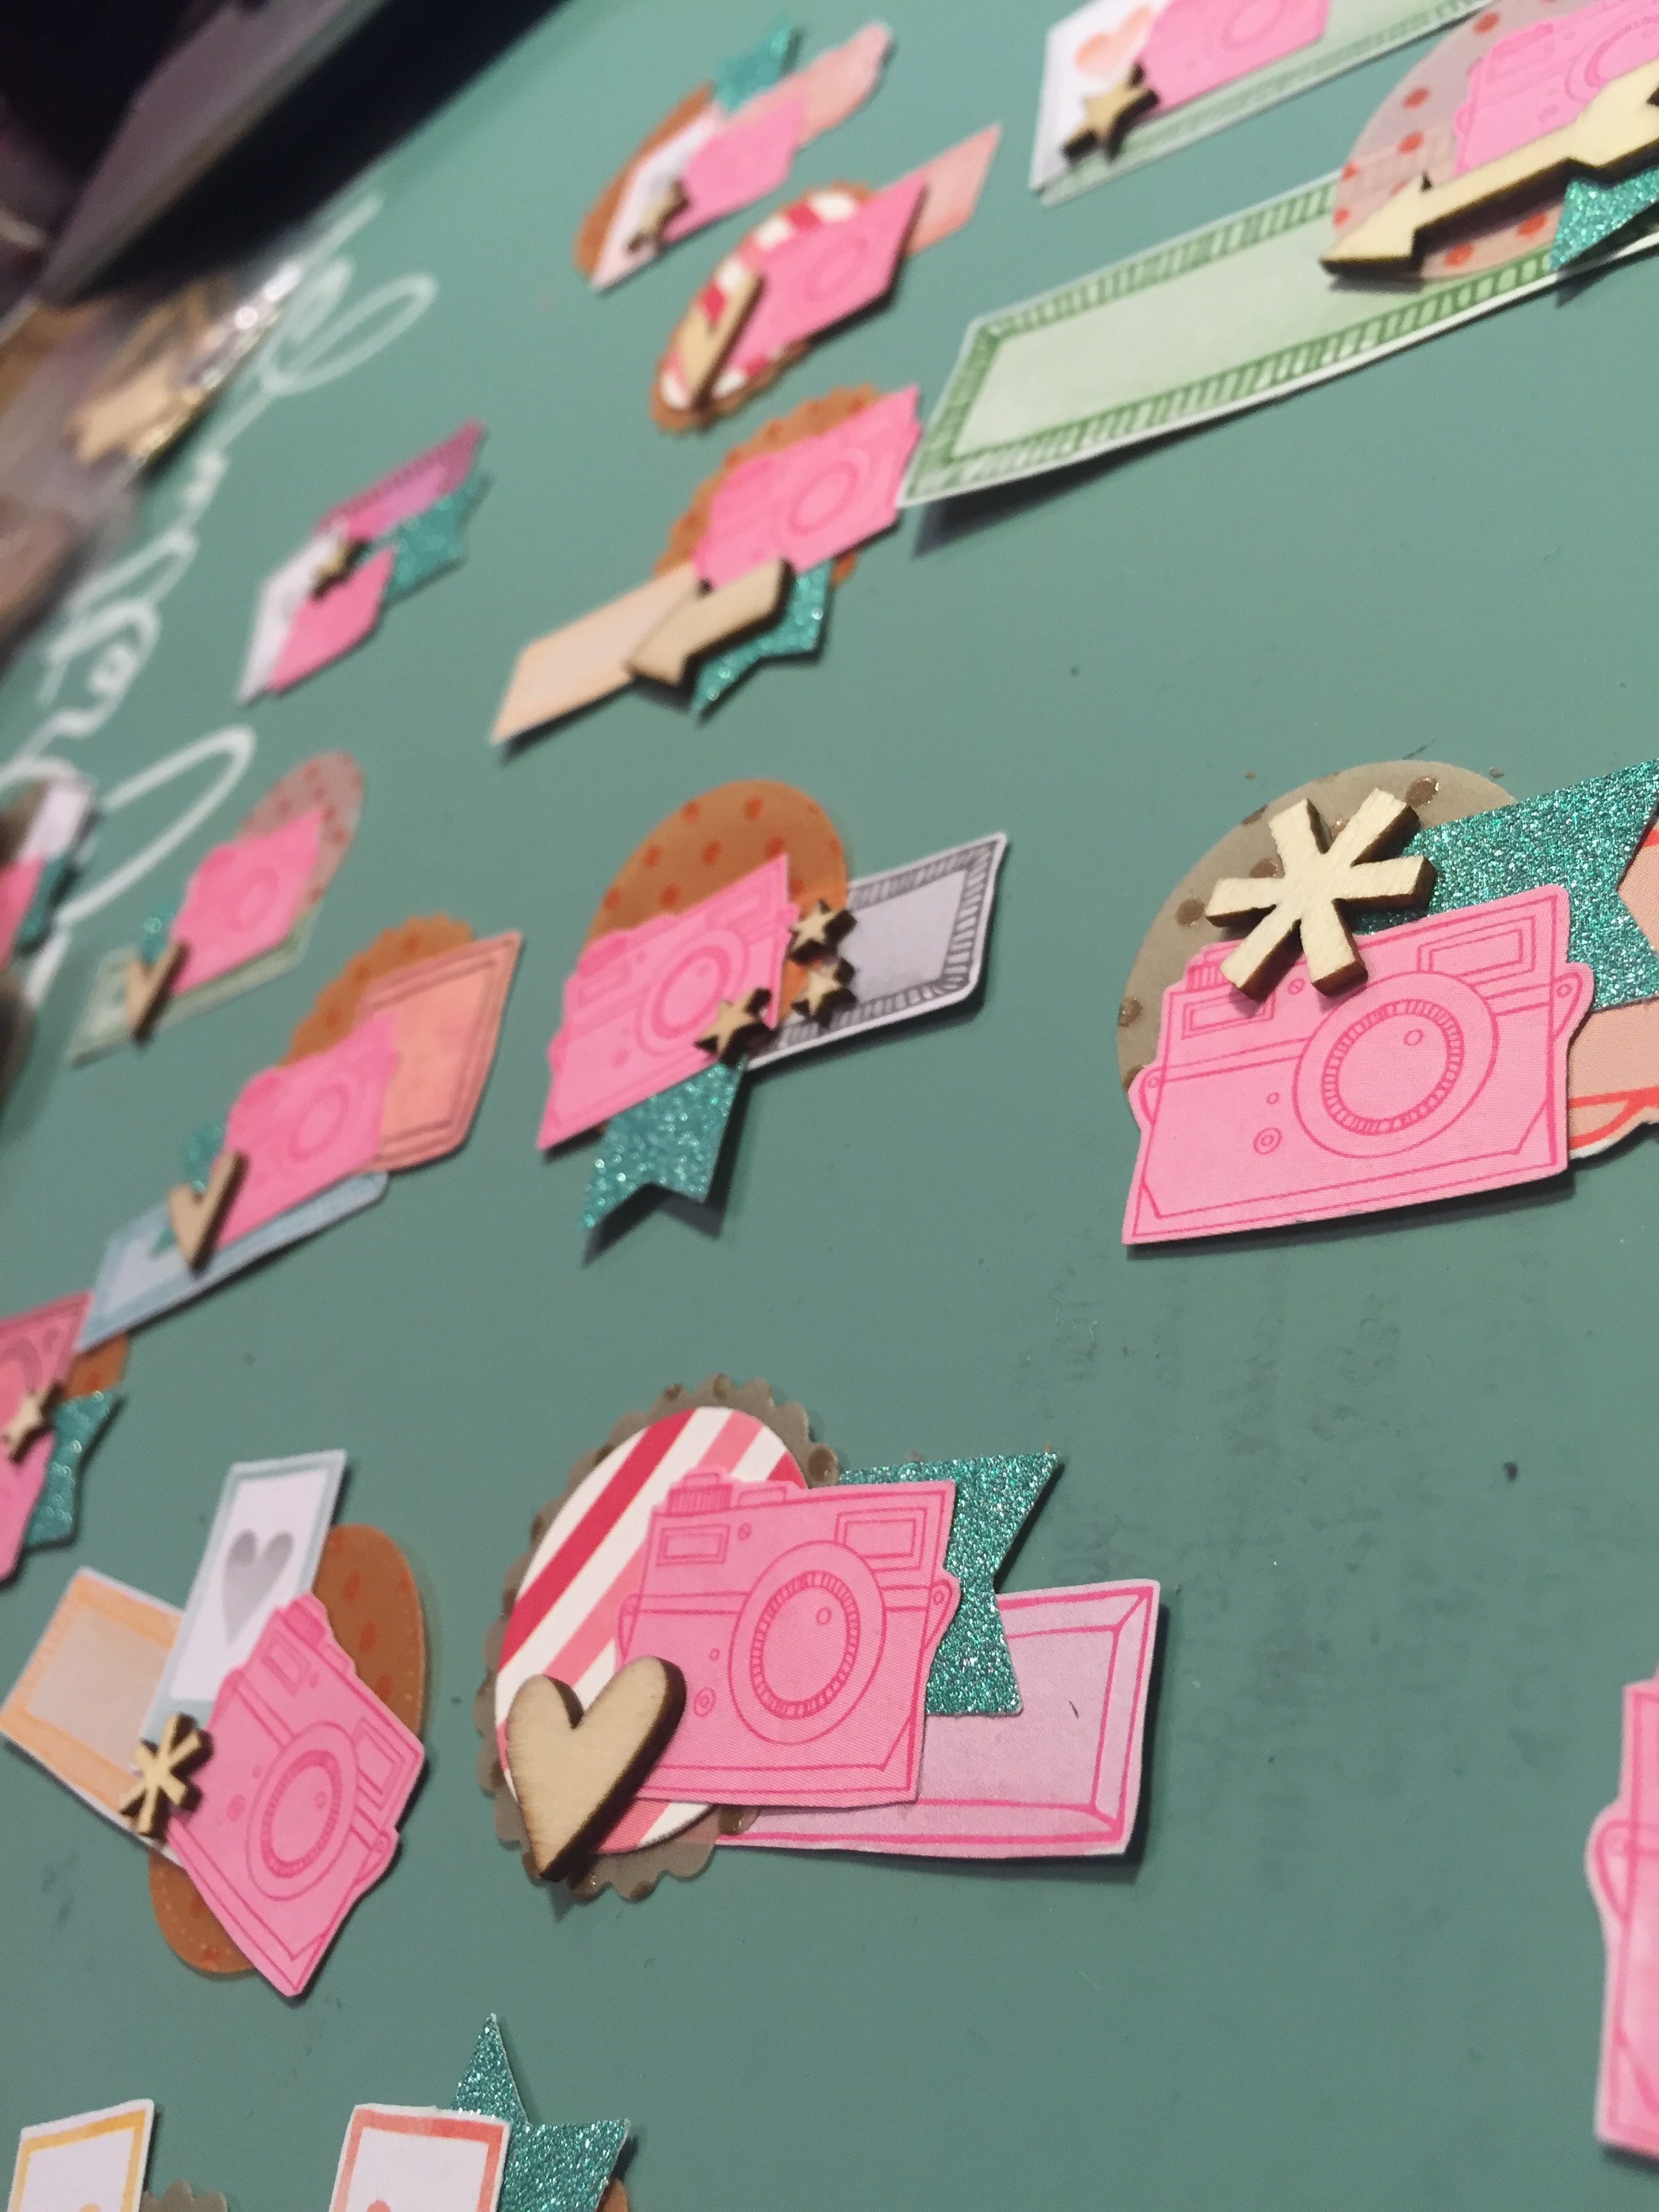
When I am going to work on an album project that is going to cover a whole event, I like to have an element that will run through to make it all look cohesive when its finished. I decided to make my embellishments for the album before working on anything else. Their were a couple of the sheets from the Amy Tangerine Rise and Shine collection and one from the Stitched collection, that were going to be perfect for making in to embellishments. I had these in both the 12×12 and the 6×6 so I could use two different scales of elements. I set about cutting these elements up and another older paper from my stash, I also had some glitter paper off cuts which I punched in to banners. You can find some similar glitter cardstock from Heidi Swapp in the shop.

I then set about making these in to small clusters that I could add to the photos and journalling cards. I made sure that I had elements clusters that allowed for placement on both the right and left of the pages.

I added some wood veneers to the clusters too, as I knew I was going to be working in two albums it meant I could allow for a bit of dimension on my pages.

I then set about putting my album together, I like to do this in a sequence as it makes it comes together quickly. This process works for me:
1) Cut photos down to size and place in pockets in album in the correct order
2) Place journalling cards throughout the album to tell the story.
3) Add in any ephemera that you have.
4)Cut down papers to back photos on to, cut 4×4 and 2×2 in this case.
5) Work from the front adding the photos to the papers and embellishing each of the pages. Add the clusters and titles and word stickers throughout the album.
6) Add any further embellishments to the album, in this case the transparent and filler pages in both 4×4 and 2×2.
7) Complete the journalling, I do this sequentially to ensure that I tell the whole story and have it flow well.
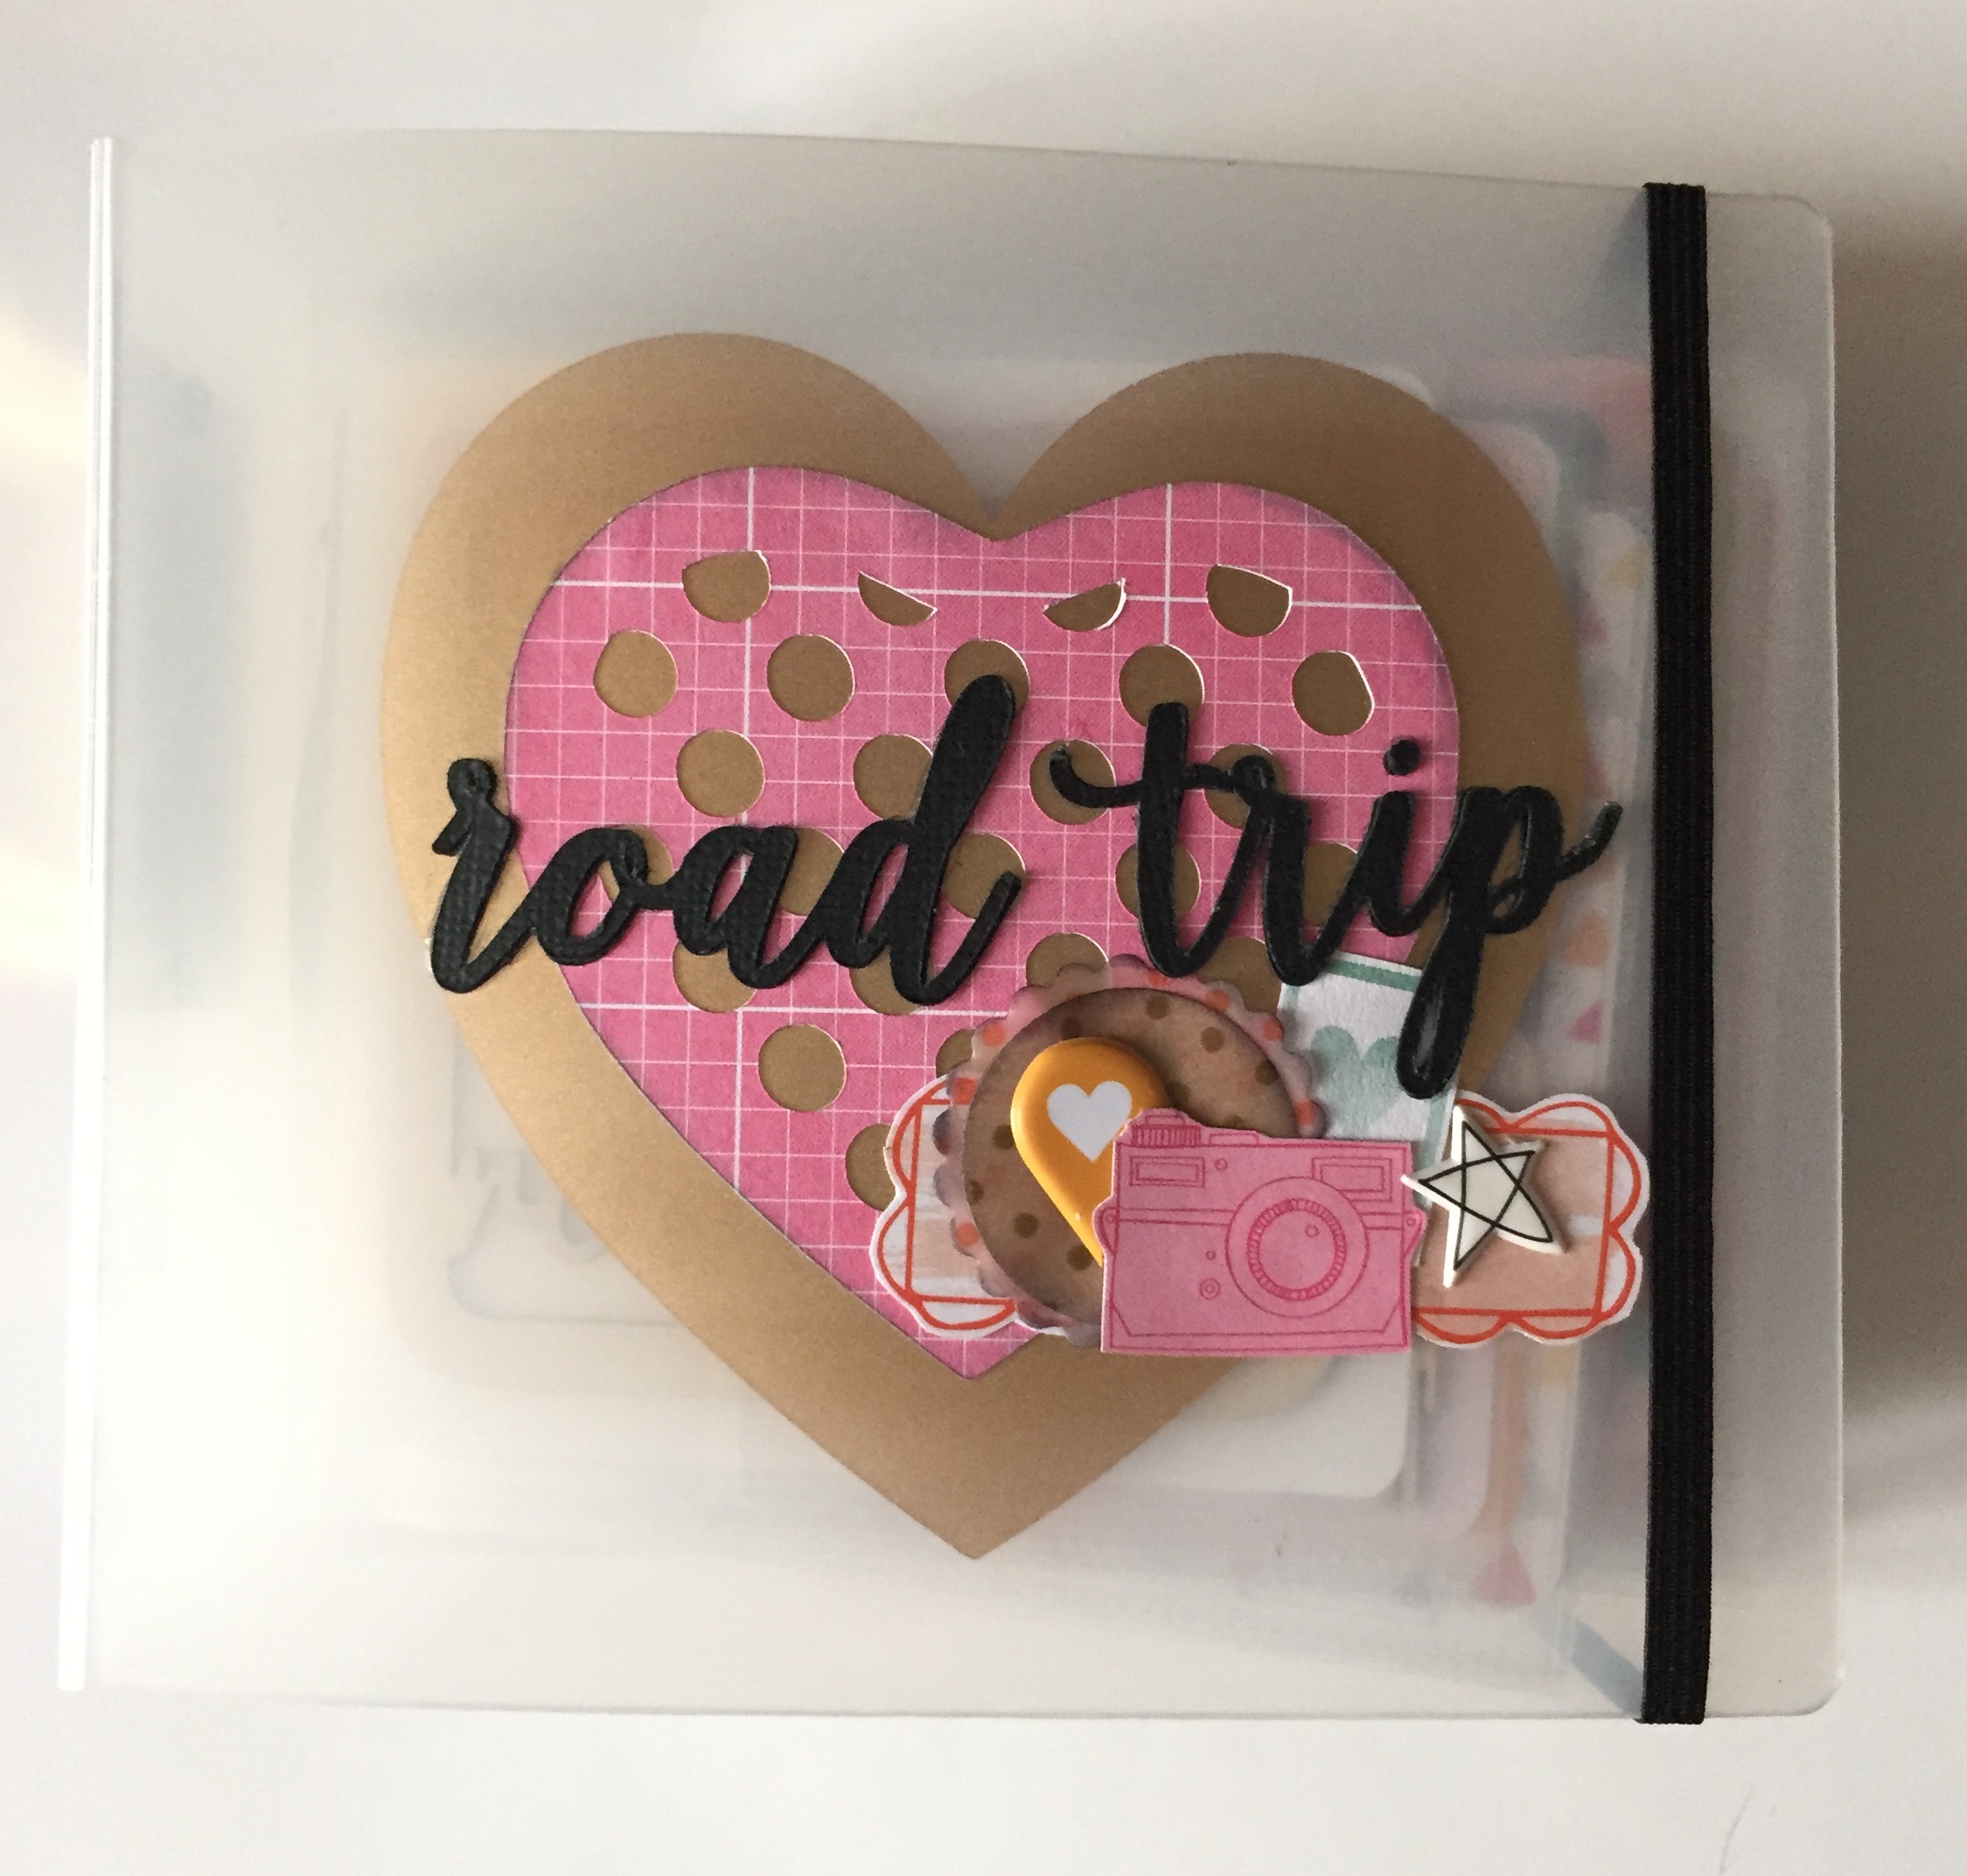
8) Add a title pages and front cover if needed.

I followed the process above and I am so happy with how my albums came out, even thought they are a lot chunkier than I planned.

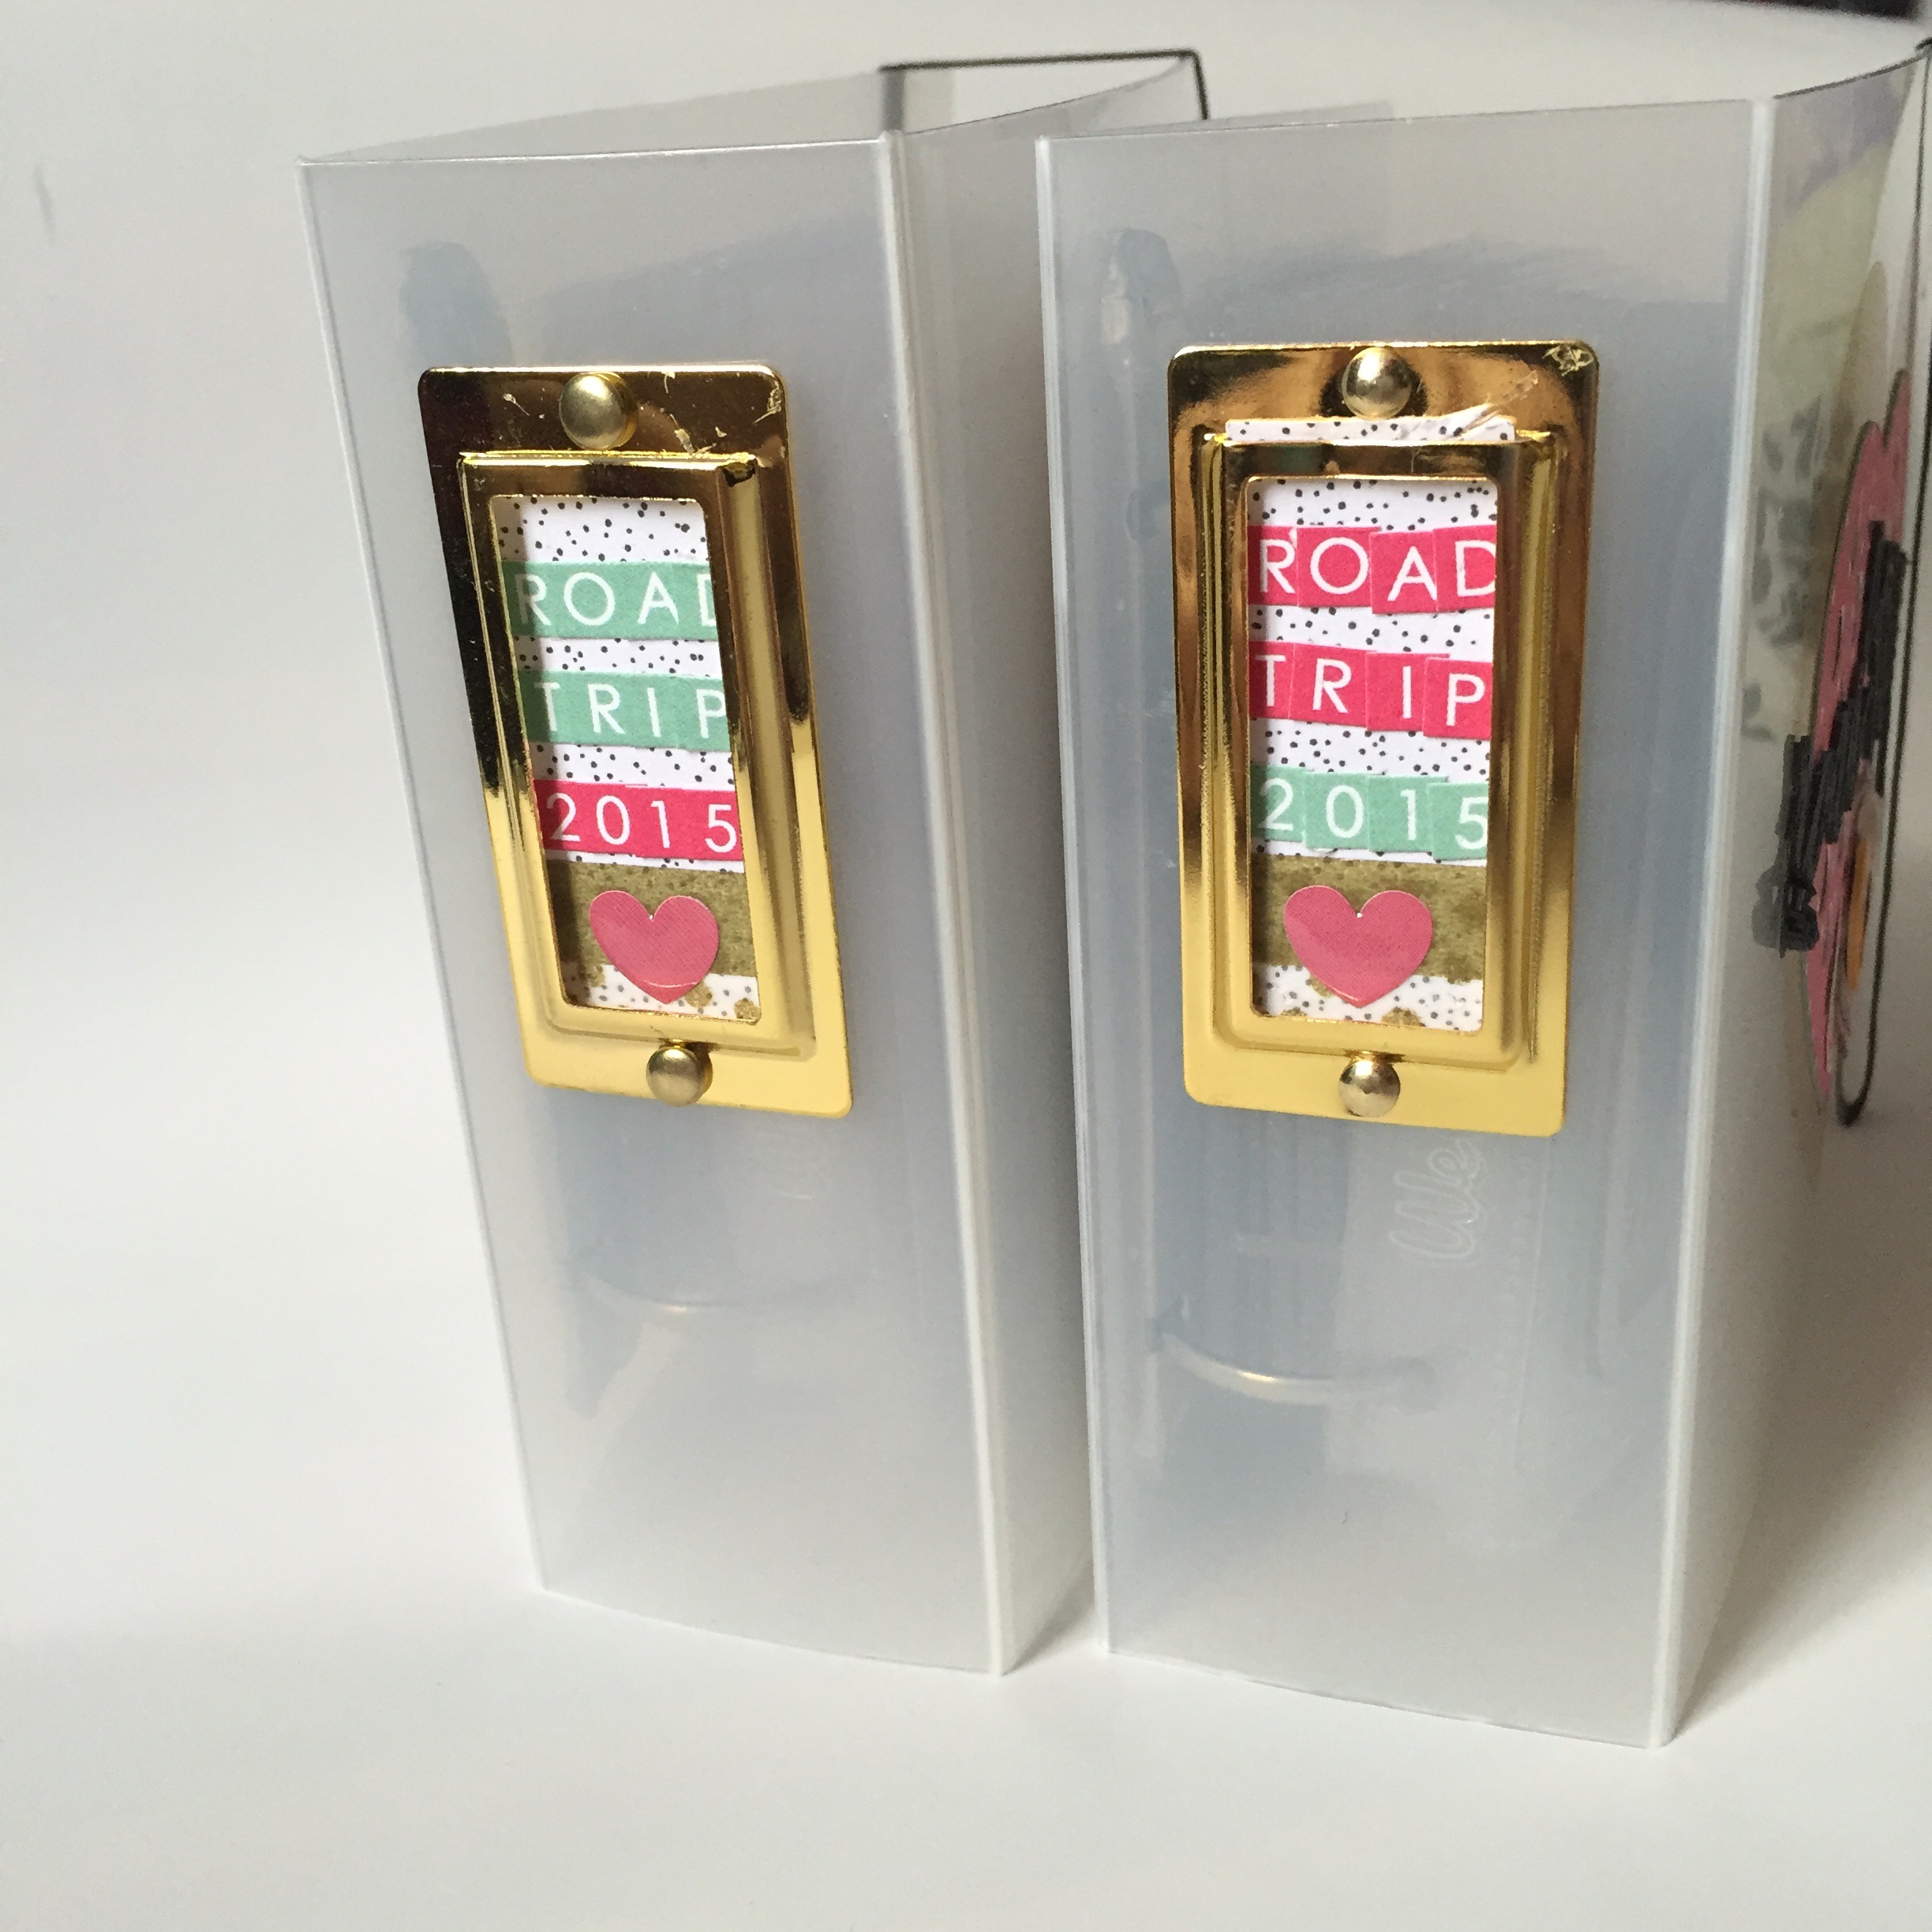
I added a band of elastic to keep these closed and easier to store. I made labels to fit on the side of the album with some of the left over scraps and the wonderful Webster’s Pages tile letters.
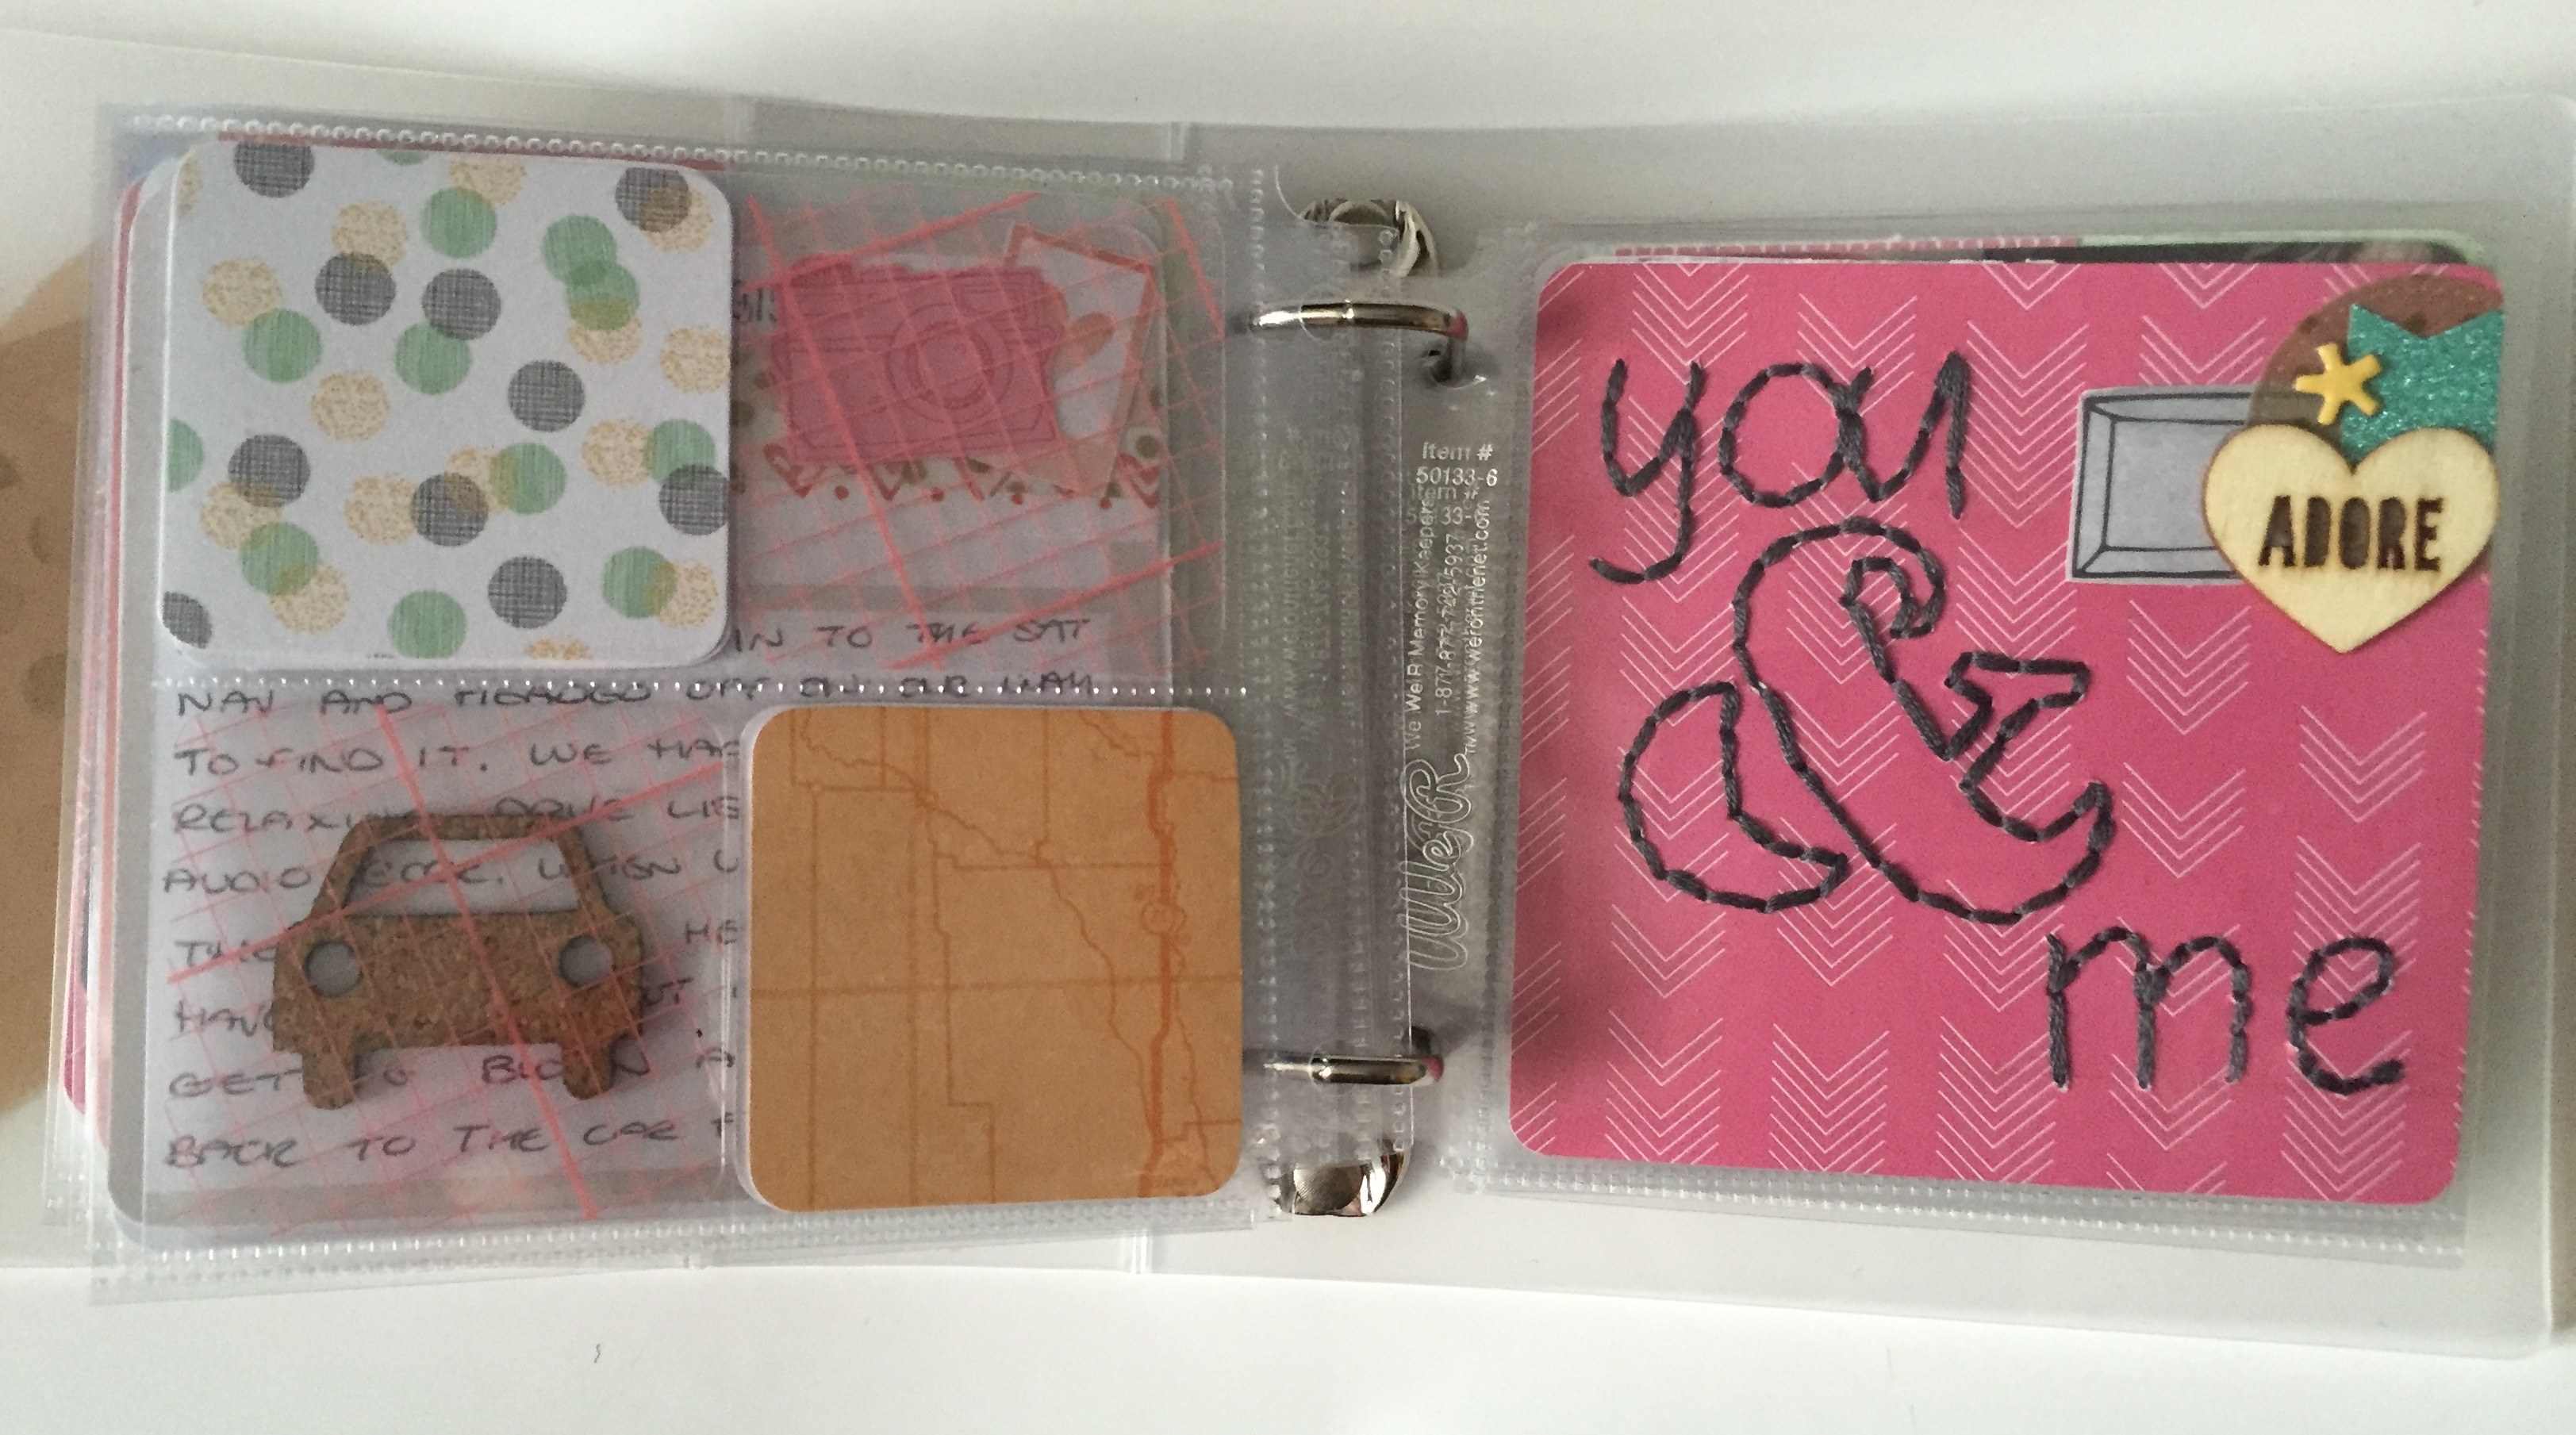
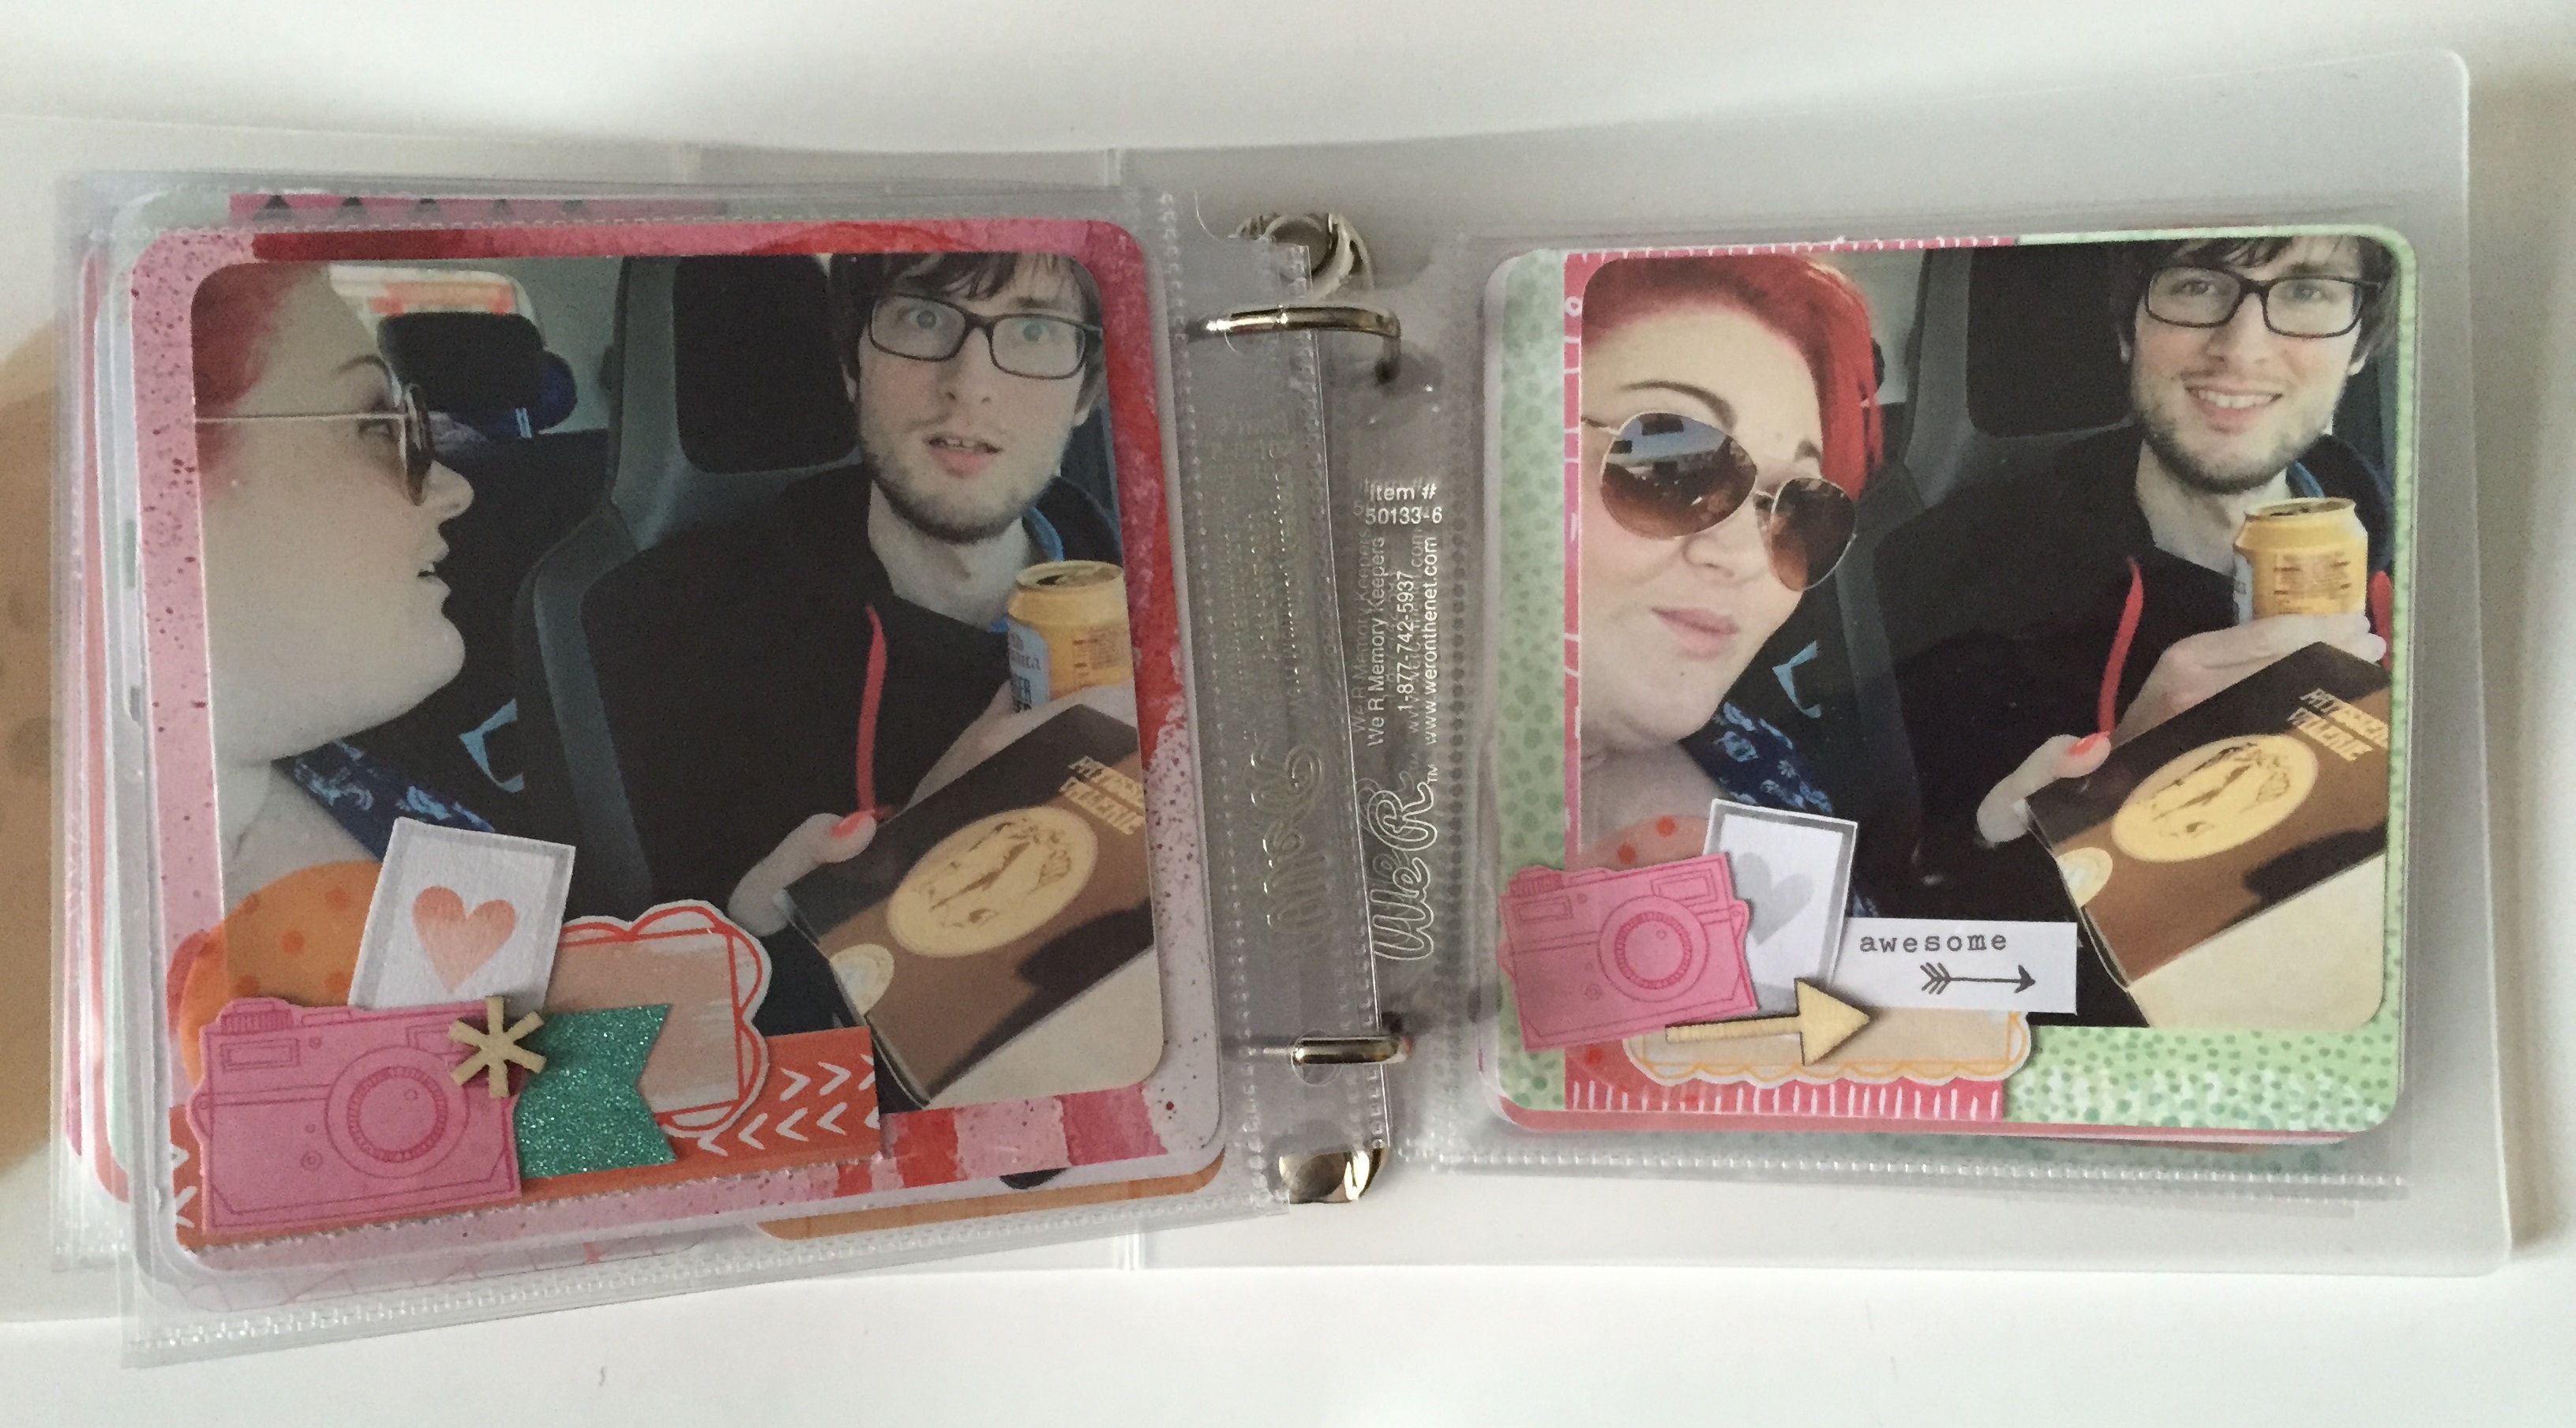
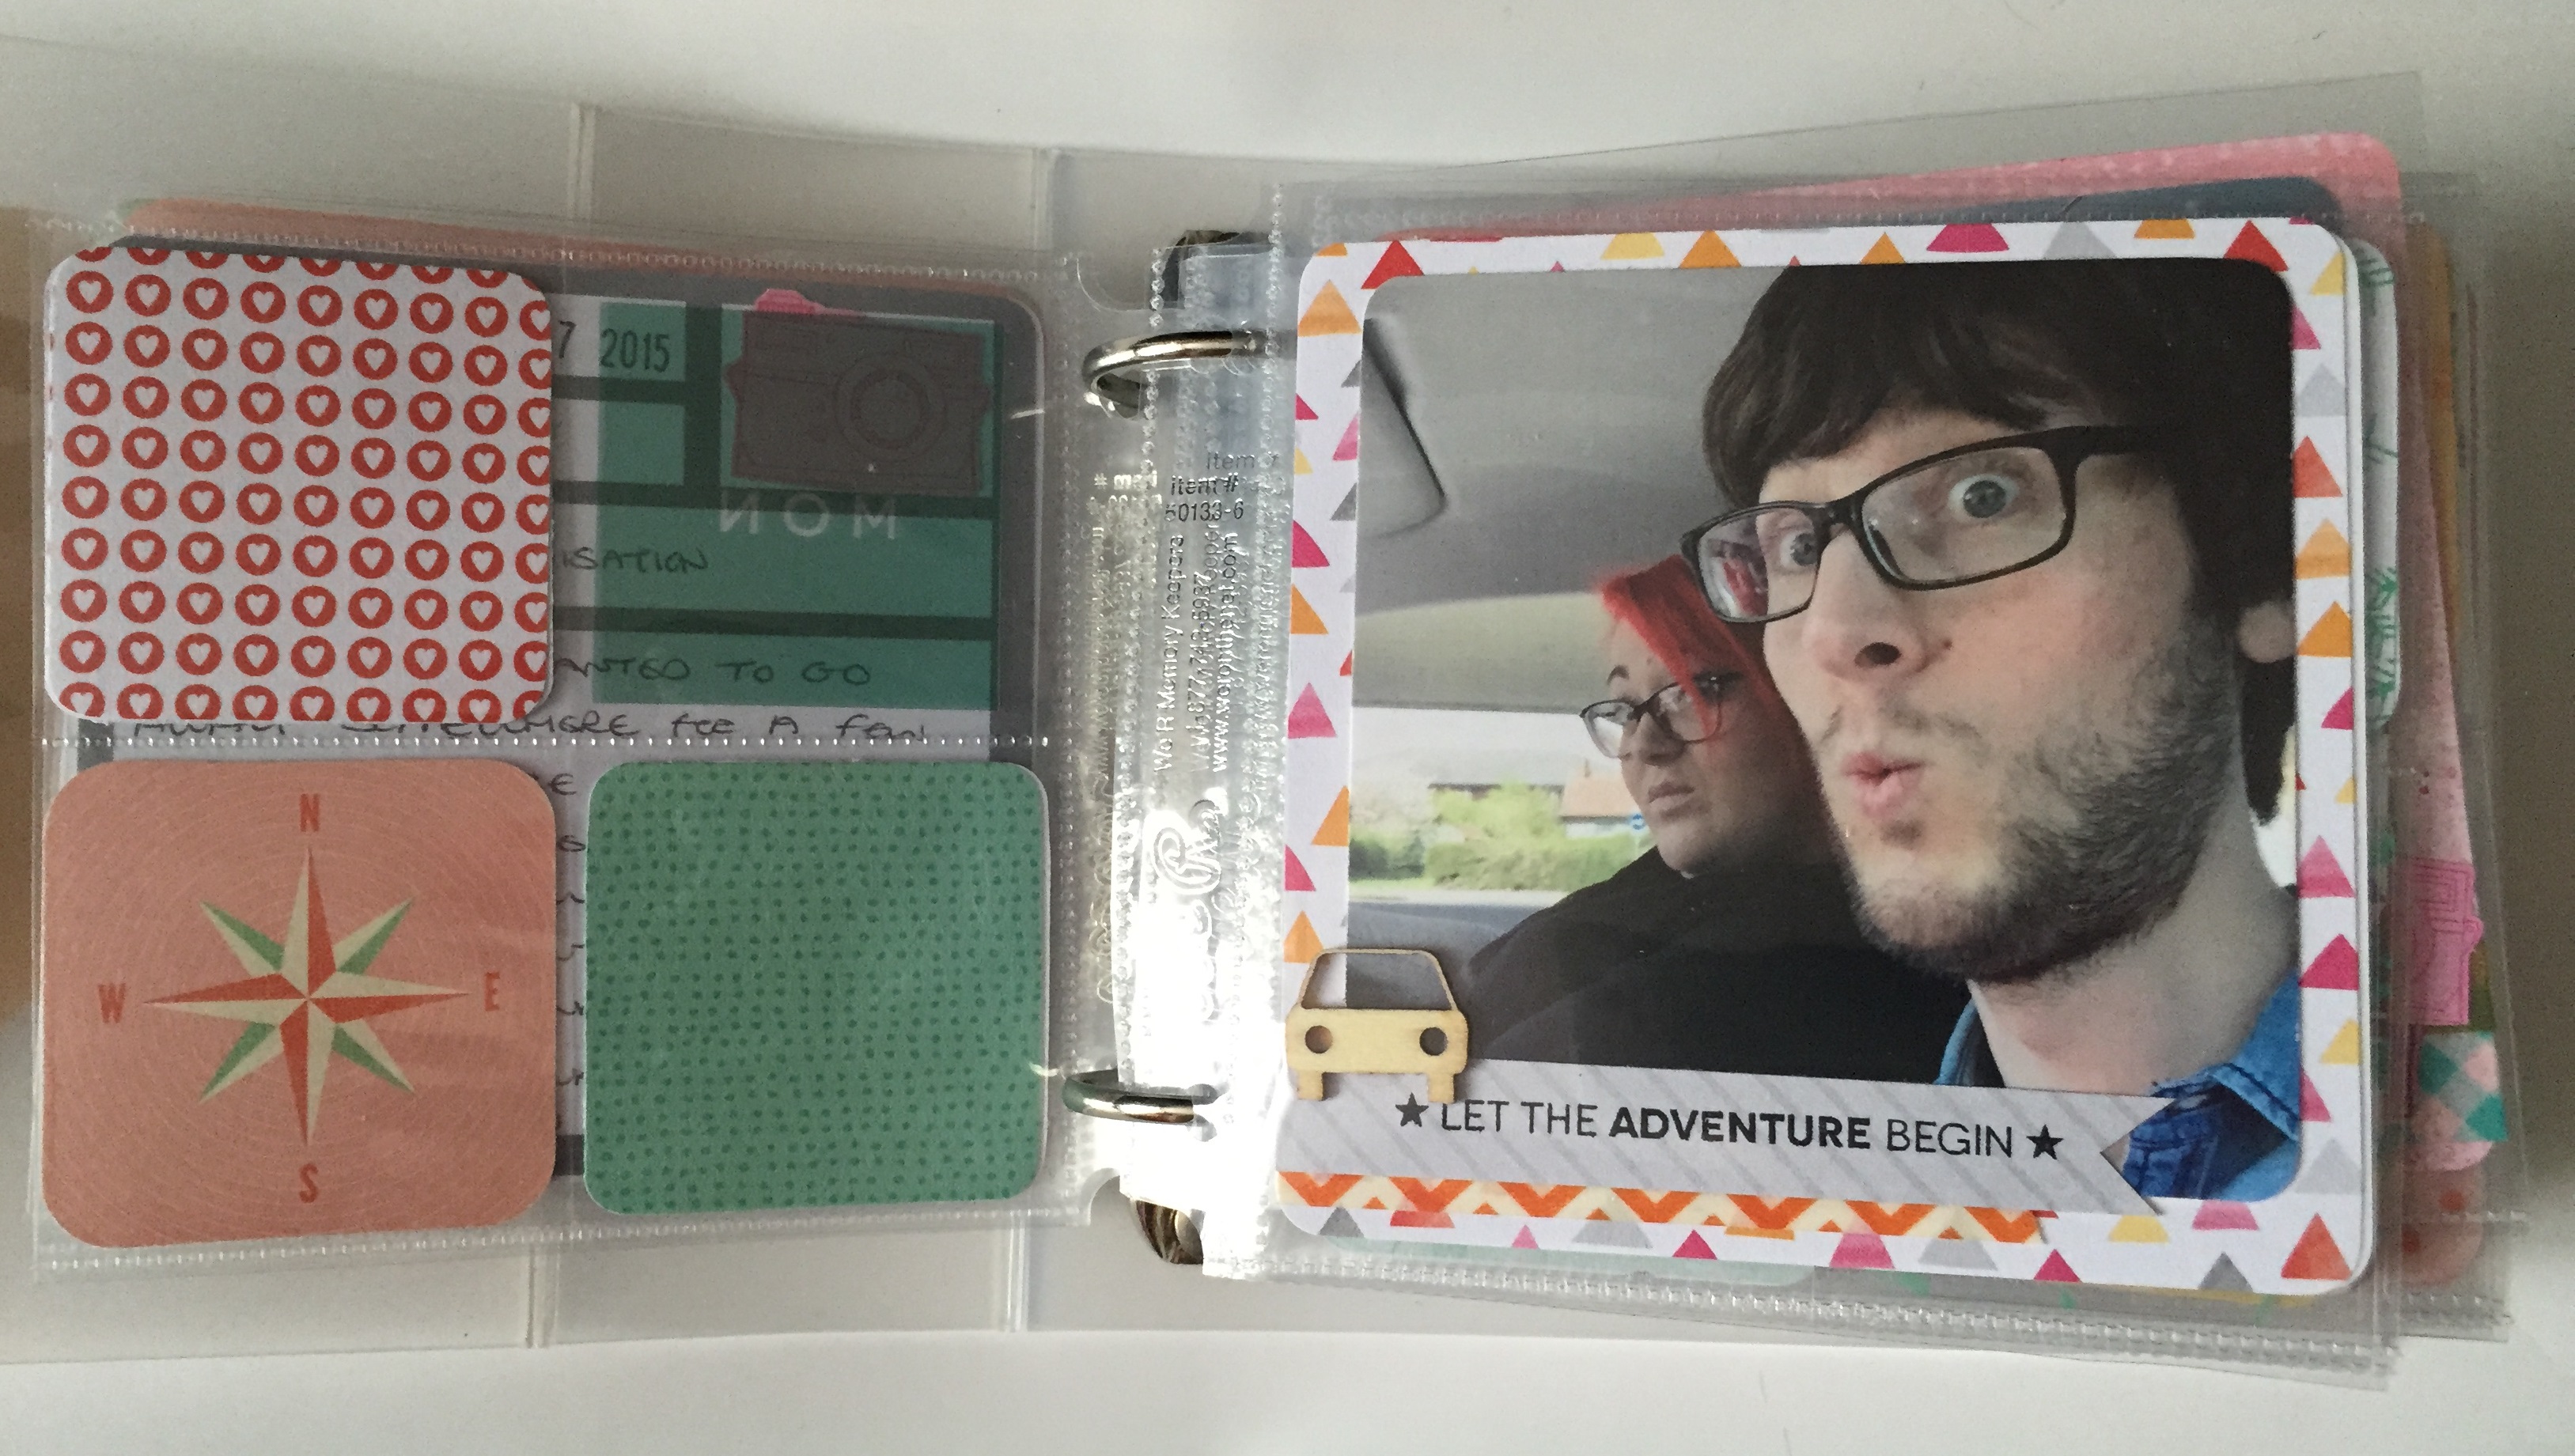
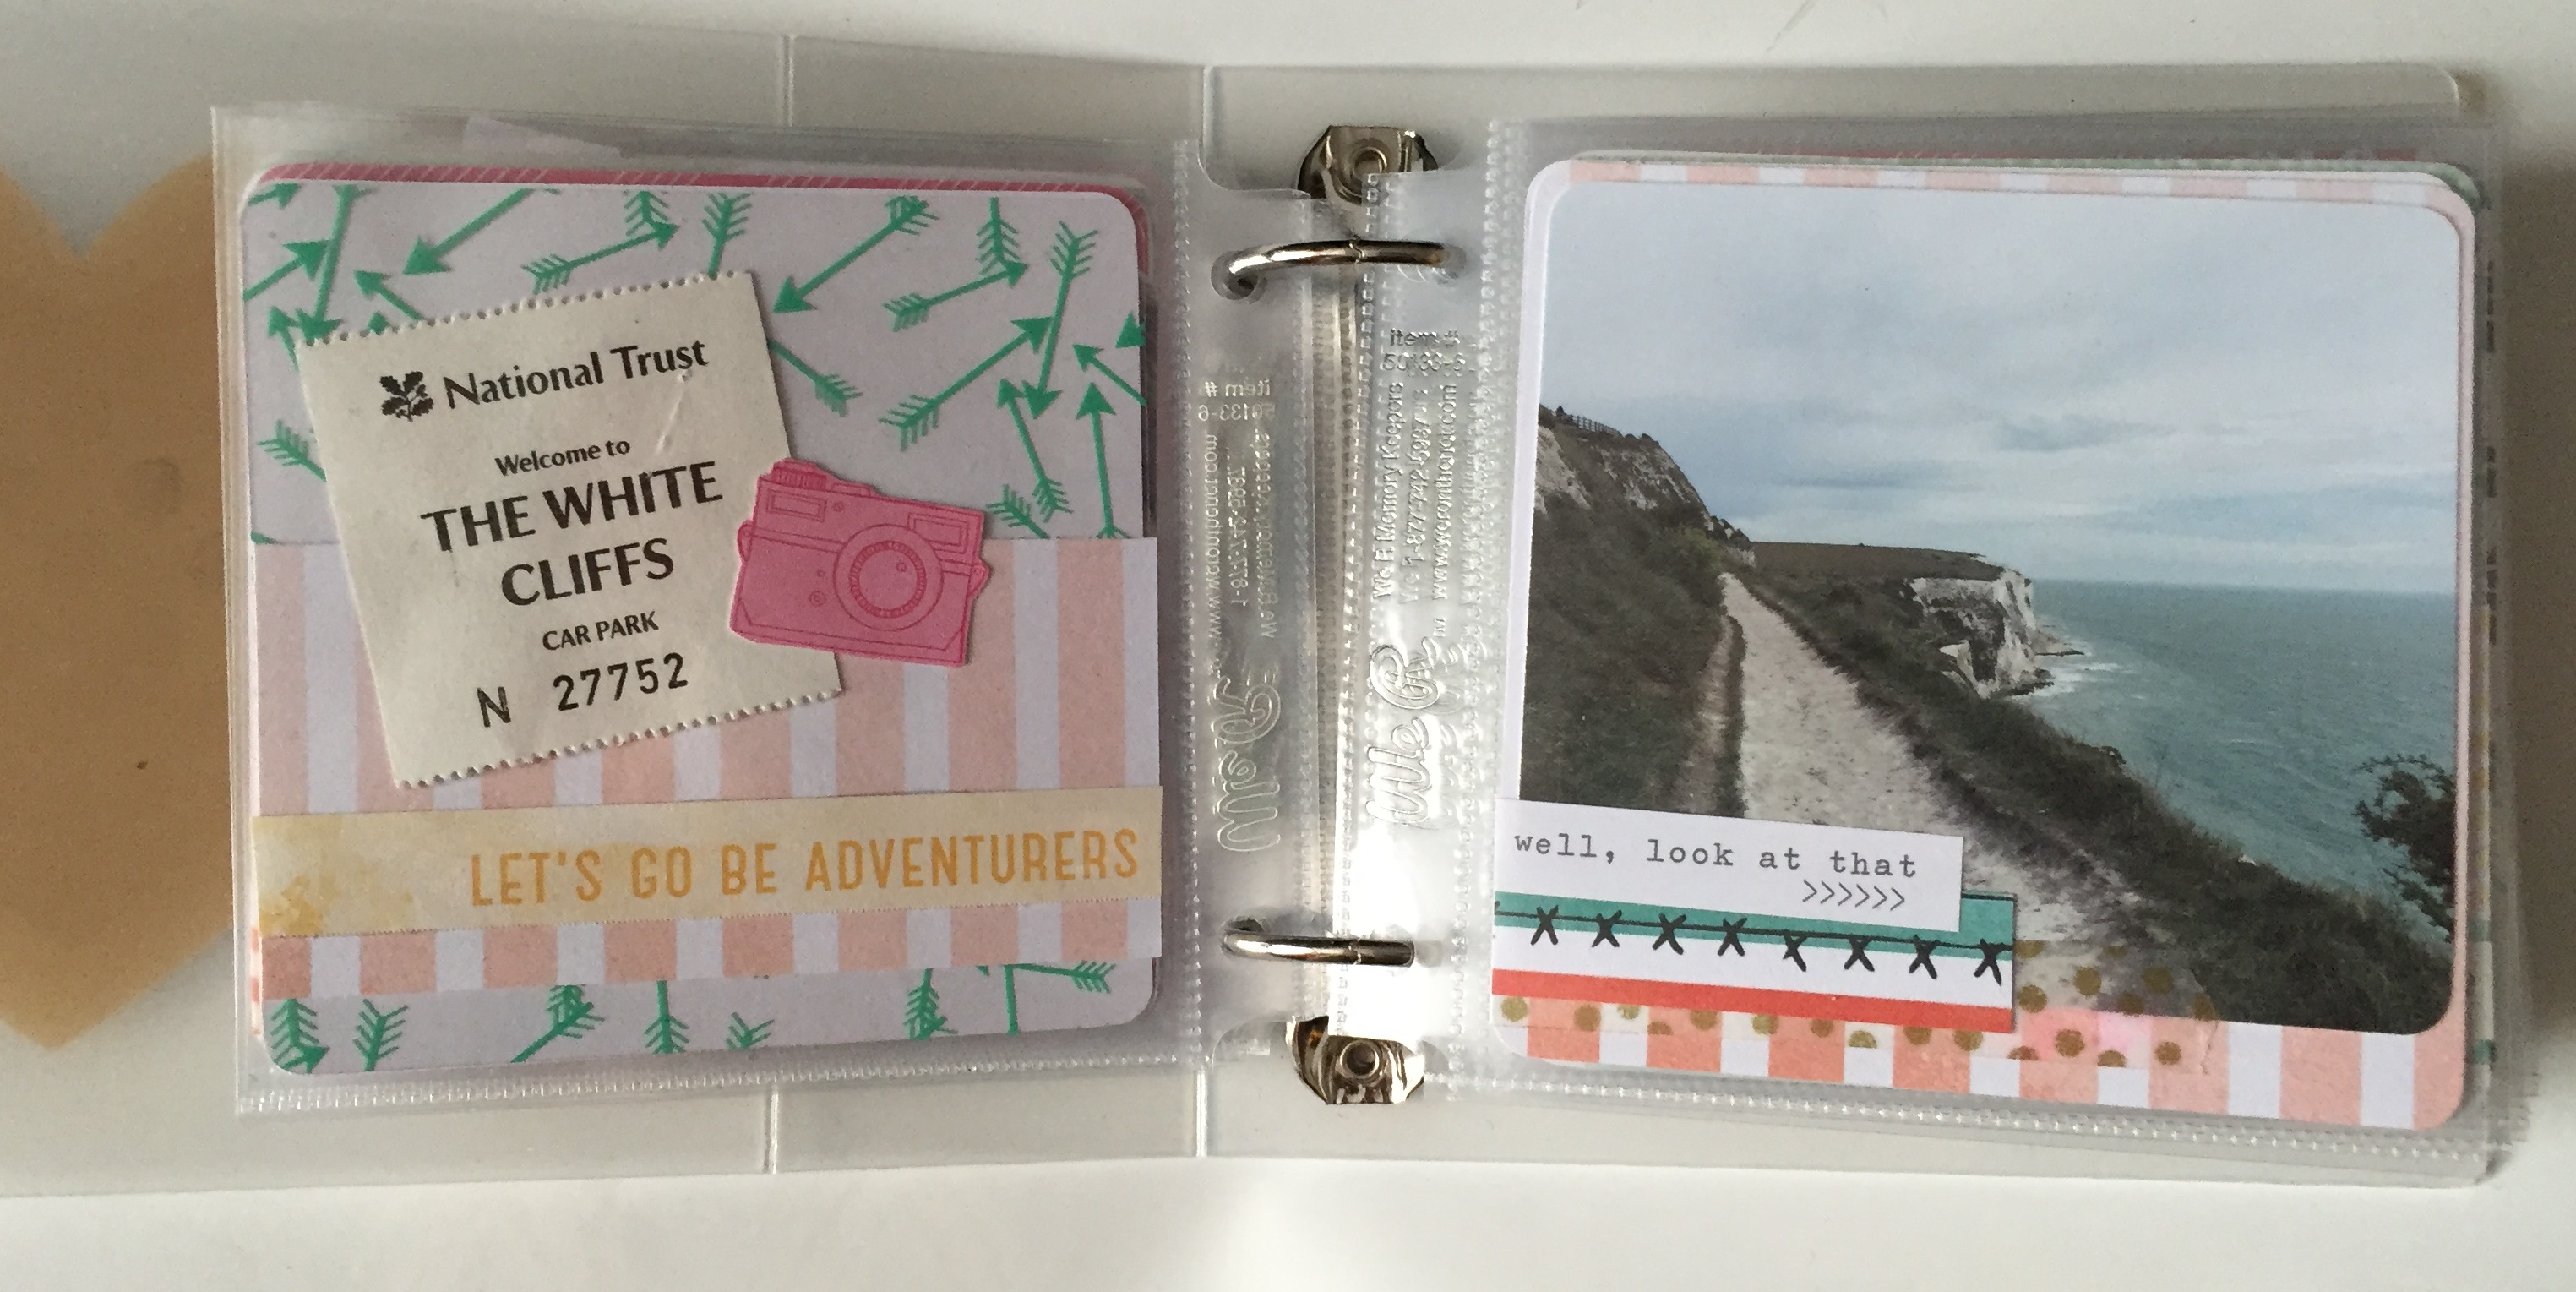
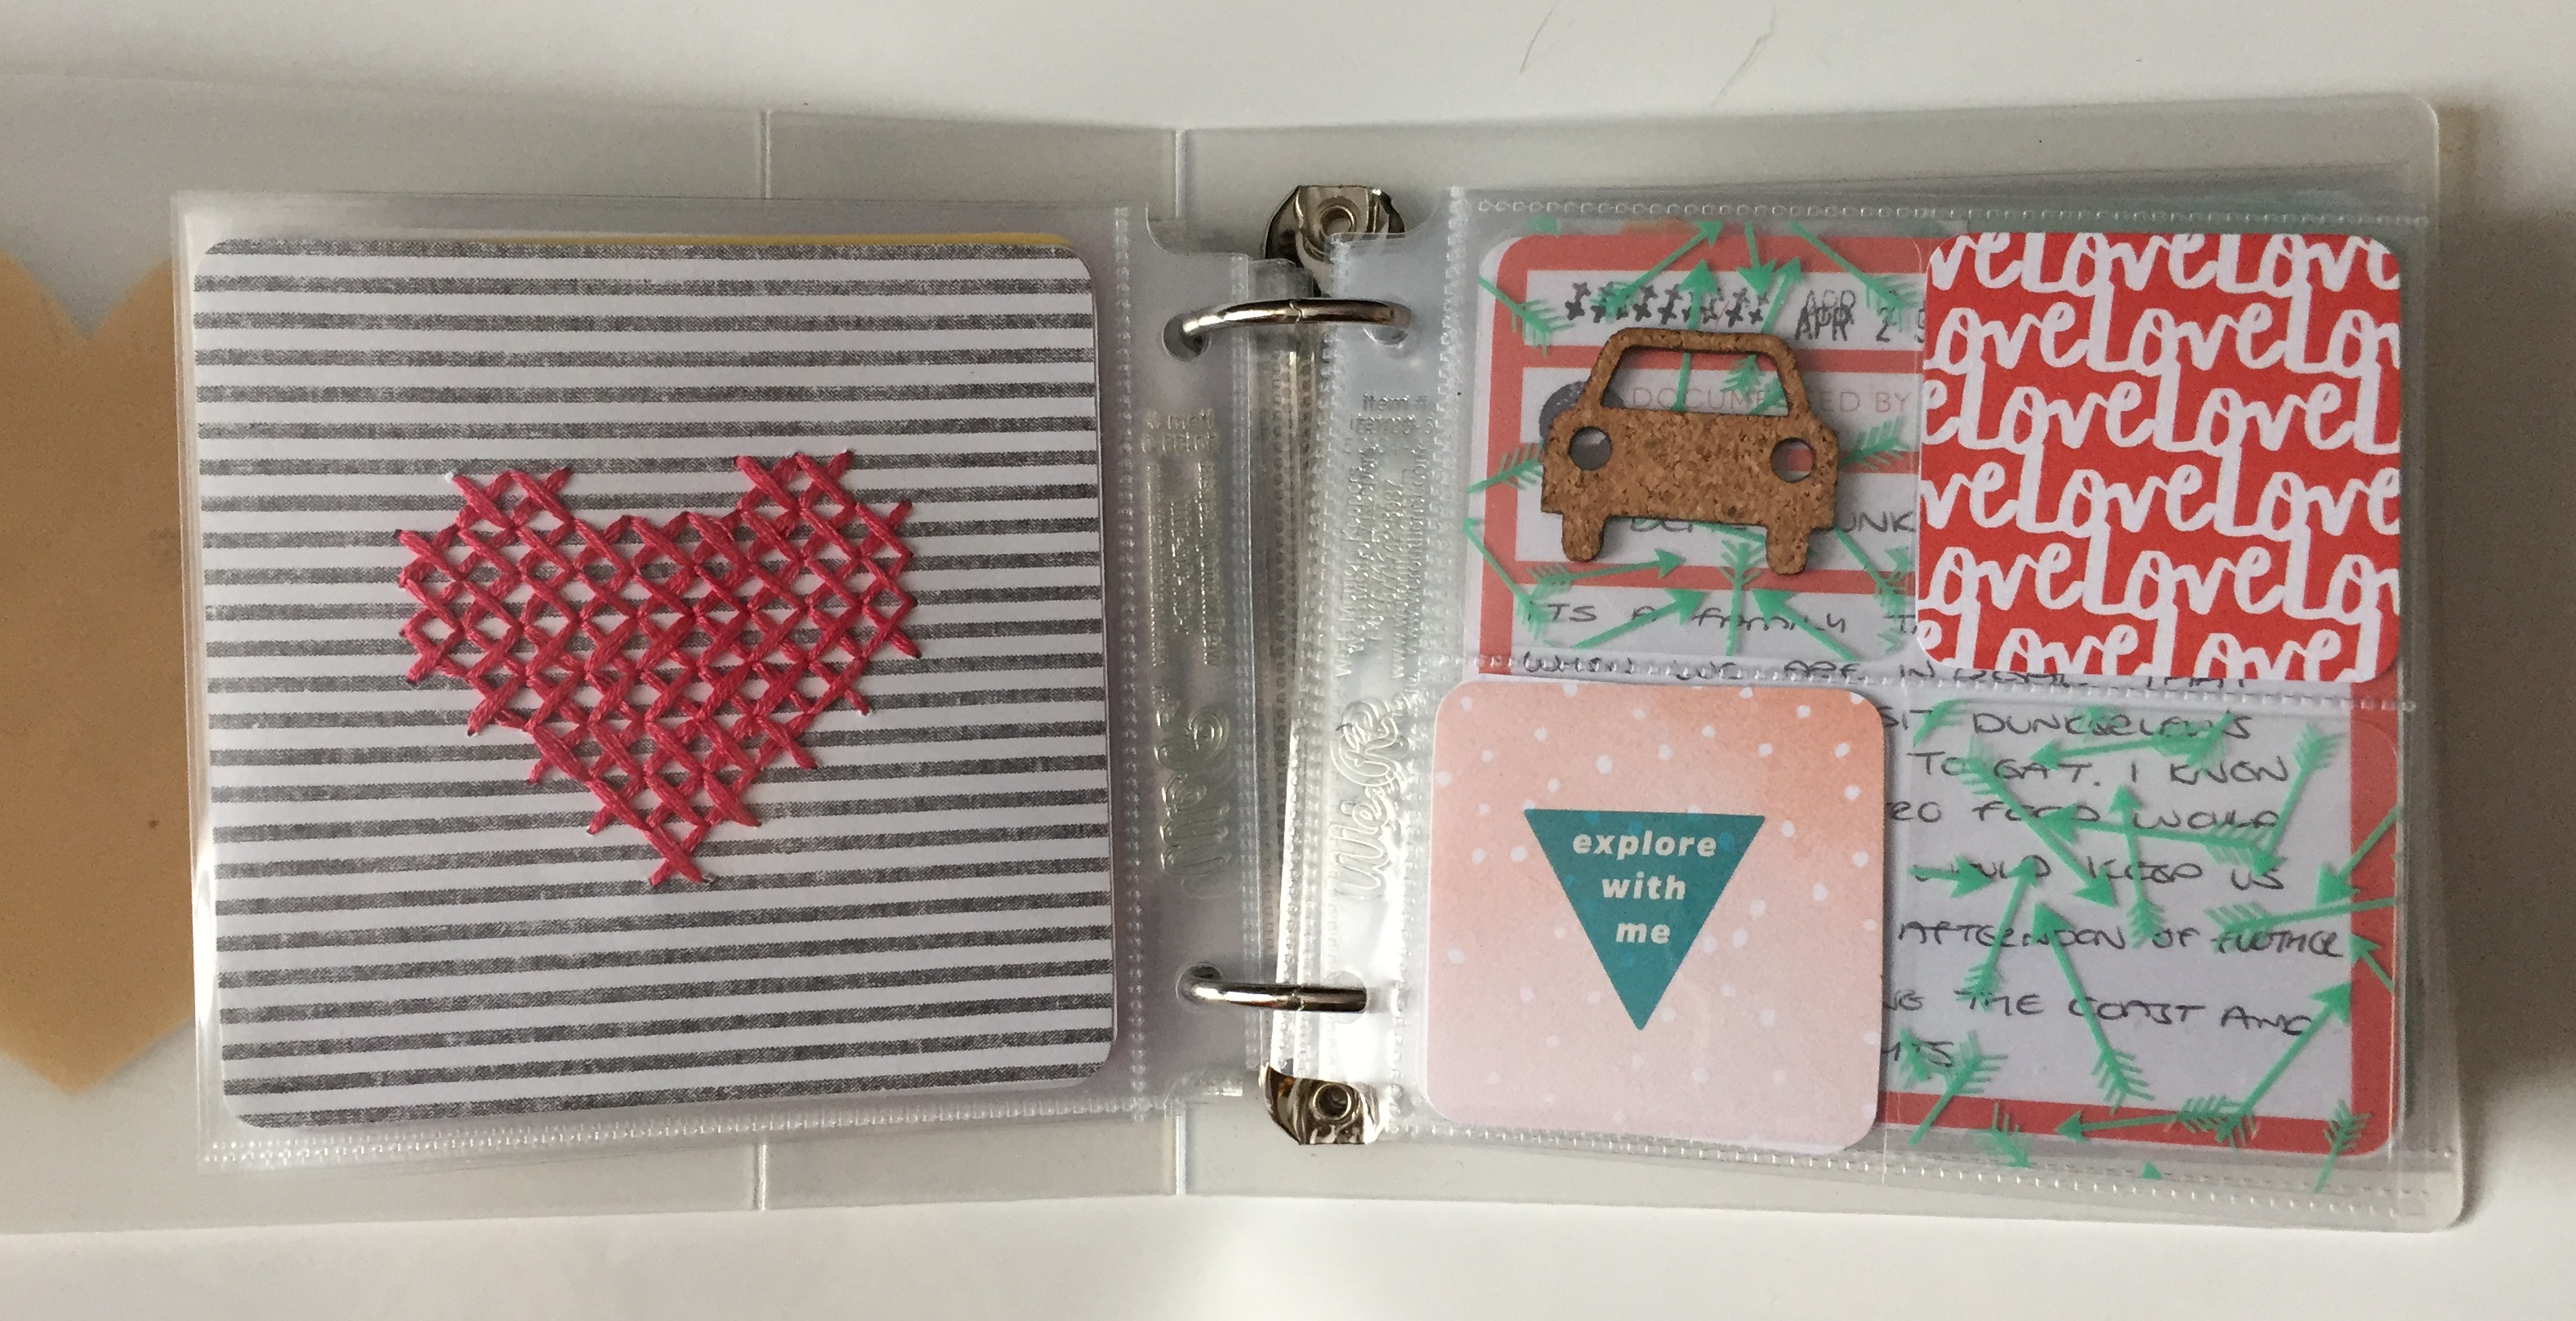
Here is a selection of the pages in the albums, you can see a complete flick through of the completed albums over on my YouTube channel HERE.


So that is my not-so-mini album project for this month, I hope you have enjoyed seeing my process of putting them together. Their are a loads of the cute 4×4 albums in the shop and I really recommend working at this size its such fun, The size also makes them really easy to store and also to take places to show people.
I hope you have a fabulous June and I will see you back in July with some more projects.