Mix it up & Get messy!
Hi Magpies!
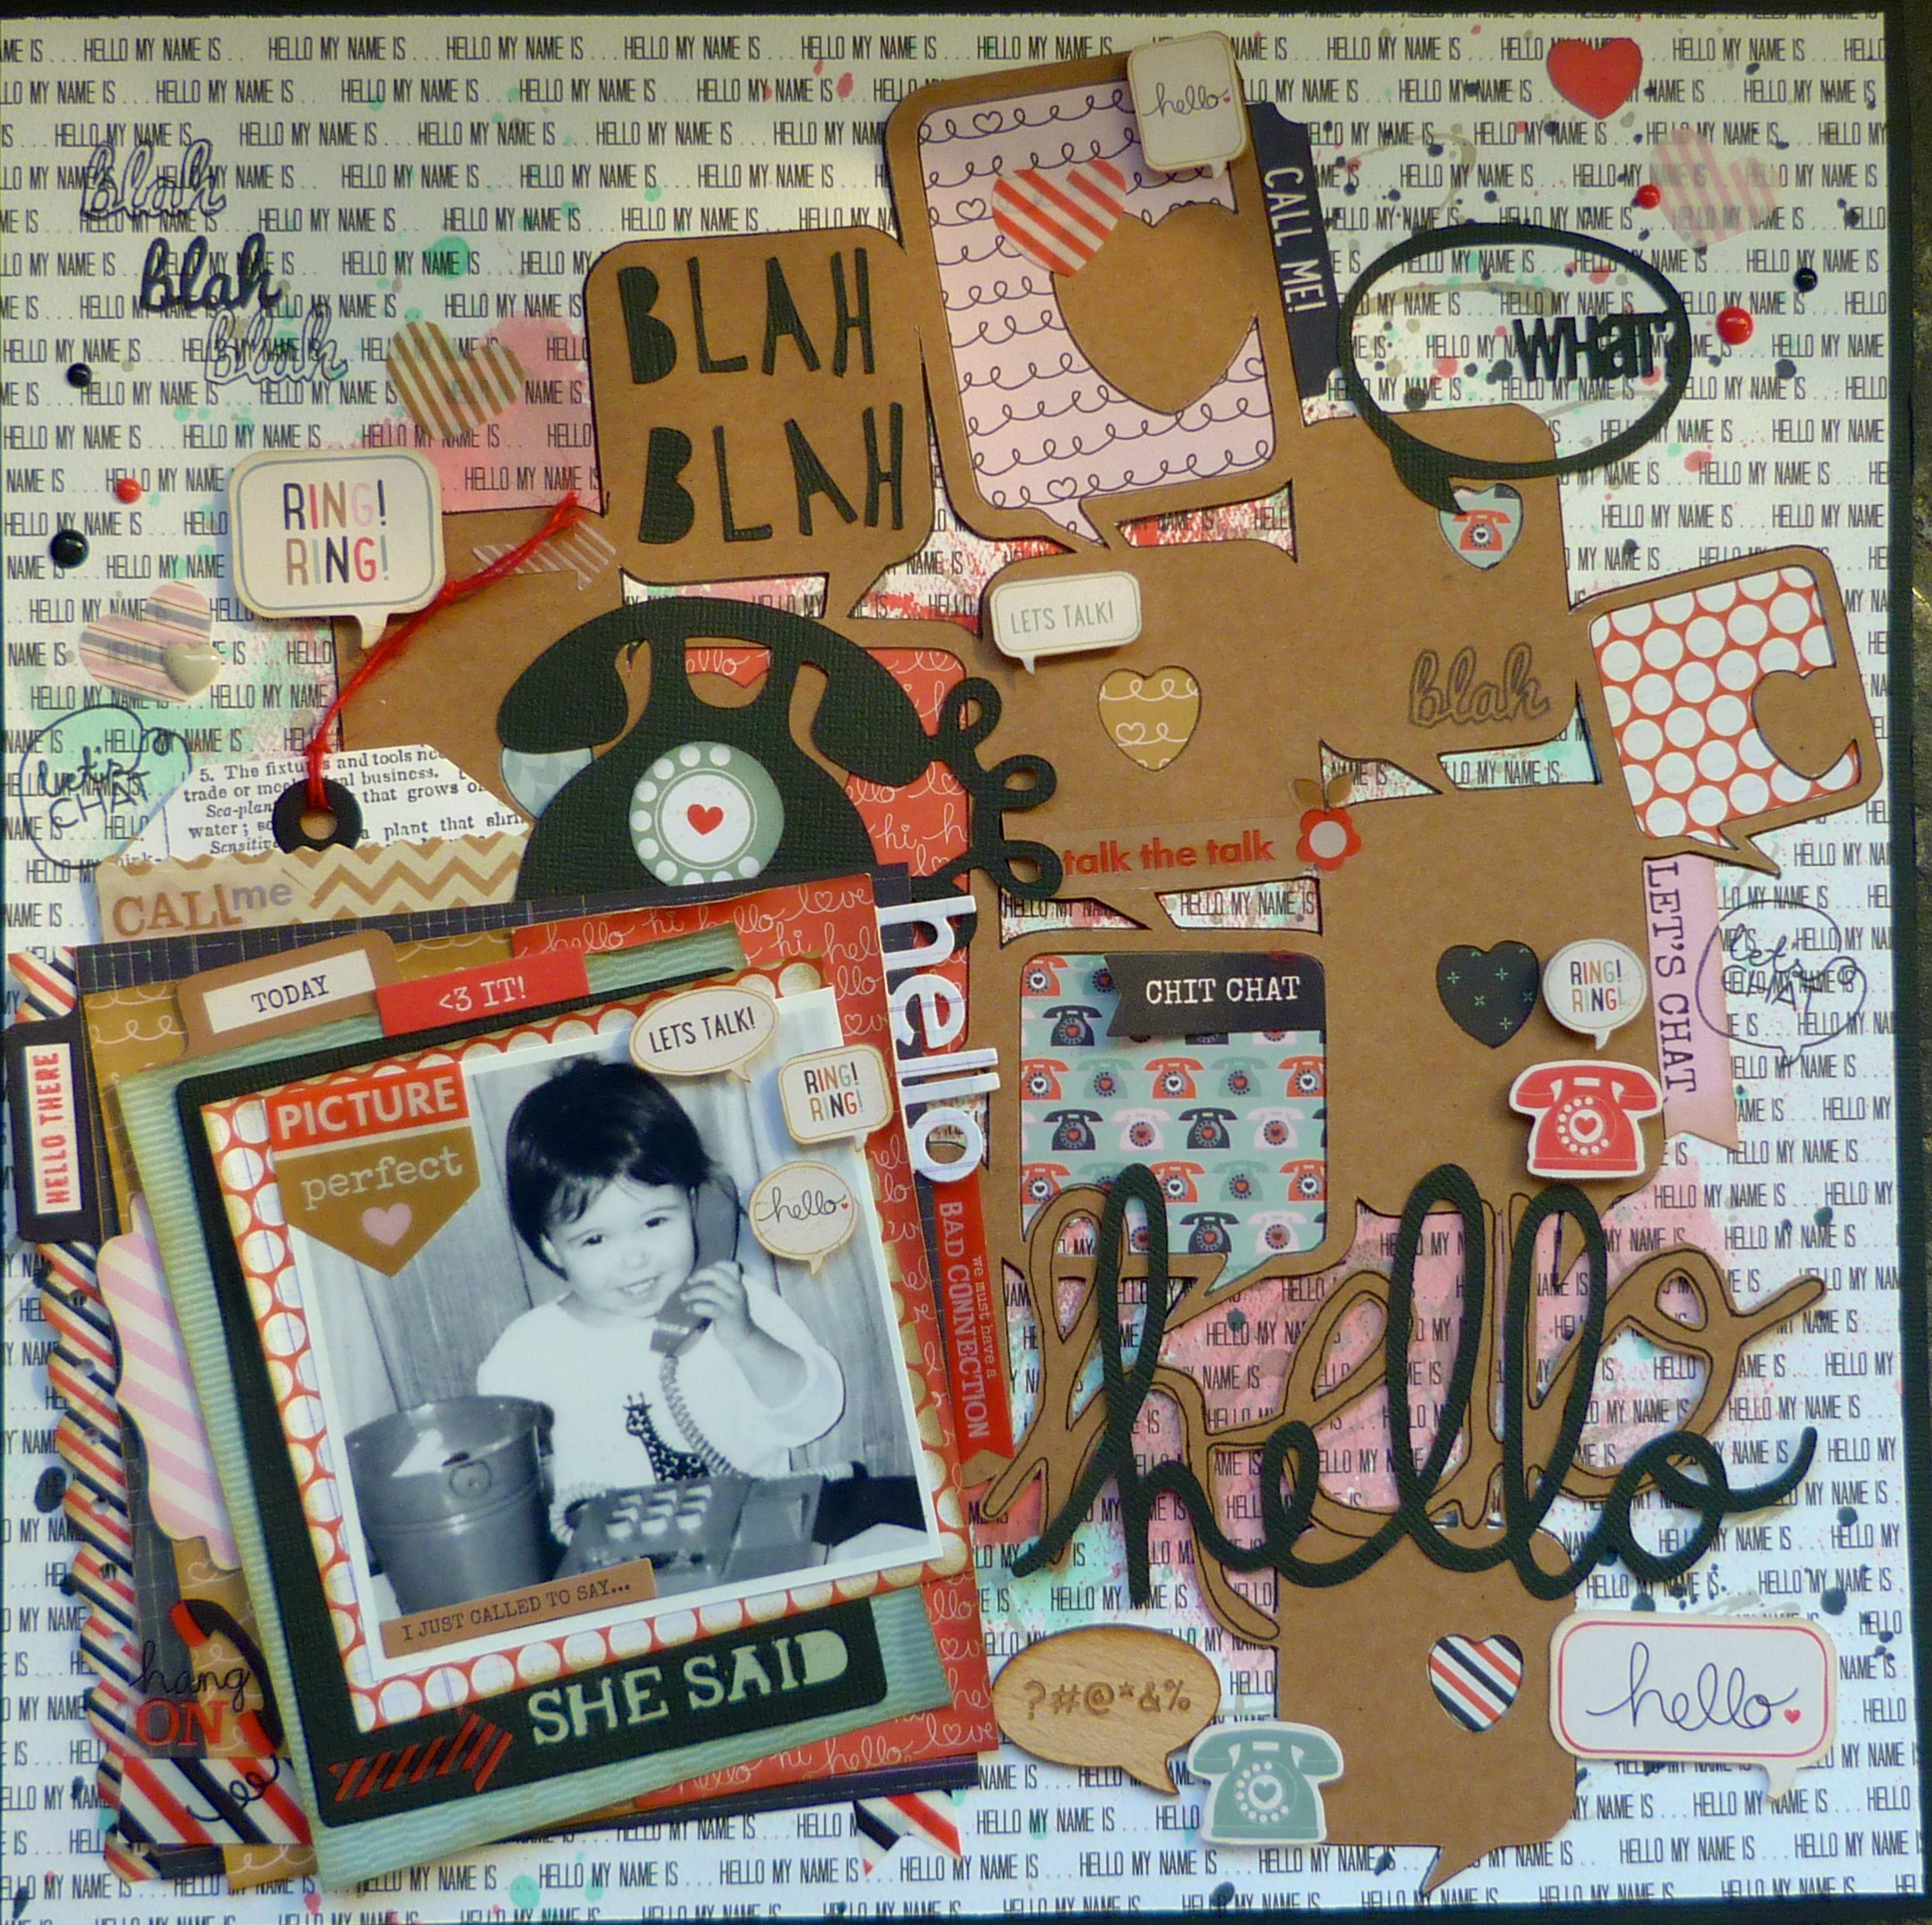
Julie here again. This month I’ve decided to get inky and messy with my layouts, using various items from the shop. For my first layout, Hello, Hello, I’ve used Pink Paislee Switchboard. It’s a gorgeous collection of soft, muted tones of kraft, red, pink, navy and a duck egg blue, which blend together beautifully.

I used Studio Calico – Mr Huey’s Mists on my background, choosing colours that matched the papers. I did this by spraying the ink and some water onto a plastic bag, and then smooching it onto the background paper, which gives it a lovely water colour effect. I also added some splatters with the mists. I used a cameo cut out, and paper pieced behind it, then added bits and pieces from the Ephemera Pack around the page. This layout is in honor of my eldest daughter, who is a real chatterbox. I’ve added hidden journaling behind the photo stating this fact.
For my second layout, You Are My Sunshine, I decided to go a bit more messy…

This layout came about from the selfie my daughter took, whilst in the car. The sunlight was shining through, and this was captured on the photo. I printed it out in three different tones, to enhance the effect. Going with the sun theme, I inked a starburst on the right hand side of some white card stock, and also cut out a starburst, which I then stitched on top of the inking. I then added a Studio Calico Gold Doilie. I cut three strips of the Studio Calico Lemon Lush paper, which I sprayed with water, distressed and curled the edges, then adding them vertically to the cardstock. I added some Gold Texture Paste, and some splatters of Heidi Swapps Colour Shine. I layered up the papers behind the photo, and cut out the title on my cameo. Using Mr Huey’s Mists, I painted the title, giving it an ombre effect. I embellished the page with Pink Paislee Chip Board Stickers, which went perfectly with the theme of the layout. I added some JilliBean Wood Sprinkles, a bit like a brad, but surrounded by wood, and on foam tape, so no sticking holes through! (Big thumbs up from me). And then for the finishing touch, I added some Studio Calico Gold Sequins.

For my last layout, BAD DOG!, I went for it, and got really inky and messy!

I used Mr Huey’s Mists (again), to give a water colour effect to the background, and added texture paste in both white and gold.

I then added some Heidi Swap Colour Shine, which I blew through a straw (seriously), to get a splattered look. I attached that paper at an angle, after distressing the edges to the Pebbles Jen Hadfield Home + Made paper, which is a dark grey chevron, so making the page POP. I have used a number of the Exclusive HLM Flair Badges, as I think they told this story & that actually, this story is about one of them!!! My little pooch, Riley, happened to get his little paws on one of the badges, which I later discovered in his bed, chewed up and soggy! But I couldn’t be too angry with him, as he was really worried, look at his face in the picture! And ironically, the saying on the badge was ‘OH NO!’ (How very apt!) I layered up the photo with papers from the Studio Calico Lemon Lush line. I added a few embellishments from the ChicTags Lets Go and Cloud 9 collections, and also some of the Wood Sprinkles from Jillibean Soup. I finished it off with a smattering of Studio Calico Sequins, and enamel dots. I love how this page turned out, and it serves as a good reminder to hide my flair badges from the pesky pooch in future! 🙂

Until next time…
