Oh My Stars, It's 2017!!!
Hello Everyone and welcome to my first post of 2017, I hope that you all had a good holiday season and are looking forward to the year ahead. My post this month is something a little bit different for me, and does not include any photos, well not yet anyway. I am however thinking ahead to the coming months.
My annual documenting for 2016 has been a bit sporadic and I feel like I have not documented everything that I wanted to, although I know I will go back and revisit the missed times, I was thinking about how I could encapsulate my favourite memories in one place. As I had mentioned previously I want to get more use from my Silhouette so decided to look in the online design store and found a great little mini album cut file. Once I had this file as a bases I set about thinking how I could create a place to store my memories.

The cut file was for 3×3 multi box albums and this worked out great as it would allow for one a month. I set about cutting out the basic cut files from a mixture of cardstock from my stash. For the patterned paper I choose to use the Oh My Stars collection from Bella Blvd. I will admit that Bella Blvd. is not a manufacture that I go to alot, but their bold, colourful pattern are perfect for this project. The 6×8 paper pad available is great as you get all the colours in the rainbow, the stars are also printed slightly smaller,and it is plain on the reverse. The collection also has black and white elements, which meant I could mix and match it with other manufactures in my stash.

This cut file is by Lori Whitlock, and is in the Silhouette store, she has created 5 3×3 box-lets that fit in a book. When I work on projects like this, especially mini books, I like to have a process in place. I start by cutting everything out, then I construct each part in turn. Their are a lot of parts to this file and you can use as many or as little as you like for your project.

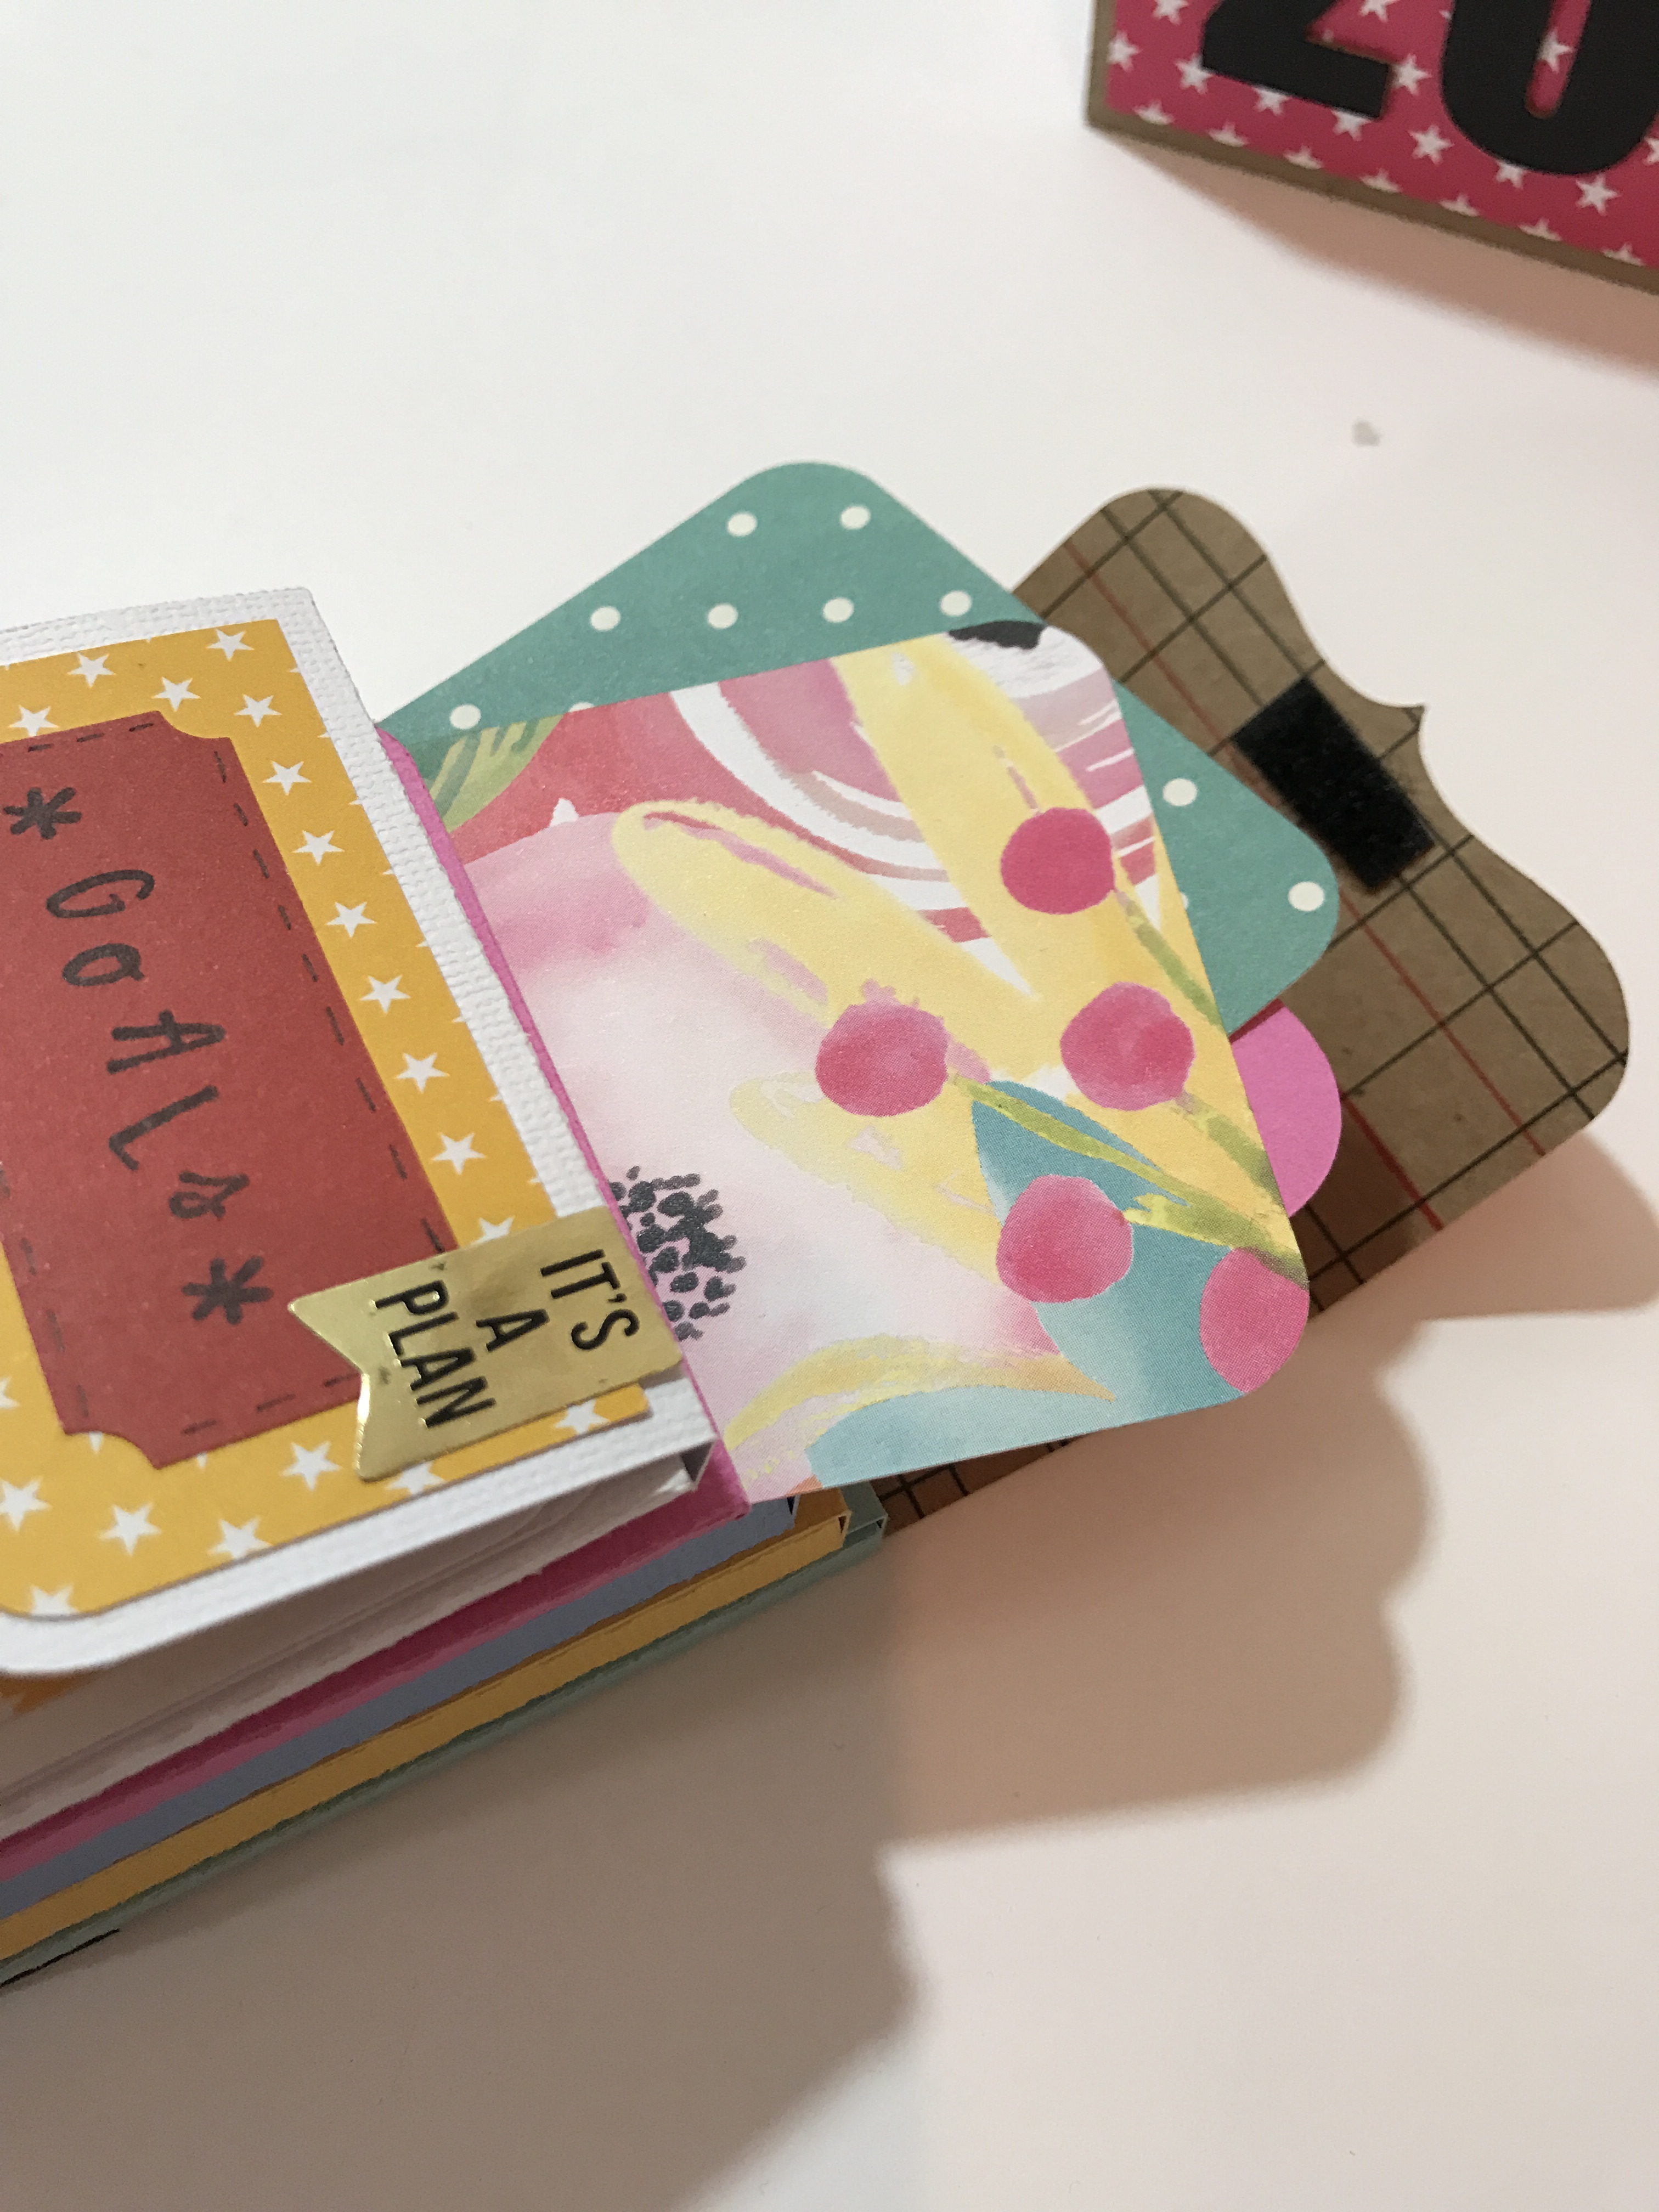
The box-lets are going to be used to hold small journalling cards and photos, as you an see their is enough depth to hold 3-4 cards in each one. I like the idea that I also might be able to keep a few bits of important memorabilia in them as well. I made 3 books that hold 5 box-lets each.

I used a punch to cut out labels and used the fab stamp set from the Hazelwood Collection by One Canoe Two on the reverse side of the 6×8 star paper. I added the month to each of the box-lets and included three for goals.
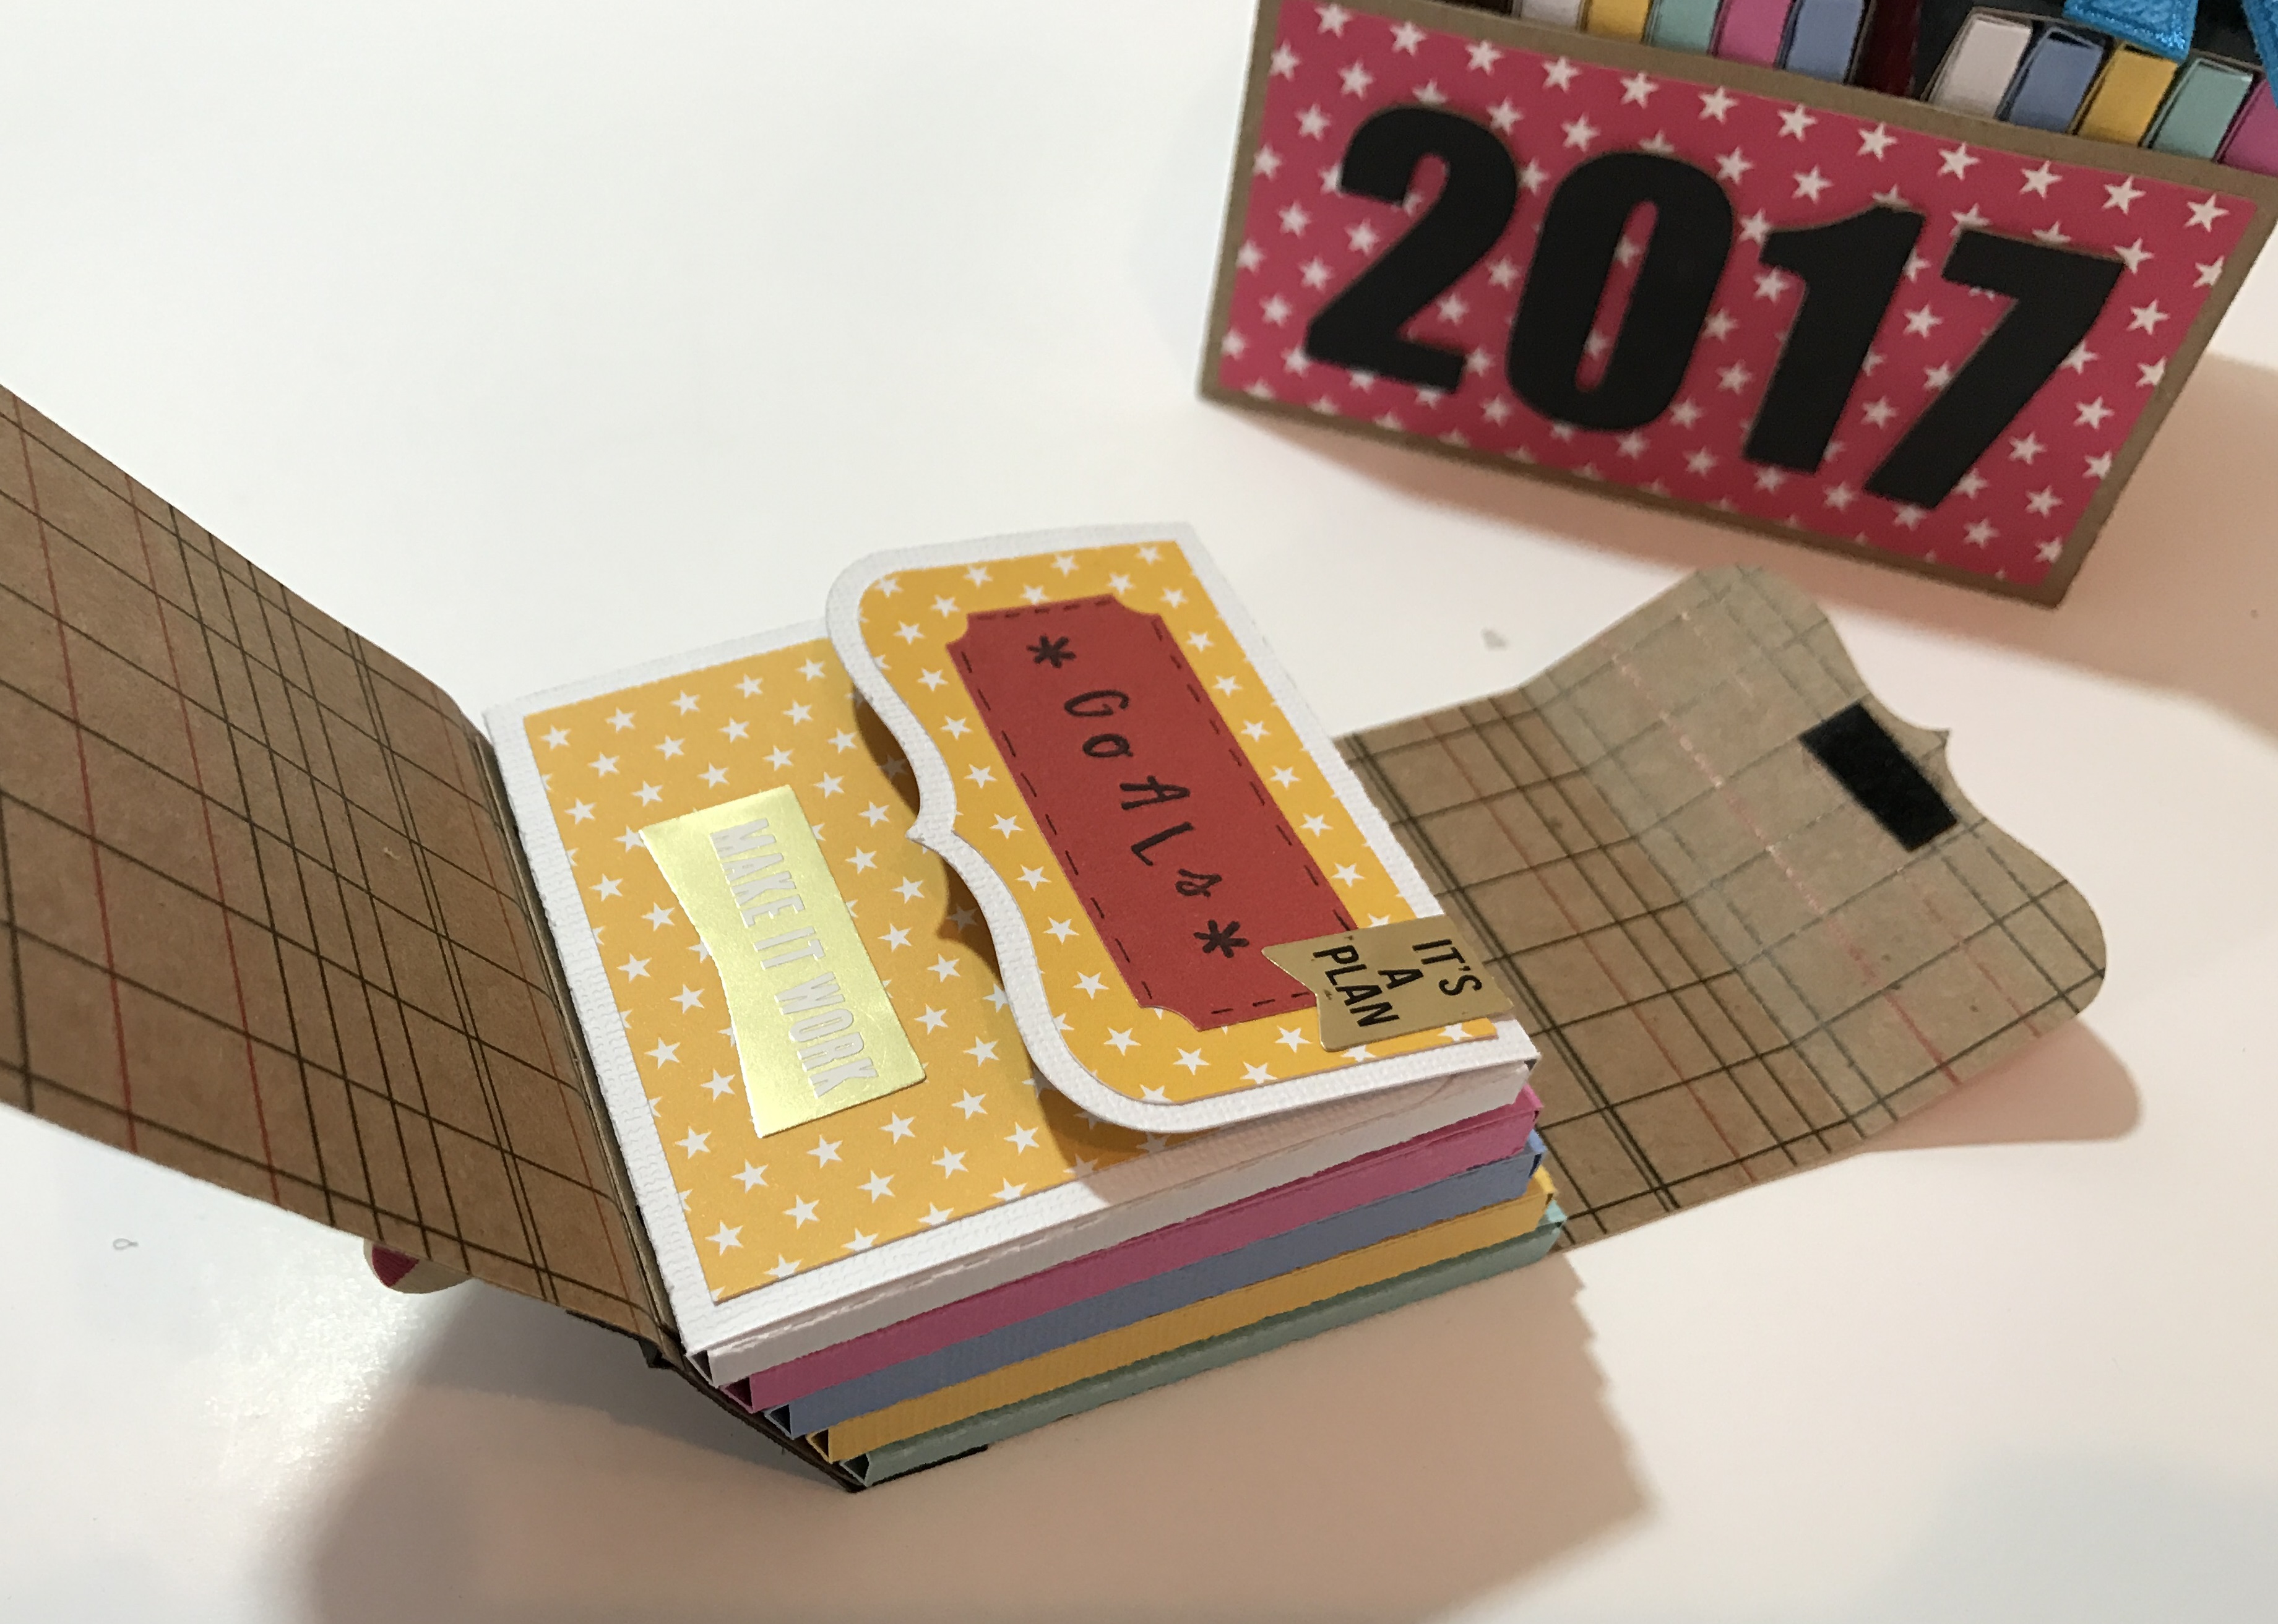
I don’t know about you but trying to make goals last a whole year never works for me, so I have decided this year to work in smaller chunks of time, so this will be great for recording these. You could also use these box-lets to record a photo of your family each month, record books you have read, or any item really. I think this would also make a great gift, it’s interactive element makes it even better to me.

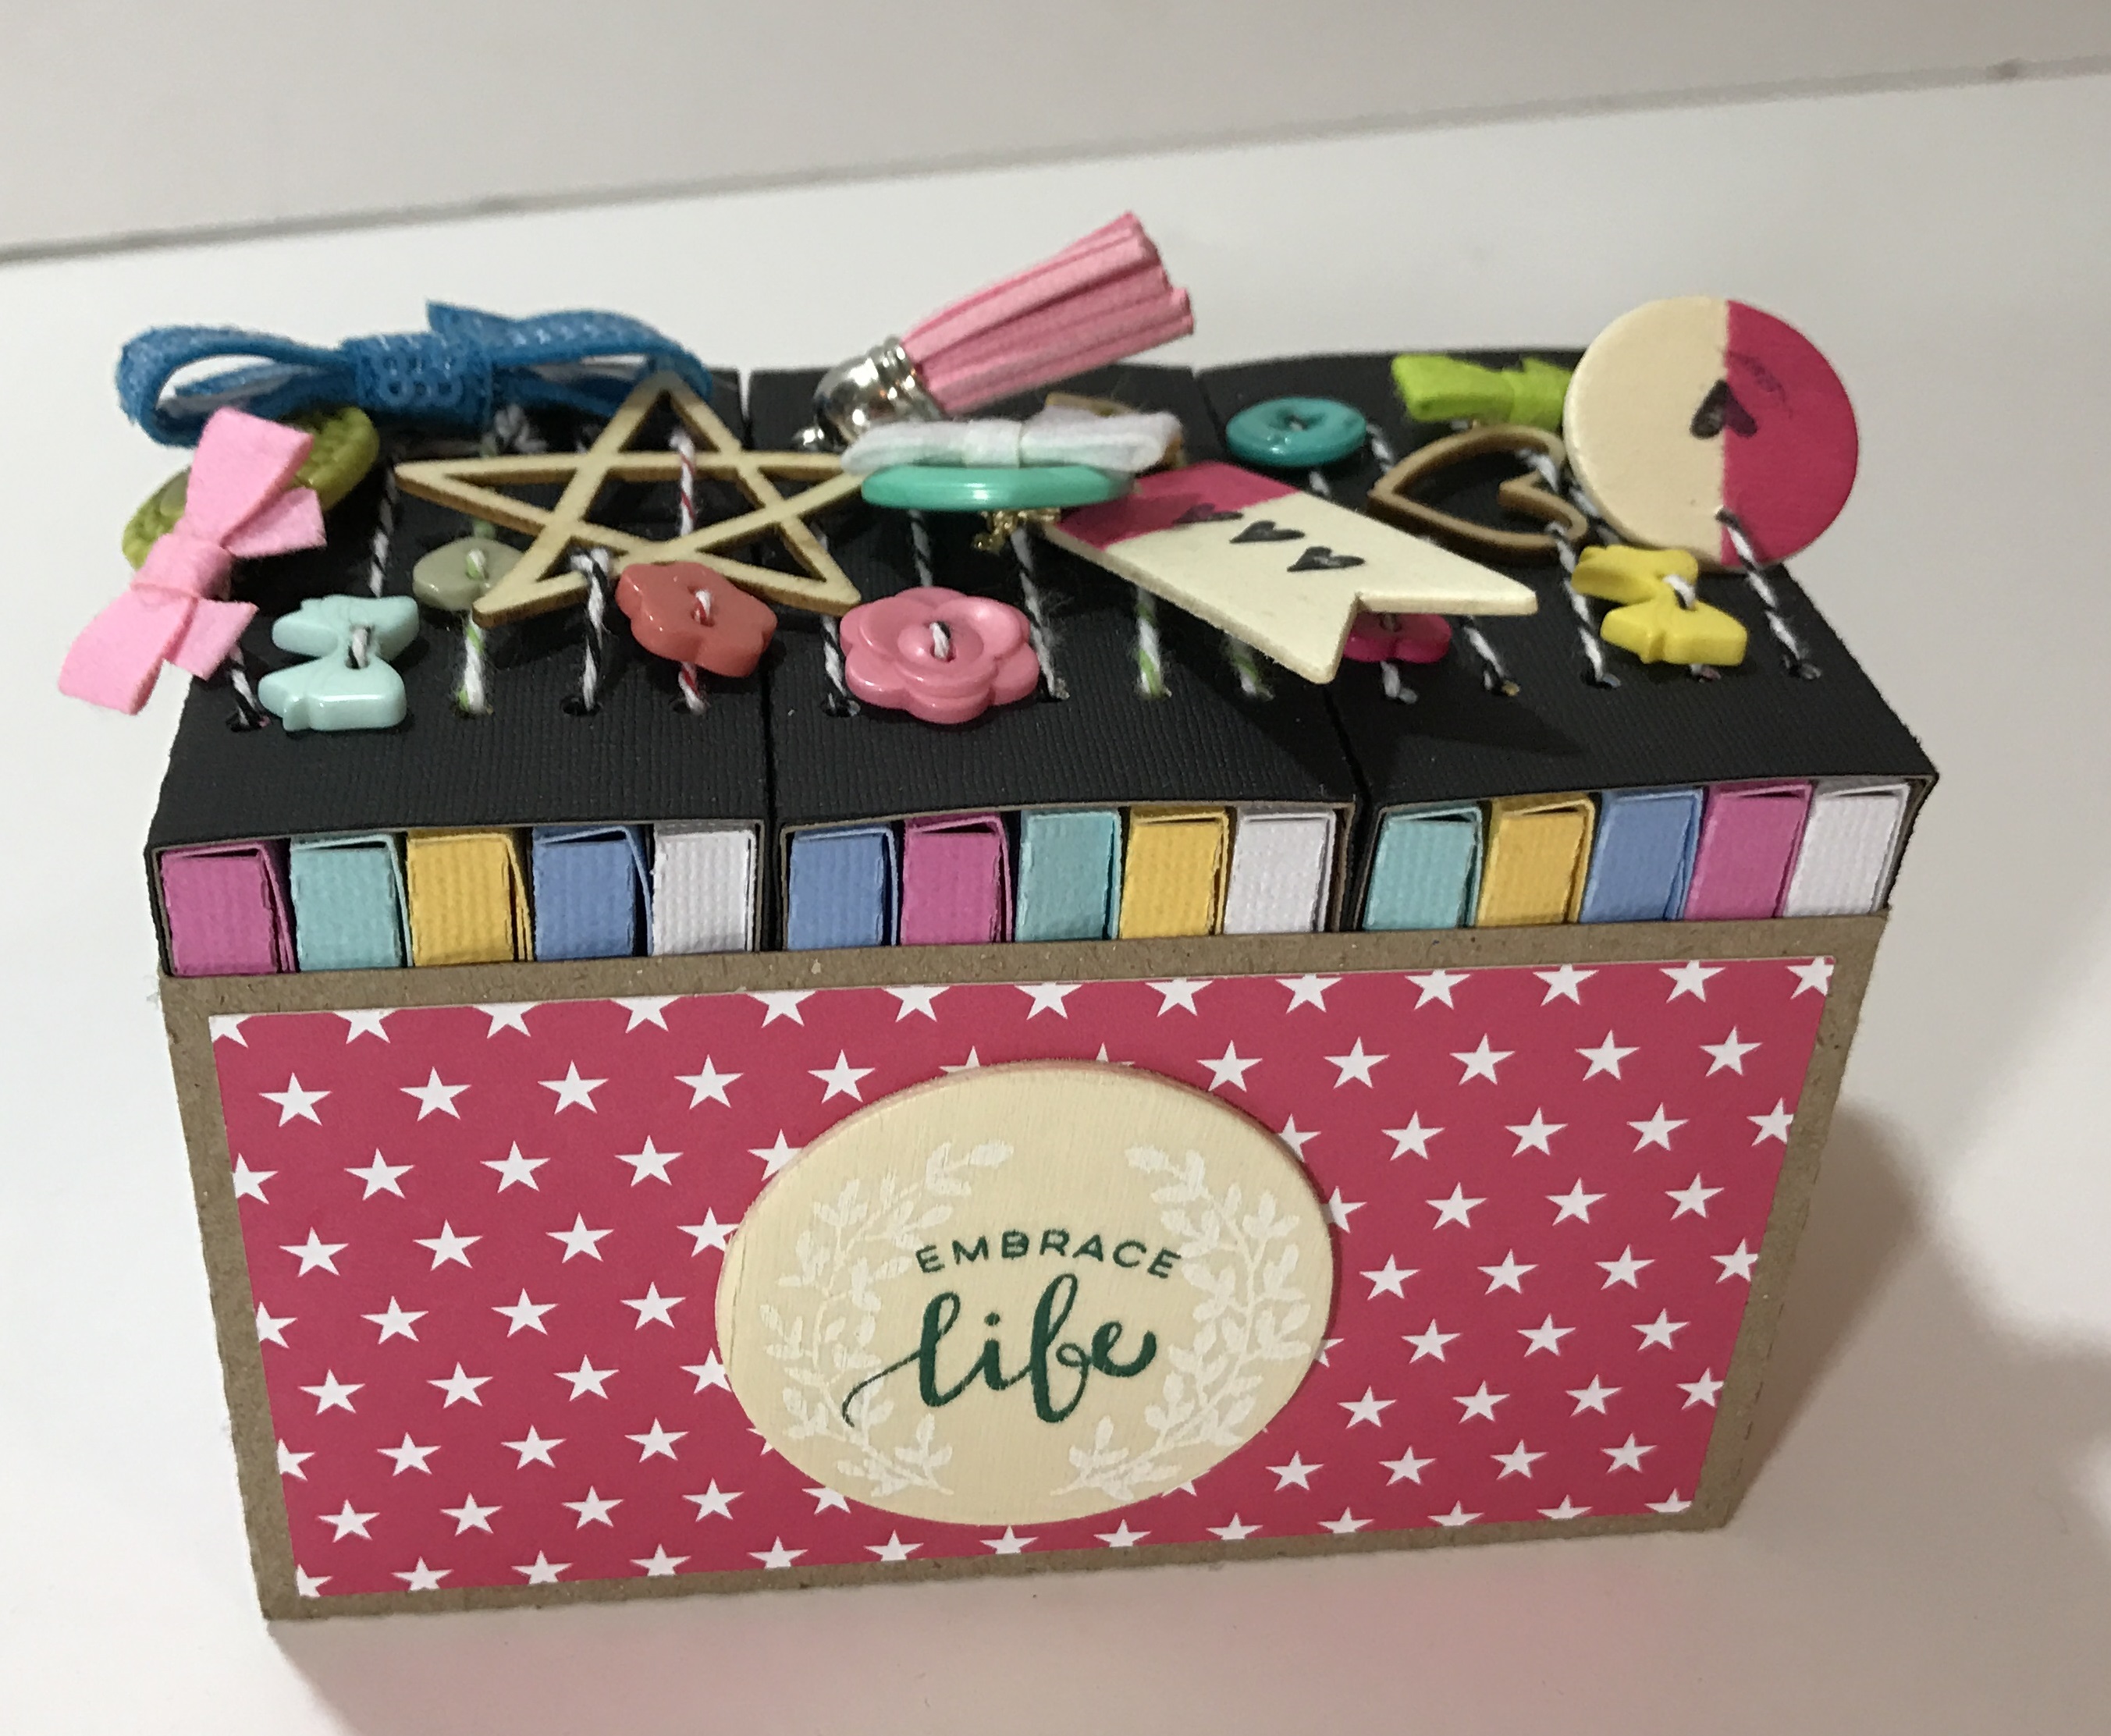
Once I have the main elements constructed I looked at the embellishments. I had a lot of embellishment bits and pieces from the Paige Evans Pink Paislee Take Me Away collection, in my stash and wanted to include these on my project. I had seen Paige Evans use some buttons on a book she has made, and decided to try and emulate this look, when binding the books. I also had some older pieces from the fab Freckled Fawn embellishments kit and one of the fab tassels that I love on my planners.


The books were simply bound using bakers twine and knotted on the inside of the individual box-lets. This meant that I could thread on the elements to the twine and decorate the twine. This also means that the individual box-lets have a bit of movement in the main book, so you don’t need to worry about getting your knots super tight as they are contained.

I used a small piece of velcro to hold the book closed.

I used some stickers from my MAMBI Happy Planner sticker stash and some from American Crafts Dear Lizzy to decorate the outside of some of the box-lets. I will decorate these and the internal flaps as I go throughout the year.

I did create a box to contain these books, and again used the Oh My Stars papers to decorate this. This will be a good place to store them over the year as I add to this project. I used several Silhouette cut layers glued together for my 2017 piece on the front, I love how this black makes it really pop.
I am looking forward to completing this project over the year, and it has been a great stash buster for some of the more chunky embellishments in my stash. The Bella Blvd. collection was a perfect bases for this project and you can use any of the range of basic colours they have to coordinate with other paper collections.

I hope you have enjoyed seeing the start of this slightly different project for me, and I hope to check in with you about this throughout the year.
Have a great start to 2017, and getting back in to routines and getting through the stash of Christmas biscuits.