Our Christmas 2011: telling the story…
I’ve always liked the idea of recording our Christmas each year, but also known that I wouldn’t be able to join in with a December Daily type project due to lack of time in the build up to Christmas. I tried a few years ago and failed straightaway!
So this year, knowing that it was also George’s first Christmas, I decided that I would make a Christmas album, but one after it had all happened, looking back at the preparations and what we did etc.
My Process:
I wanted this to be a relatively quick project to put together so I decided to start with a sketch and use this for each page. My initial sketch idea came from my main supply: a Cosmo Cricket 6×6 paper pad. I decided to cut each page down into quarters and then use a mix of these smaller squares as a base for my photos.
My Sketch:


My Method:
1. Cut down the paper pad in to quarters.

2. Then add the squares of paper to the cardstock, mixing up the colours and patterns.

3. Add the titles using black and red dymo tape.

4. Tie twine around the pages to look like parcels (I chose kraft cardstock to tie in with a Chrismtas present-like theme too).

5. Add embellishments. I used some matching Cosmo Cricket stickers and a MME die-cut sheet.


6. Print off photo collages. Click here for a tutorial on how to use Picasa to do this. Trim and add to pages.


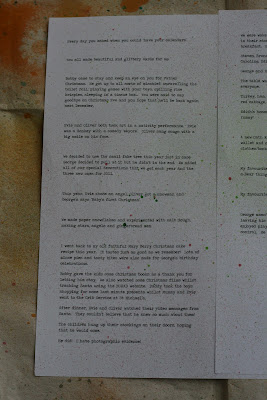
7. Type and print journaling (I used a typewriter font): there are lots available at www.dafont.com. I misted the pages with red and green ink before cutting down the strips and adhering to each page.


8. My finishing touches were to stamp and emboss on the pages to fill in any gaps.

Working in this methodical way meant that I could quickly prepare pages and
complete my project, something that doesn’t happen often for me when I begin a mini-album like this.
complete my project, something that doesn’t happen often for me when I begin a mini-album like this.
Pop back tomorrow, to see my finished album.


My Supplies: