Pink Paislee – Fancy Free
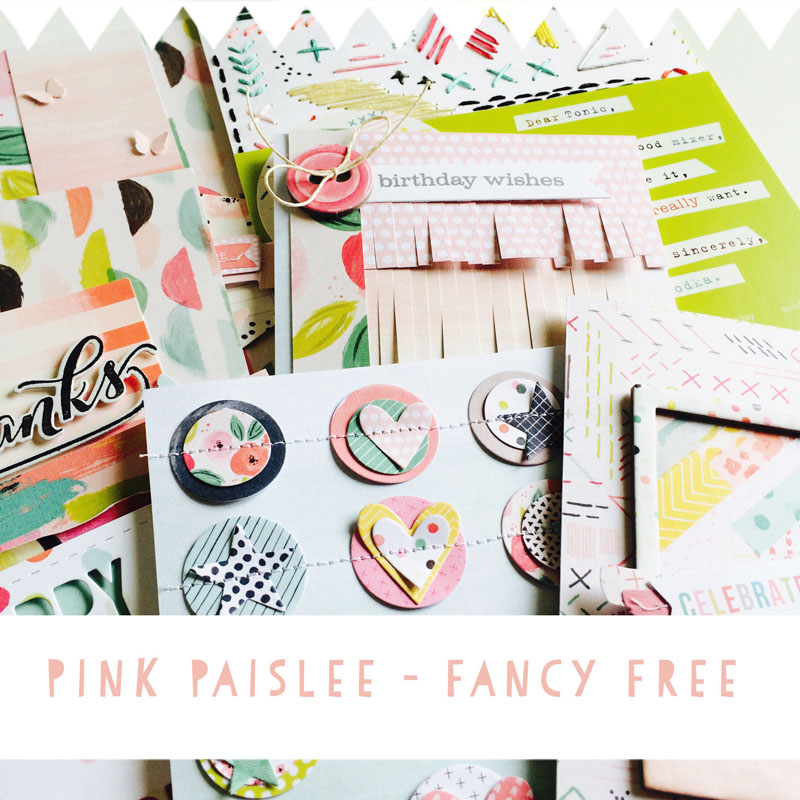
Hi everyone, it’s Nat here with some fresh new projects I made with one of the hottest collections released this year! I definitely wasn’t alone in adding the Pink Paislee – Fancy Free collection to the top of my wish list back when the sneak peeks were released earlier this year. It has been a hotly anticipated collection and boy did it fly out the store when it went live.
Sadly a number of the items I managed to snag are now out of stock, but many of the 12×12 papers (which are super lush by the way!) are still in stock as are a few embellishment items from the line – everything that’s left can be found here.
As you all know I am a cardmaker at heart and the 6×6 pad in this collection is probably one of my favourite 6×6 pads ever. All of the designs are perfect for cardmaking, in fact the 6×6 designs do lend themselves better to cardmaking.
I usually buy 12×12 sheets for cards as I like the bolder and larger format of the patterns you get on 12×12 sheets, but in this case the scaled down versions are ideal and not too busy. So if you managed to grab a 6×6 pad then I have a few projects to share that you might enjoy.
There are some pretty awesome and versatile 12×12 sheets that have made it onto my card projects too – here are my favourites:

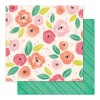
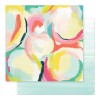
They’re great for backgrounds plus sheets #03 and #06 are fantastic for punching or die-cutting small accent shapes and adding them to projects.
I also used chipboard stickers, cardstock tags, and layered stickers from the collection for my projects.
So on with the cards!

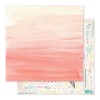
I absolutely love this colour-wash background from the 6×6 pad and really wanted to pick out some of the bold colours to use for my greeting. I used the 12×12 version of the #04 paper for the main panel. The paper behind it is the 6×6 version of the #10 paper.
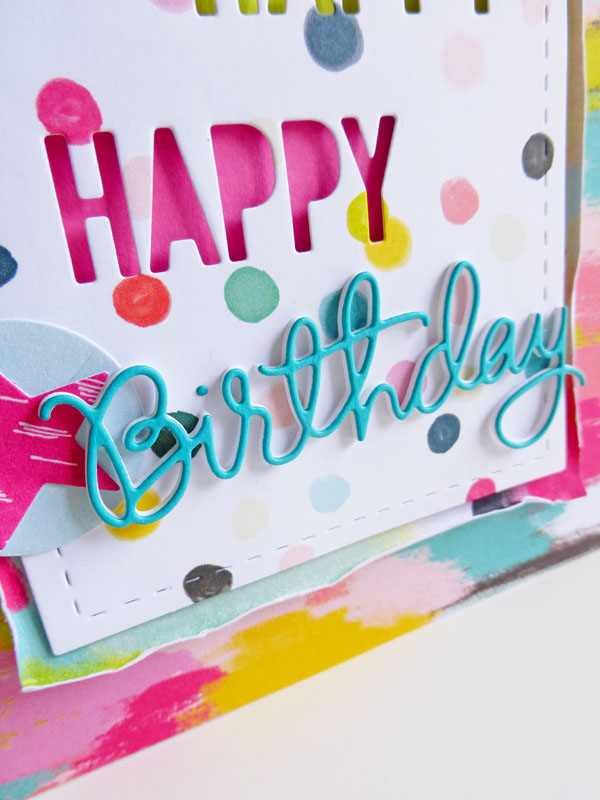 Tip: To get my die-cut greeting to stand out more and since it’s a rather delicate die cut, I cut it from white cardstock 3 times then once in the teal and layered the die cuts up.
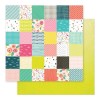
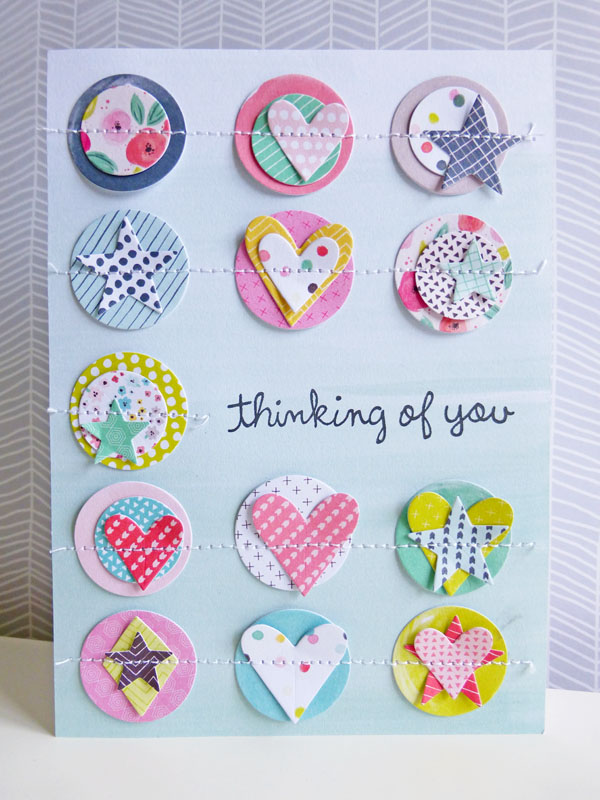 This card features one of the things I love most about this collection – the #03 and #06 paper designs are made up of squares and circles perfect for punching and die cutting little details. I used the full sheet of the 6×6 #03 design for all the circles, stars, and hearts on this card. The B-side of the #10 paper provides the perfect background and all that’s needed is a simple stamped greeting.
 I just love all these little details layered up and stitched on.
 Next I went with some of the bold tones – including the floral chipboard sticker. I offset all those bright shades with a strip of grey chevron B-side of the #04 paper. And the pink cardstock tag provides a great background for a greeting.
 Tip: I really love the paintbrush style of the backgrounds in this collection, so I tried out a technique for applying ink to your stamp to replicate that look – once you have dabbed your ink on, swipe your ink pad over the stamp before stamping and it creates this brushstroke look.
 Sticking with the florals I used the 6×6 version of the lush #07 paper – the 12×12 version also lends itself well to cards, plus it features a great green striped B-side.
 I used the matching cardstock tag and paired it up with the matching layered sticker for my greeting. I finished the card off with a few butterflies punched from the ombré pink paper.

This card was a very simple one to put together and uses up some left-over scraps from the earlier cards I made. Just snipping away with your scissors to create some fringing and you have a much more interesting background.
 All that was needed was a greeting and the hot pink chipboard button to complete the look.
 For my last card I wanted to use that lush #02 stitch design and the quilt design of the #05 paper from the 6×6 pad. I added a chipboard frame and one of the layered stickers for the sentiment.
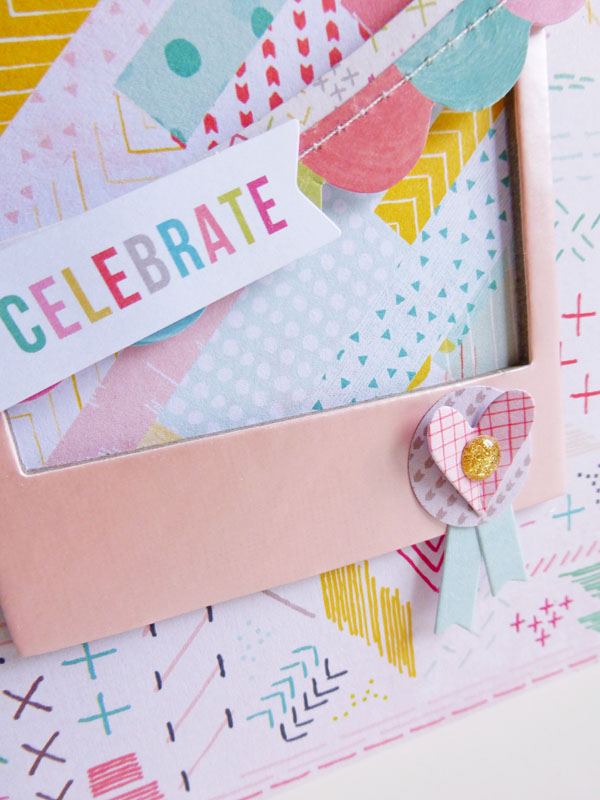 As a finishing touch I used my left-over die cuts from earlier and added a sparkly gold enamel dot.
I also wanted to get back to a little pocket scrapbooking this month – I am so behind on my album but it’s not like the photos are going anywhere just yet!
I’ve been using a desktop calendar for that year as a way to record the month, and it so happened that June’s insert was a very zingy lime green – perfect for this collection!
I also happened to have a plan for how I wanted to use the #02 paper – and it involved some lovely colour matching:
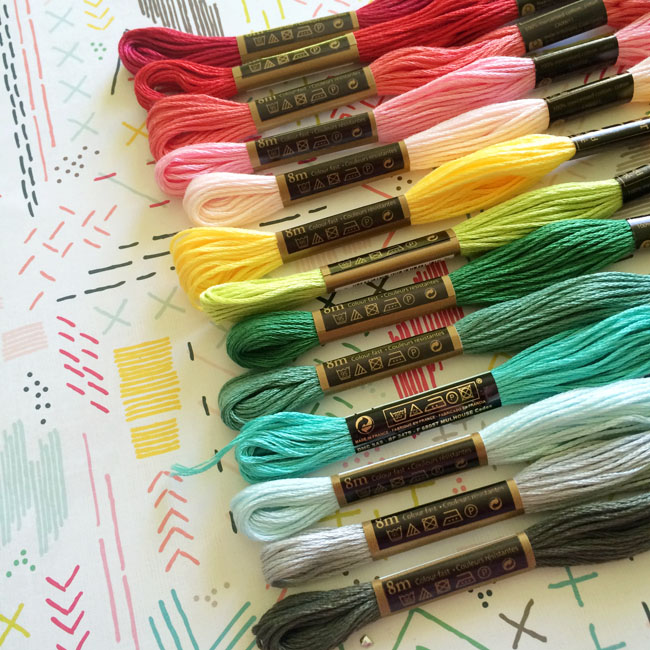
Armed with my rainbow of colours I sat down to some catch-up TV and stitched the strip of paper ready for use in my album:

The end results were very satisfying:
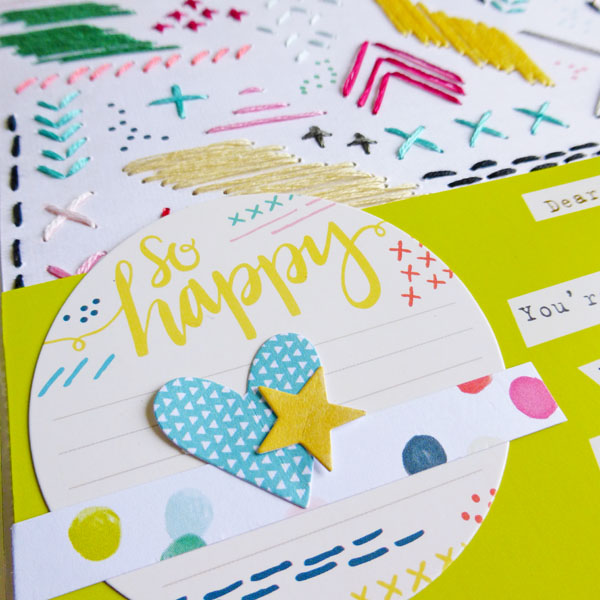
 Here’s a little close-up of the top where I added a cardstock tag to the mix and more left-over die cuts:
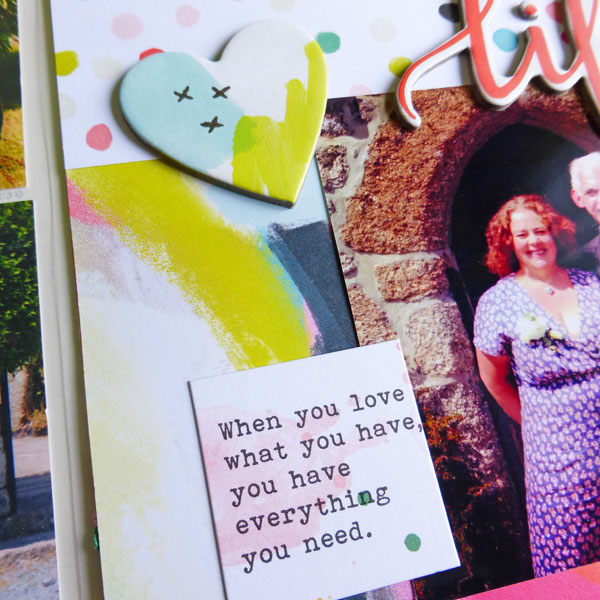
 And a few more details:
 This time I used the 12×12 version of the #03 paper to punch out the circles to go with more of my left-over die cuts from the 6×6 pad.
This next page uses up a lot of the 6×6 left-overs together with some of the 12×12 papers.
 I added cardstock tags and chipboard accents from the collection plus more journaling stickers from Simple Stories and Pink Fresh Studio from my stash.
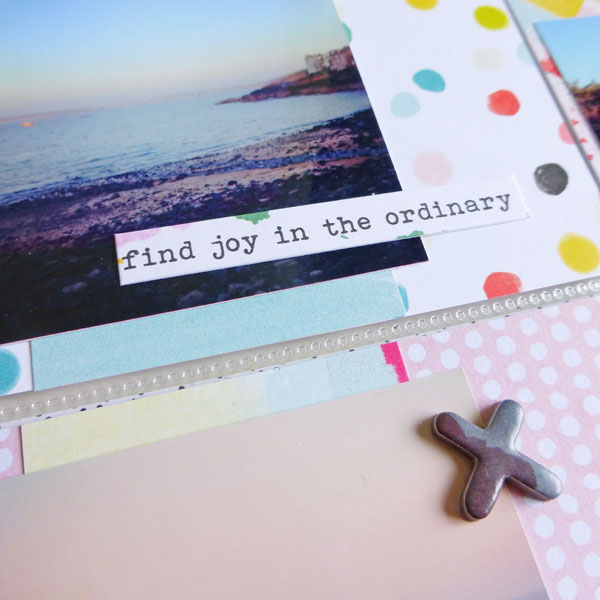 On the next pages are mainly photo pockets:
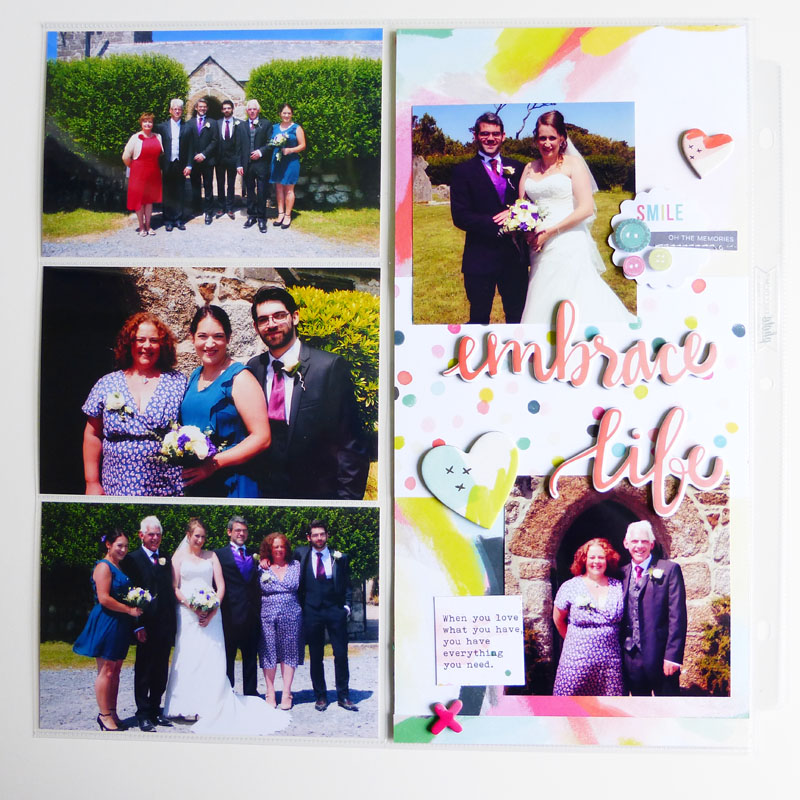 I used the #04 and #10 paper as the background for the 6×12 panel and added more chipboard accents:
As well as another layered sticker:
 And finally on the last page in this series there was just one pocket to fill with paper:
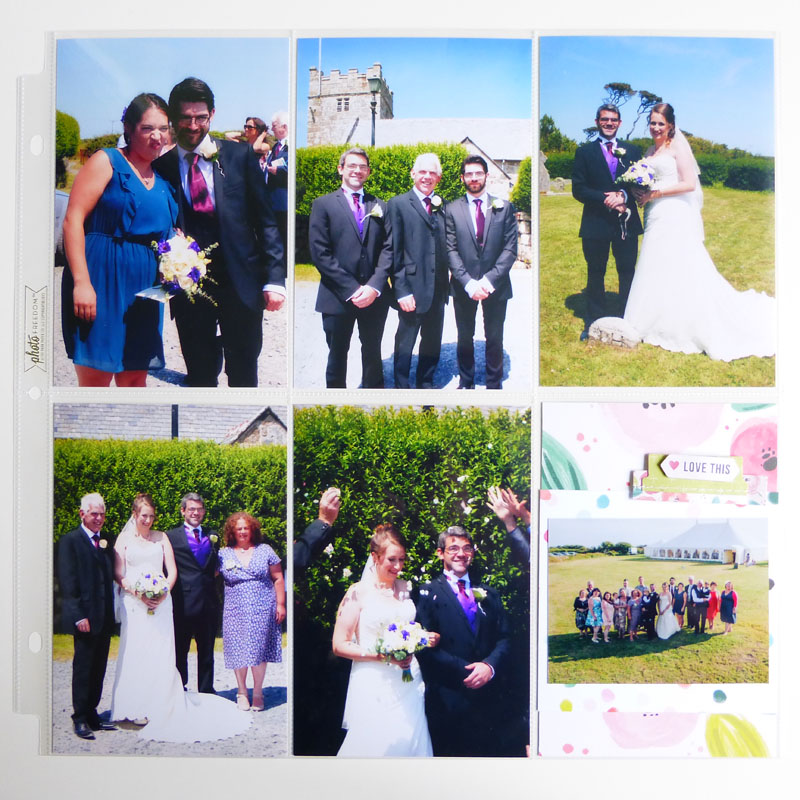 And I used the lovely #07 paper for that with more of the #04 6×6 paper left over from earlier:
 Another layered sticker was the perfect finishing touch.
Well that’s it for this month – I hope you enjoy using this collection as much as I have.
Happy crafting!
