Document December – Part 2

Hello! I for one can’t quite believe the first week of December has already been and gone, can you? Well, as promised I’m back with the second part of my Document December blog series and I’m sharing the first week (ok, actually from 1st through to the 6th) of my album. (You can check out Part One here.)
This album is based on the December Daily project, a concept originally conceived by Ali Edwards. I have been making some form of December album since 2006 and participating in December Daily since 2008. At the weekend I dug out all my completed albums since 2006 and put them on display in the kitchen for everyone to pick up and look through during the season. I put the larger albums on a tray on the sideboard and the smaller ones in a basket on the windowsill.

Back to this years album… as you’ll see in the top photo I did eventually decide what to do with the cover of my Simple Stories Claus & Co 6×8 album, I covered it in patterned paper. It’s easy to do, but I thought I’d take some step by step photos for those of you who may not have done this before. You’ll need two 12×12″ sheets of matching patterned paper (cut to 8 x 12″) to cover the front and back of a 6×8 album and one sheet of another patterned paper for the inside (two pieces cut to 6 x 8″). I used Simple Stories ‘Crisp Air/Gingham’ paper from their Pumpkin Spice collection for the outside covers and Shimelle ‘Light’ paper from the Christmas Magic collection. You’ll also need double-sided tape, scissors and a glue stick.

On the front of the album I wanted a simple embellishment cluster with the year and a hint of blue. I pulled out some light blue thickers from my stash for the year, a gold transparent star sticker from American Crafts – Deck the Halls collection, a word sticker from the Simple Stories ‘Claus & Co’ Sticker Pack and some red foil stickers from the Simple Stories ‘Claus & Co’ photo stickers pack.

I had already made the opening pages for my album in Part 1, see link above. First there’s a gold glitter heart transparency, which is from the Maggie Holmes ‘Shine’ collection. On to which I added chipboard thickers from Shimelle’s Christmas Magic collection and a word strip from the Simple Stories sticker pack.

Second page has ‘Wrap’ paper from Shimelle’s Christmas Magic collection, a glitter B from American Crafts, red foil stickers by Simple Stories, a blue rubber charm by Pinkfresh Studios and enamel dots from my stash.

Next I added a page with a typed tag explaining what this album is about and a cute vintage style calendar which I downloaded from the loveliest blog ‘Stitch in Time’ (Thanks Marie for giving me permission to share it).

I used my 1970’s vintage typewriter to type the tag and added this cute typewriter die-cut from the Simple Stories ‘Claus & Co – Bits & Pieces’ pack, plus a heart sticker from the 12×12 Fundamentals cardstock sticker sheet and bakers twine from my stash.

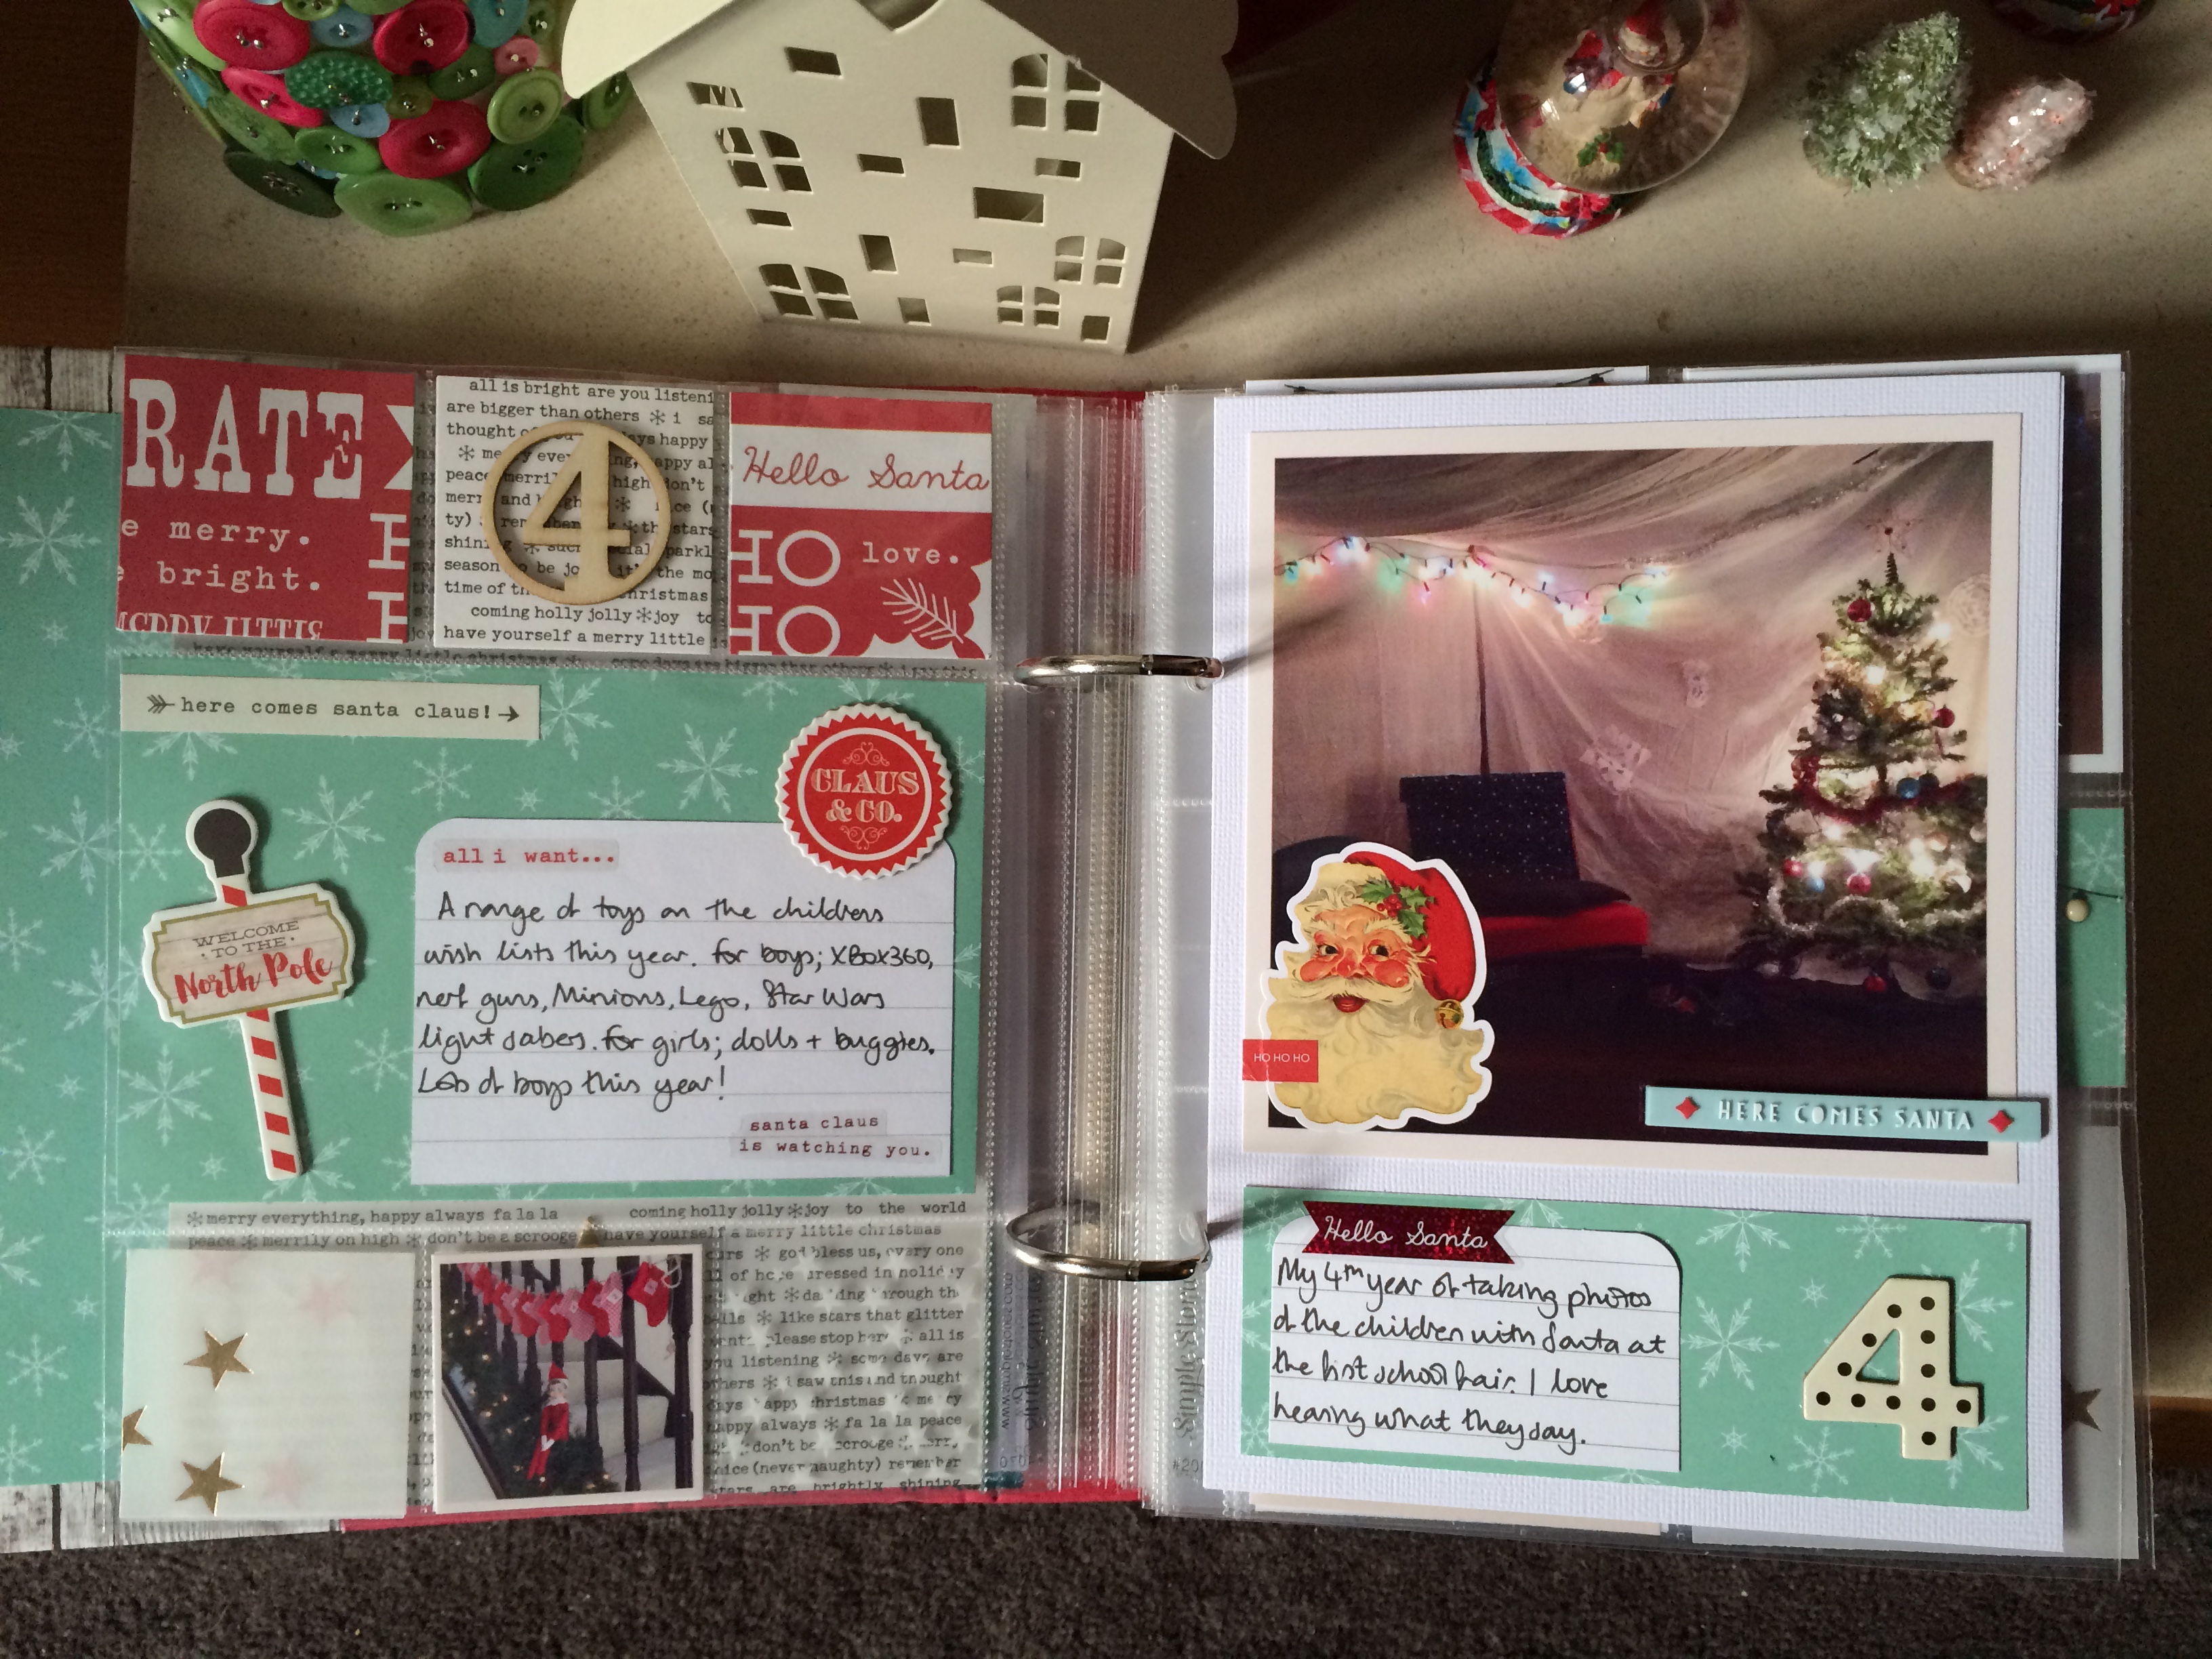
December 1st. I embellished the base pages from my Part 1 blog post with stickers from the Simple Stories Claus & Co collection and a word sticker by Studio Calico. I also filled a pocket with Heidi Swapp Marquee Love glitter and some wood veneer stars from my stash and sealed it closed with my WRMK Fuse tool.

December 2nd. In addition to the pre-made base pages I added gold chipboard stars and word stickers (blue) by Studio Calico, plus an adhesive brad and word stickers by Simple Stories.

December 3rd. I added a red word sticker and gold stars by Studio Calico, plus rubber charms by Pinkfresh Studio and a glitter enamel star by Freckled Fawn. As you can see I added an extra page protector to contain this years Christmas card (see the bottom of the post for more details about the card).

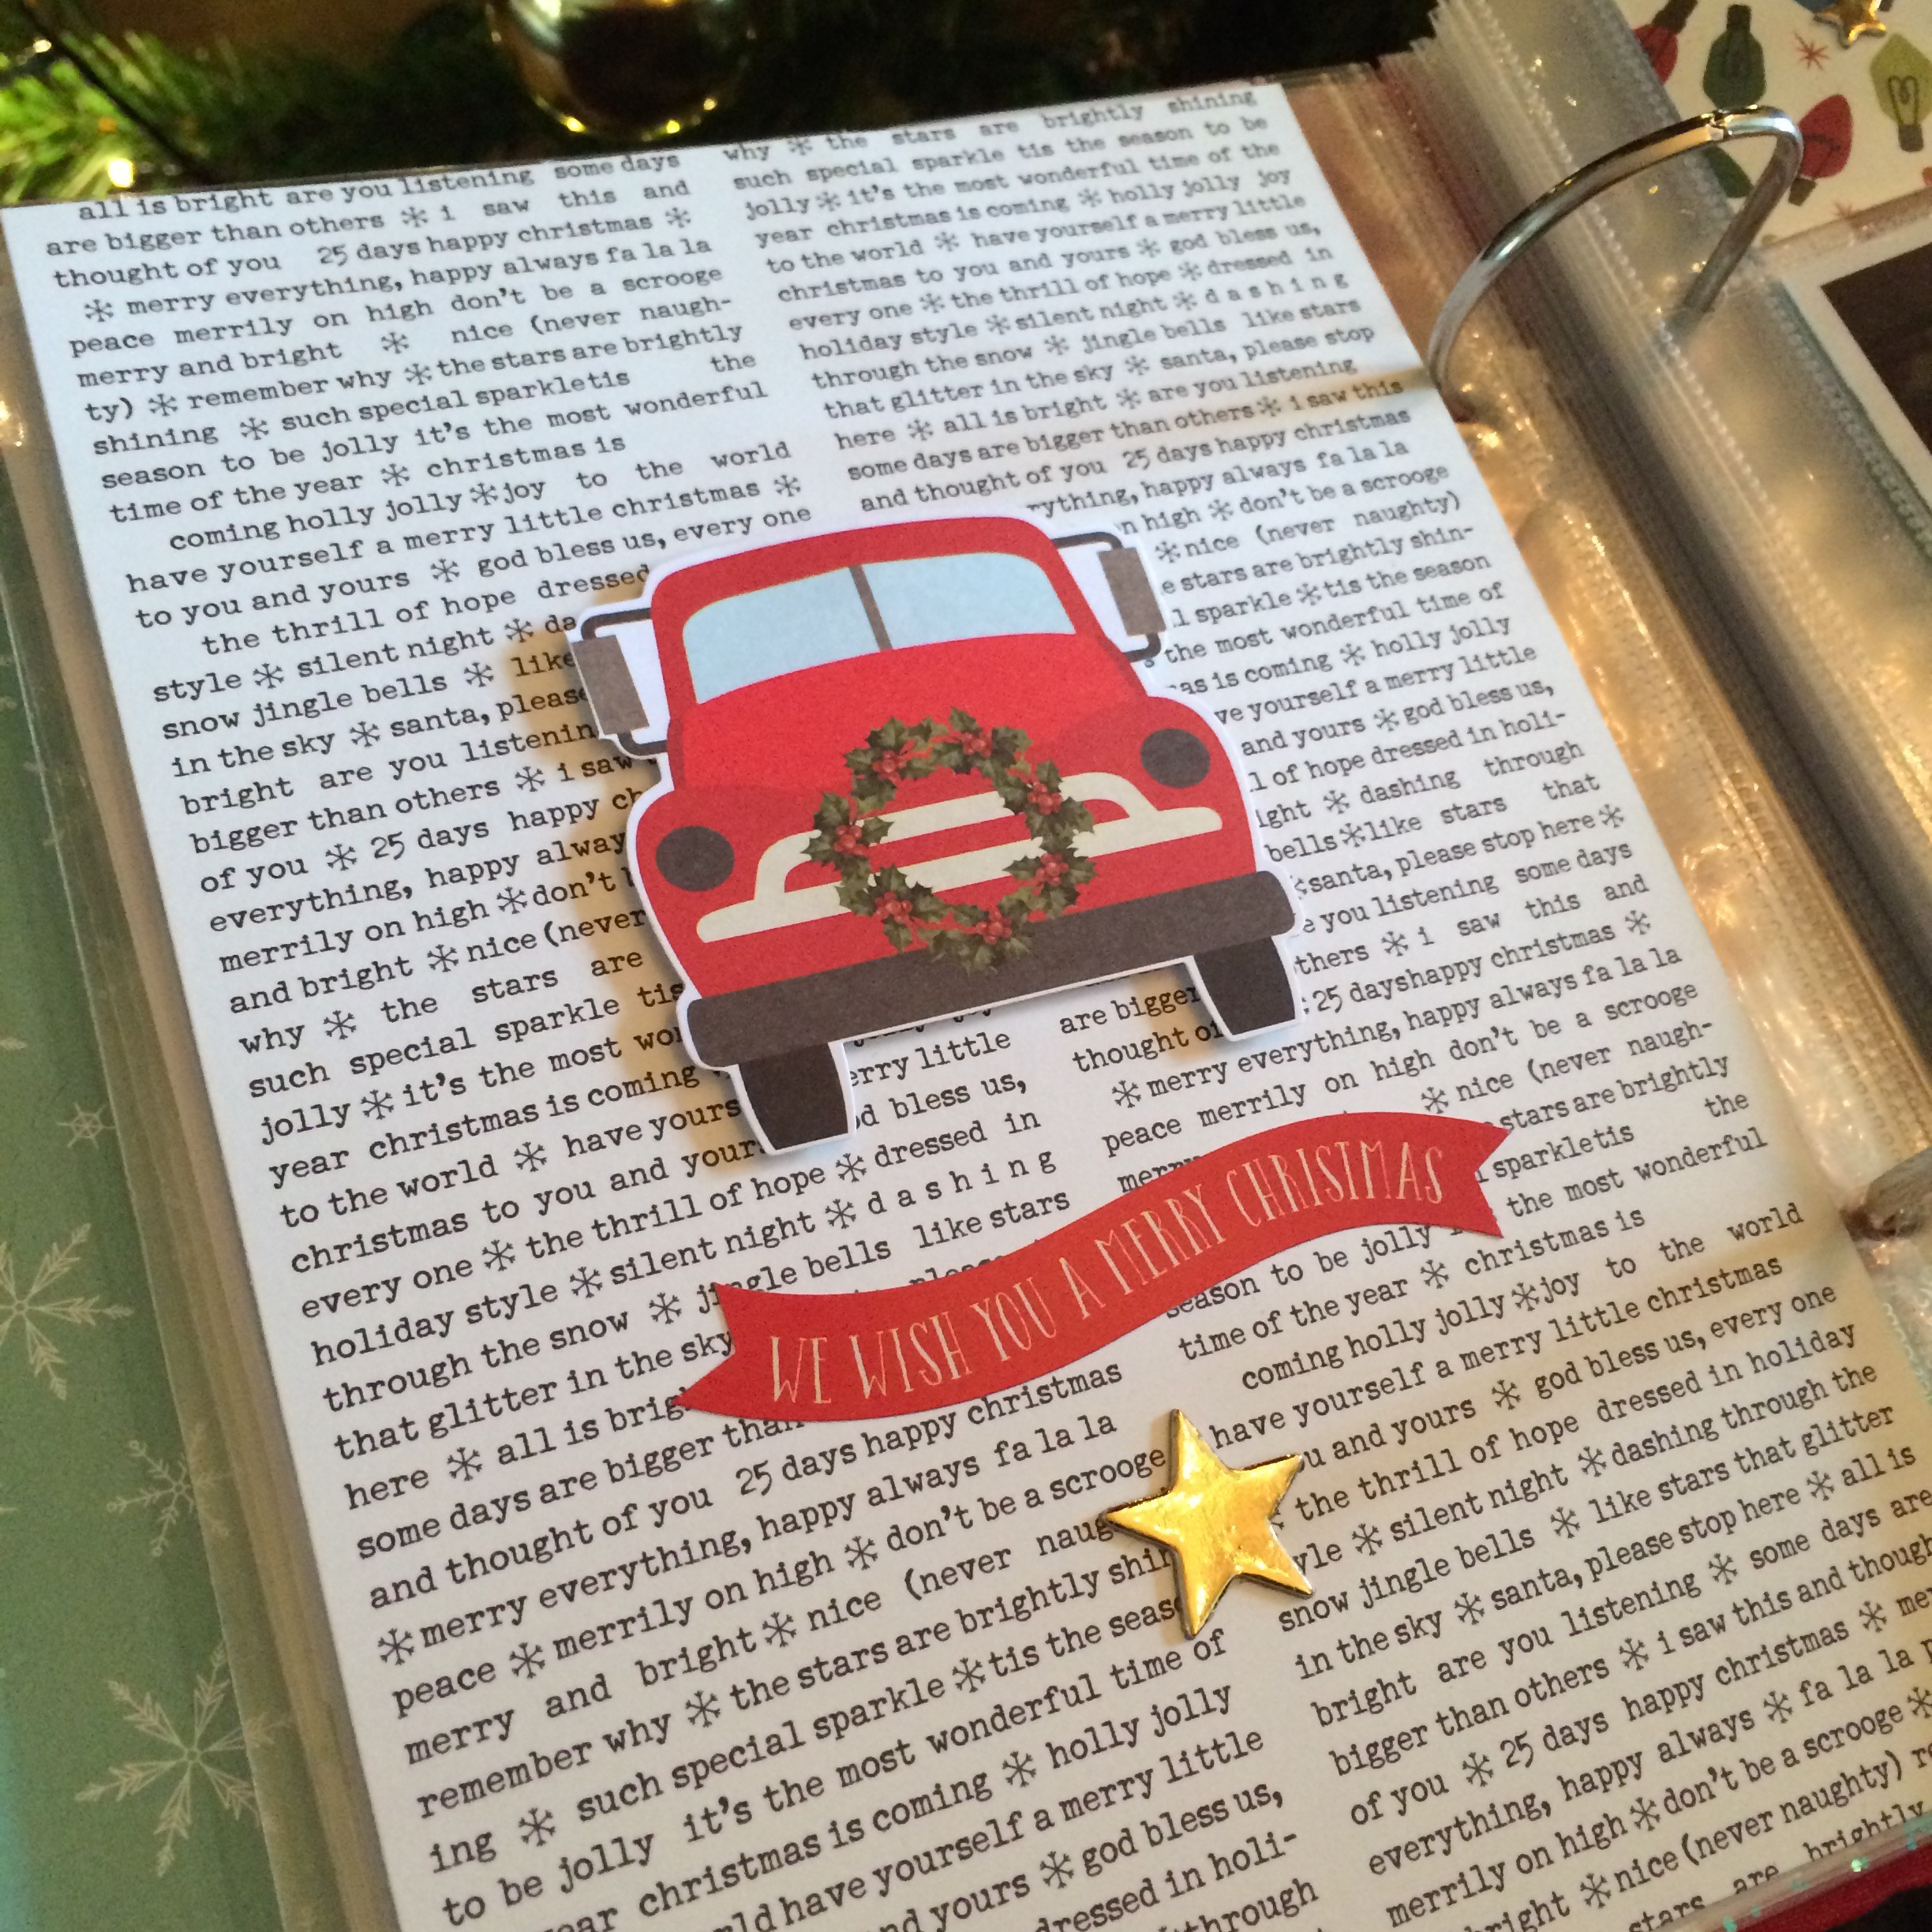
On the back of the extra page protector I added a filler page with a cute vintage truck die-cut by Simple Stories popped up on foam pads, a sentiment sticker by Simple Stories and a gold star by Studio Calico. I just love that truck so I’m more than happy to dedicate a whole page to it! I added a 4×6 photo into the

December 4th. I used mainly Simple Stories chipboard and sticker elements to embellish this spread, with the addition of a red word sticker from Studio Calico and a rubber charm from Pinkfresh Studio. The white stars transparency which you will see used throughout in 2×2″ squares is by Bella Blvd and the gold heart vellum is from the Shimelle ‘Christmas Magic’ collection.
December 5th. As you can see the photo I wanted to use for day 5 was landscape orientated rather than square. I knew there would be occasions where I wouldn’t have a square main photo and this is one reason why I use repositional adhesive to adhere the papers. I simply lifted the narrower strip of paper and replaced it with a larger piece cut to fit. The journaling mat was also attached with repositional adhesive which meant I could easily lift it and reattach it to the new paper. Thankfully the chipboard number stickers lifted ok too, I just carefully peeled those off.

I used a string of lights sticker from the Simple Stories Claus & Co collection, but I just wasn’t liking it. However, instead of taking it off and trying something else I had a brainwave. I placed a coloured enamel dot on top of each light bulb! Gone were the dull green bulbs, replaced with blue enamel dots (from my stash) and the grey, red and cream ones all came in the Simple Stories Claus & Co enamel dots pack. I absolutely love the light strings now.

December 6th. After the fussiness of December 5th I kept this spread fairly simple, just adding a clear words sticker on my main photo, a present and a stags head sticker on the divided page and a selection of stars. Gold chipboard stars are by Studio Calico, as are the little grey enamel stars and the glitter enamel ones are by Freckled Fawn.

That’s as far as I’ve done, but in my next blog post on the 8th January 2016 I will be sharing the whole completed album up to 25th December.
I appreciate that a lot of items I’ve used are now out of stock in the shop, I’m sorry about that, but hopefully like me you will have bought supplies in early for a Christmas album. Please take this as inspiration to help you complete your own album using what is still available and what you already have in your stash.
Before I go, I’ll just leave you with my Christmas card for 2015. I wanted something simple, yet pretty this year and came up with this design. Three 1 1/2″ stars punched (or in my case cut with my Silhouette) layered and stitched together with red thread on to little square kraft card blanks. A seasonal sentiment stamped in black ink on the front and another inside the card. I used gold star vellum (Maggie Holmes Confetti collection from my stash) for the top layer, ‘Wrap’ (book paper b-side) paper by Shimelle in the middle and ‘Snowed In’ (blue striped b-side) by Fancy Pants Designs.

Thank you for stopping by. May I wish you all a very happy Christmas and I’ll see you in the New Year!
